Tally Dascom DL-200
User Guide V1.3
20
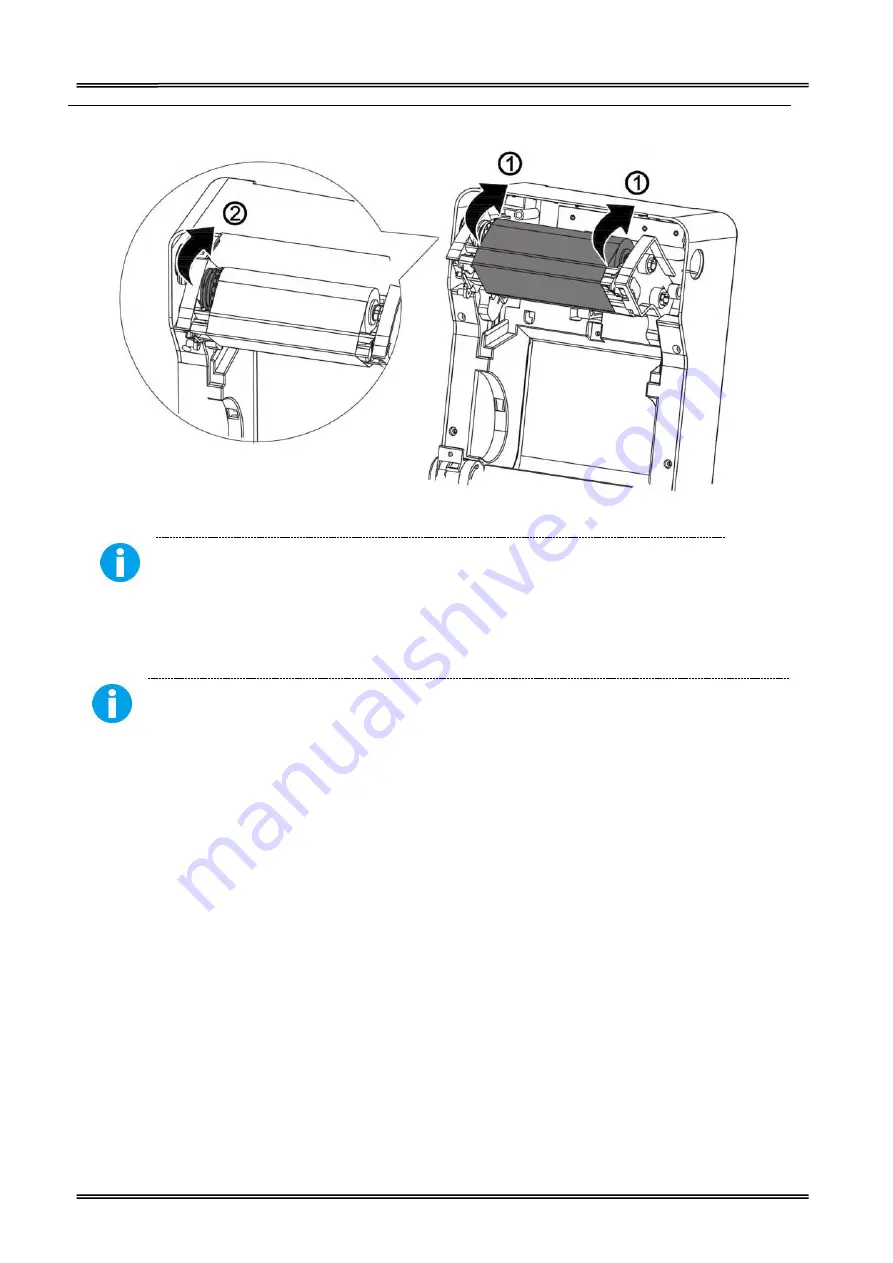
(6) Press down the top cover on both sides firmly until you hear a snap.
Keep the brighter surface of ribbon inside while winding the print head.
2.7 Connecting to Computer
Be sure to install the driver before connecting the printer to the host computer.
Before installing, disconnect the Power Unit from the printer (as well as turning the power switch
off). Even when the power switch is off, voltage is still present at some points on the circuit board.
Changing components while the power unit is connected can cause damage to the interface board
and the printer.
1.
Power off the printer.
2.
Insert the interface cable connector firmly into the interface connector on the
connector panel.
3.
When using interface cables equipped with a grounding line, attach the ground
line to the screw hole marked “FG” on the printer.
4.
Connect the other end of the interface cable to the host computer.
Summary of Contents for DL-200
Page 1: ...User Manual DL 200 Label Barcode Printer ...
Page 39: ...Tally Dascom DL 200 User Guide V1 3 26 4 Click Yes 5 Click Next ...
Page 41: ...Tally Dascom DL 200 User Guide V1 3 28 8 Enter printer name Click Next 9 Click Finish ...
Page 42: ...Tally Dascom DL 200 User Guide V1 3 29 10 Restart the computer to complete the process ...
Page 45: ...Tally Dascom DL 200 User Guide V1 3 32 5 Click Install 6 Click Install ...
Page 46: ...Tally Dascom DL 200 User Guide V1 3 33 7 Installation complet Click Finish ...
Page 54: ...Tally Dascom DL 200 User Guide V1 3 41 4 Click the model name and enter Next to continue ...
Page 56: ...Tally Dascom DL 200 User Guide V1 3 43 7 Check the port type in this case it is COM4 ...
Page 58: ...Tally Dascom DL 200 User Guide V1 3 45 9 Then COM4 for the printer is checked ...
Page 96: ...Tally Dascom DL 200 User Guide V1 3 83 5 Activate the Peeler in the printer settings ...


