Talkswitch CT.TS005.002501.UK Start Manual Download Page 10

H T T P : / / G L O B A L . T A L K S W I T C H . C O M

9

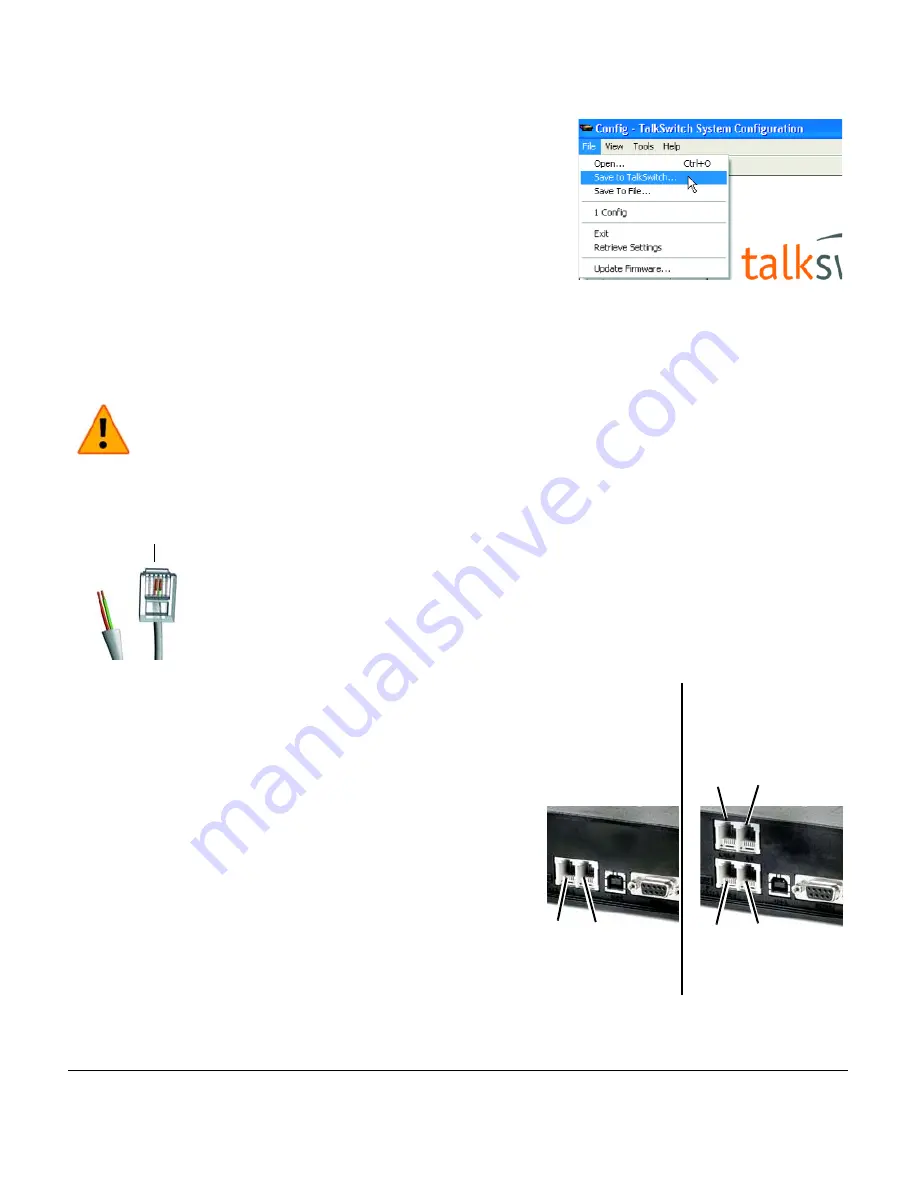
STEP 6 — SAVE SETTINGS TO TALKSWITCH

This step will transfer the settings you have configured from your 
computer to the TalkSwitch system.

From the 

File

 menu in the 

TalkSwitch System Configuration


window, select 

Save to TalkSwitch...

 A progress bar appears 

indicating that the configuration information is being sent to the 
TalkSwitch system. 

STEP 7 — CONNECT TELEPHONES AND PERIPHERALS

Connect incoming (external) telephone lines

Important! Lightning and electrical surges can cause damage to 
TalkSwitch. We recommend using surge protection equipment on all 
external telephone and power lines connected to a TalkSwitch system.

Single line connection (1 incoming phone line per wall phone jack)

Use the RJ-11 telephone cables provided to connect external 
phone lines to TalkSwitch. These cables have a two-wire 
connector for connection to a single line wall jack. Do not 
use four-wire telephone cables. See “Check your premises 
telephone wiring” for notes on telephone line and extension 
wiring. Users in Ireland should use 2-wire RJ-11 to RJ-11 
telephone cords.

1.

Connect one end of the provided RJ-11 telephone cable 
to the wall phone jack of an incoming phone line and 
the other end to the L1/L2 port at the back of the 
TalkSwitch unit. 

2.

If necessary, connect a second external phone line to 
the L2 port of the TalkSwitch unit using the 
same method.

3.

If you have a TalkSwitch 48, connect the remaining 
external phone lines to the L3/L4 and L4 ports at the 
back of the TalkSwitch unit, respectively.

Two-wire connector

L3/L4

L1/L2

L2

L4

48

L1/L2

L2

24

Summary of Contents for CT.TS005.002501.UK

Page 1: ...A N S W E R S W I T H I N T E L L I G E N C E TALKSWITCH DOCUMENTATION START GUIDE RELEASE 3 24 CT TS00 5 00250 1 UK...

Page 2: ...steps in this guide For information on setting up a TalkSwitch system to use Voice over IP VoIP refer to the TalkSwitch VoIP Configuration Guide for Multi location Networks For information on configu...

Page 3: ...f you plan on using VoIP or configuring your system remotely you will need an Ethernet switch or router with an integrated switch and a broadband Internet connection Check your premises telephone wiri...

Page 4: ...ROM drive 3 The Install main window will appear within 20 seconds Click INSTALL and follow the instructions If the installation program does not automatically start for example if Autorun is disabled...

Page 5: ...e LAN port at the back of the TalkSwitch 48 unit and the other end directly to your Ethernet switch Ensure your computer is connected to the same switch Connect using USB Using a USB A to B cable conn...

Page 6: ...pens requesting you to select the connection type LAN connection From the Connection Type menu select Ethernet and click Connect USB connection From the Connection Type menu select USB and click Conne...

Page 7: ...f the caller selects 0 then select go to local ext and then 114 We recommend assigning extension 114 to your office receptionist or person assigned to answer general calls extension 114 is designed to...

Page 8: ...ation window 2 From the list of telephone lines click Line 1 to configure incoming line number 1 3 From the drop down list next to On an incoming call during mode select Mode 1 Modes represent differe...

Page 9: ...ple 1 select the number of rings for example after 3 rings and select the extensions to ring from the list by default they are all selected Note you can adjust the ring sequence by clicking Adjust Seq...

Page 10: ...ncoming phone line per wall phone jack Use the RJ 11 telephone cables provided to connect external phone lines to TalkSwitch These cables have a two wire connector for connection to a single line wall...

Page 11: ...sic on Hold to your system A External Audio Source To play music while on hold connect a 1 8 3 5mm mono phono connector cable from an audio source such as a CD player tape player or sound card to the...

Page 12: ...e instructions The file must be an 8khz 8 bit mono law wav file A sample greeting Auto Attendant Sample wav is provided in your TalkSwitch folder Record an Auto Attendant greeting To record an Auto At...

Page 13: ...h unit enclosures are not designed for stacking We recommend wall mounting units in a horizontal row to maximize airflow and keep the units from overheating Power up all TalkSwitch units 1 Connect the...

Page 14: ...itional TalkSwitch unit assigning a unique ID number to each unit on the network After successfully changing each unit ID to a unique number each unit can be identified by the network More importantly...

Page 15: ...tion for details on port mapping visit http www portforward com routers htm What next For advanced configuration and complete information on TalkSwitch features refer to the TalkSwitch User Guide To a...

Page 16: ...TalkSwitch Copyright 2006 All Rights Reserved CT TS005 002501 UK April 2006 TalkSwitch is a division of Centrepoint Technologies Inc...

Reviews: