Eddy-CPU User Guide
50
1.
First of all, connect to Eddy with Telnet. Enter eddy for the username and 99999999 for the
password. (When using the default settings)
2.
After the connection, activate the FTP service with ‘set ftp on’ command
.
3.
Make sure you have the right firmware of Eddy on your PC. In this example, firmware images
are stored under C:\eddy_firmware. Here we use firmware files named Eddy_FS_10c.bin and
Eddy_KR_10c.bin.
4.
Connect to Eddy via ftp command. You can also use GUI-style FTP clients.
5.
Enter
anonymous
for username. Password is not required, so just leave it blank
.
6.
Issue a command ‘
cd /var/home/eddy
’ to move to the directory where firmware can be
uploaded. Please note that write attempts to any other directories are restricted for security
reasons.
7.
Issue a command ‘
bin
’ for binary file transfer mode. Optionally use
‘hash’
to see the data
transfer mark.
8.
Issue both commands ‘
put Eddy_FS_10c.bin
’ and
‘put Eddy_KR_10c.bin’
to start upload.
The image files must reside in the same directory with current directory where you are running
the ftp command.
9.
After getting a ‘Transfer complete’ message, issue a command ‘
quit
’ or
‘bye’
to disconnect.
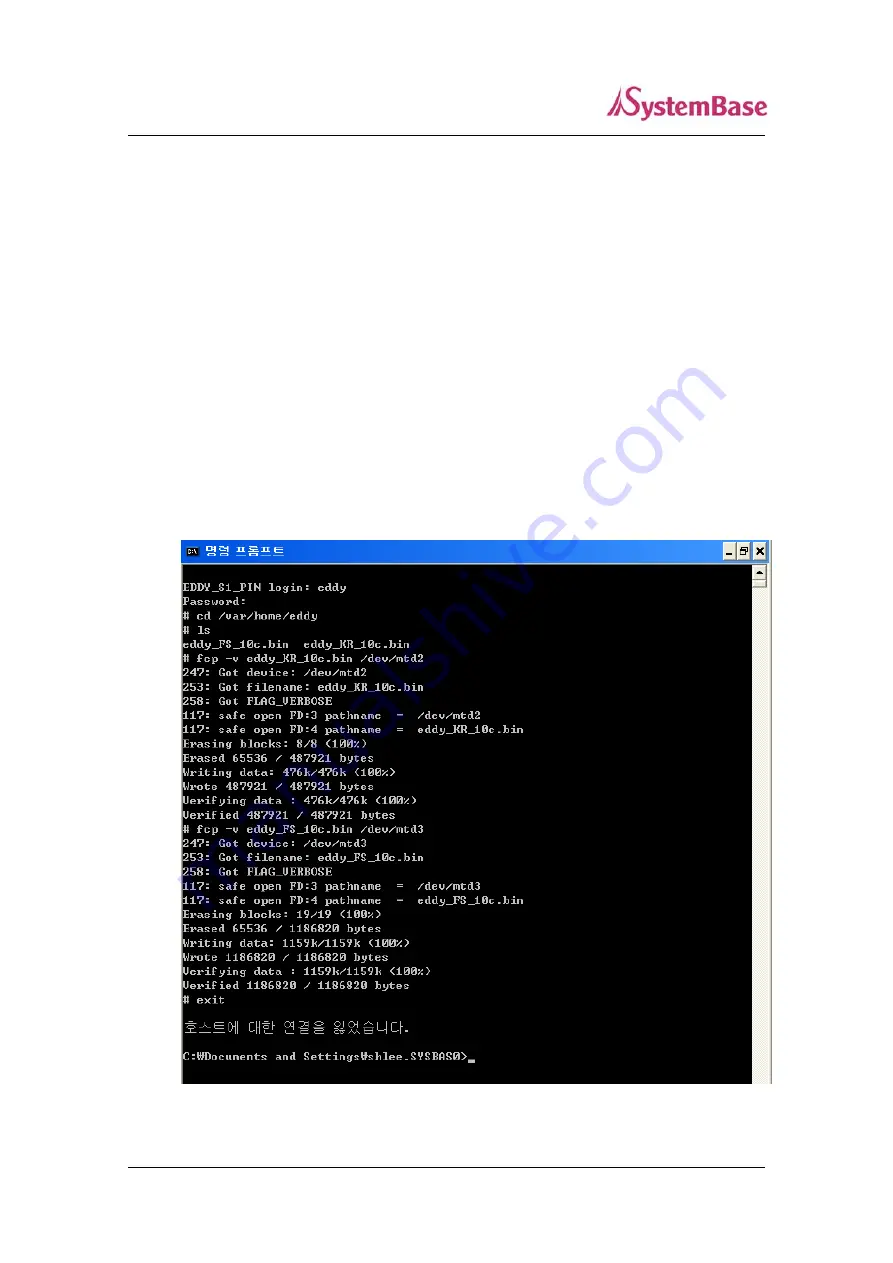
<You may not see the exact same output for all commands>
Summary of Contents for Eddy-CPU
Page 1: ...Eddy CPU User Guide English Ver 0 9 March 23 2007...
Page 11: ...Eddy CPU User Guide 11 Product at a Glance Software Architecture...
Page 19: ...Eddy CPU User Guide 19 2 Eddy CPU Development Kit Block Diagram...
Page 22: ...Eddy CPU User Guide 22...
Page 23: ...Eddy CPU User Guide 23...
Page 24: ...Eddy CPU User Guide 24...


