GX301
15
SVAT ELECTRONICS
now you can see
GETTING STARTED
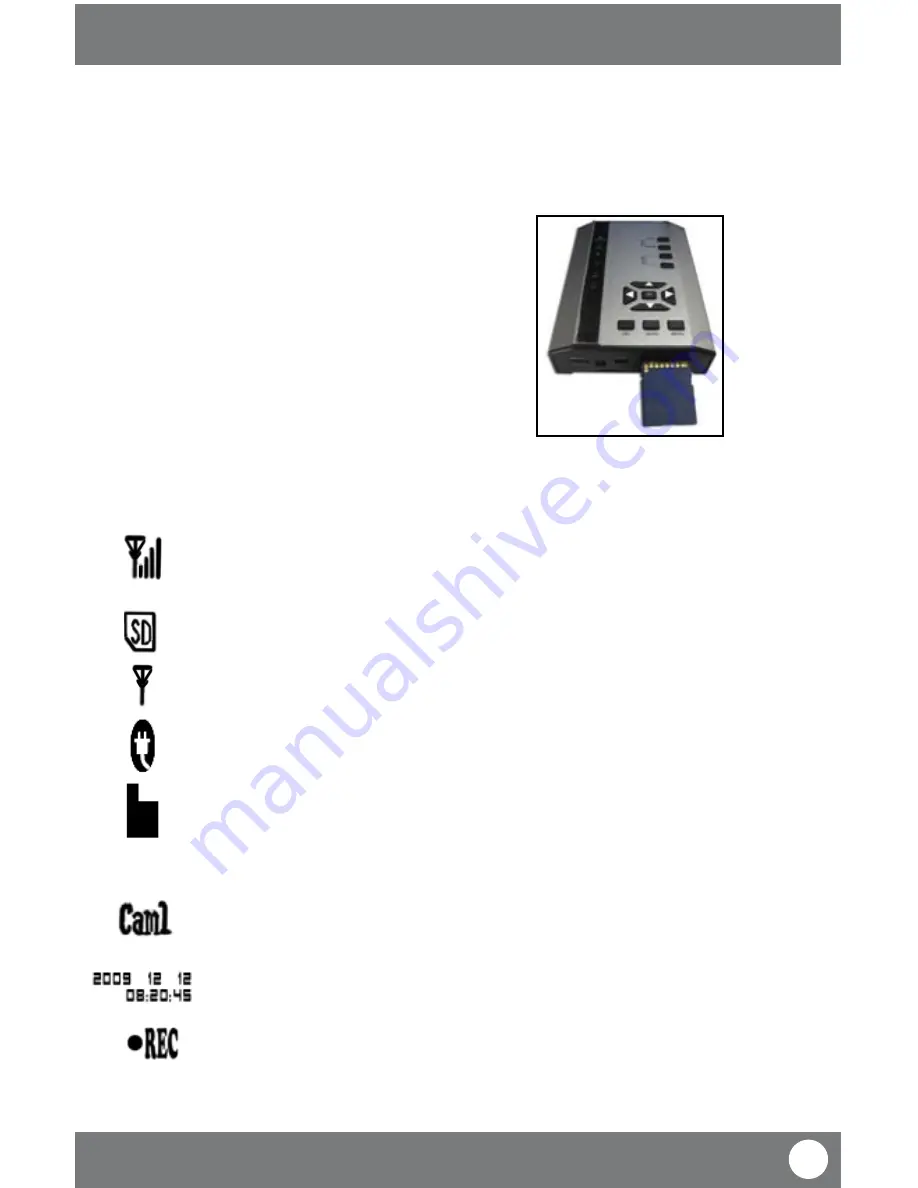
To insert SD card:
1. Insert the SD card into the provided SD card slot on the front
of the receiver.
2. Ensure that the SD card is inserted face down with the
metal readers being inserted first.
3. Once inserted the [SD] icon will appear on the screen.
4. If the icon does not appear, ensure that the SD card was put
in correctly and that the lock on the side of the SD card is
not in the locked position.
INSERTING SD CARD INTO RECEIVER
The GX301 comes equipped with a 2GB SD card. The SD card will be what the recorded footage is saved to. You are
able to watch the recorded footage from the SD card through the receiver or through your computer using an SD
card reader.
Signal:
Indicates the signal strength between the camera and monitor. The bars
vary based on connectivity, one bar represents a low connectivity and four
bars represents high connectivity
SD Card:
Indicates that there is a SD card inserted into receiver and that it is
functioning properly
No Signal:
Indicates that there is no signal between the camera and receiver. The
words NO SIGNAL will also appear on the screen
Unplugged:
Indicates that the receiver was recently unplugged from a power source. If
a file name is displayed below this icon the receiver is indicating that there
was lost footage when the receiver was unplugged
Unwatched Footage:
This icon indicates that you have unwatched footage on your receiver. If this
icon is red it indicates that you have new footage and that your SD card is
full. To get this icon to stop blinking you must access your recorded footage
list. To access footage see “Playback” on Pg 24-27
Camera:
This indicates which camera you are viewing. For more information on
camera views please see “Camera Viewing” on Pg 16
Date/Time:
Appears on “CAM1” only. This indicates the set date and time on your
receiver. To adjust the date and time settings, see “Settings” on Pg 20
Record:
This icon indicates that you are recording footage. Recording will take place
based on what recording mode is set. For more information about recording
modes, please see “Recording” on Pg 16
LIVE VIEW
Once your receiver is plugged into a monitor and paired with a camera, you will see a live view of the screen. The
screen can display the following information:
→
Insert SD card


