


49
EN
Editing
Before you start
Changing the
Setup menu
Others
Español
Connections
Getting started
Recording
Playing discs
Playing discs
Note
• Some discs will only allow
you to change the soundtrack
from the disc menu. Press
[TITLE]
or
[DISC MENU]
to
display the disc menu.
• This unit CANNOT record
in both stereo and SAP
(Secondary Audio Program)
at the same time.
Switching audio soundtrack
When playing a DVD-Video
disc recorded with two or more
soundtracks (these are often in
different languages), you can
switch them during playback.
When playing Video CDs or Audio
CDs, you can switch between
stereo, just the left channel or just
the right channel.
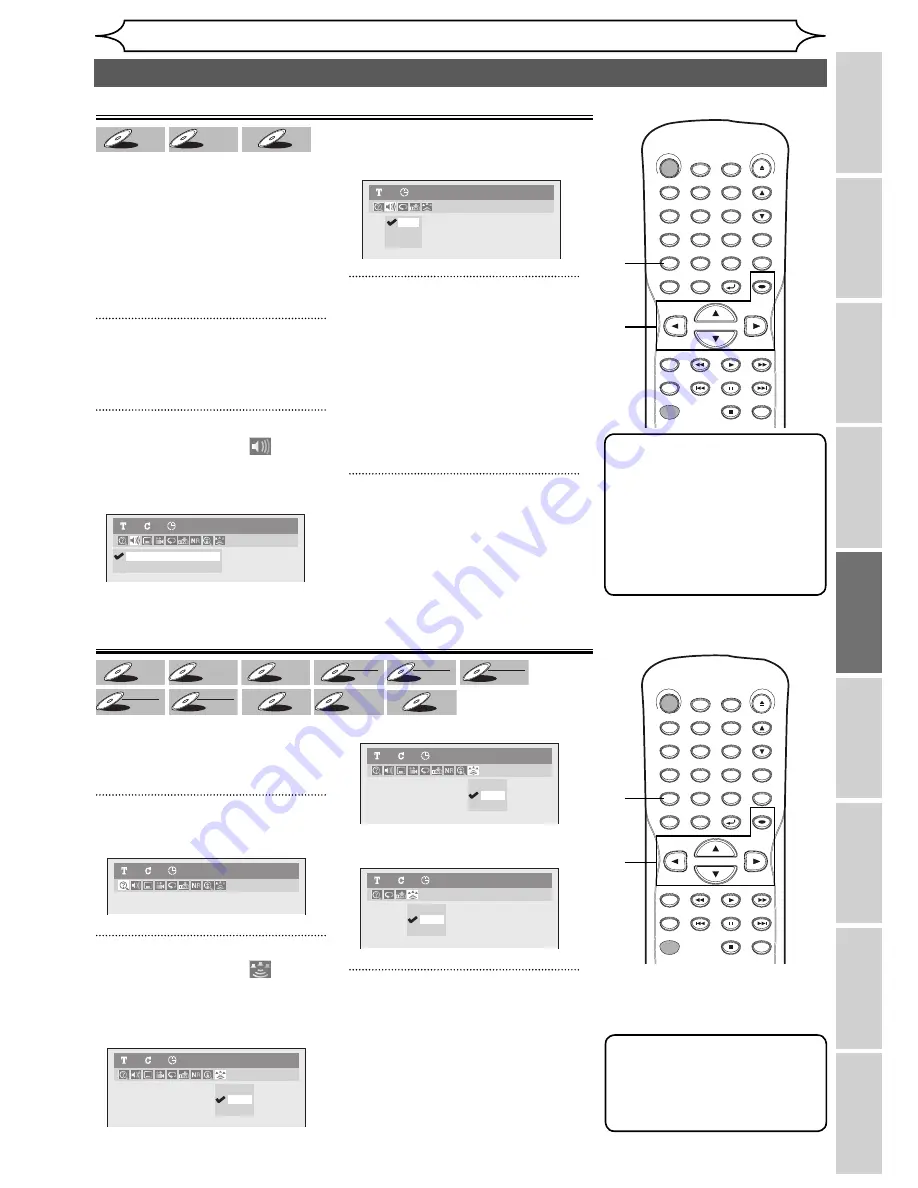
1
During playback, press
[DISPLAY].
Display menu will appear.
2
Using [
{
/
B
], select
.
Press [OK].
Audio menu will appear.
When inserting <DVD-Video> disc.
When inserting <Audio CD> disc.
3
Using [
K
/
L
], select a desired
audio soundtrack or audio chan-
nel. Press [OK].
When inserting <DVD-Video> disc.
Audio soundtrack will switch.
When inserting
<Video CDs/Audio CDs> disc.
Audio channel will switch.
4
Using [
K
/
L
], select a desired
audio channel. Press [OK].
Audio channel will switch.
2.L
3.R
1.L/R
Audio CD
1
0:00:00
2.Dolby Digital 2ch French
1.Dolby Digital 5.1ch English
DVD-Video
1
1
0:00:00
Switching virtual surround system
You can enjoy stereophonic virtual
space through your exciting 2
channel stereo system.
1
During playback, press [DISPLAY].
Display menu will appear.
2
Using [
{
/
B
], select
.
Press [OK].
Virtual Surround menu will appear.
When inserting <DVD-Video> disc.
When inserting <DVD+RW> disc.
When inserting
<Audio CD/MP3 files> disc.
3
Using [
K
/
L
], to select “OFF”,
“Type 1” or “Type 2”, then
press [OK].
• OFF: no effect
• Type 1: natural effect
• Type 2: emphasized effect
DVD-Video
1
1
0:00:00
Note
• Select Virtual Surround
to “OFF” in case sound is
distorted.
• The setting will be kept “OFF”
when the unit is turned off.
Selecting the format of audio and video (cont’d)
OFF
Type 1
Type 2
DVD-Video
1
1
0:00:00
OFF
Type 1
Type 2
DVD+RW
1
1
0:00:00
OFF
Type 1
Type 2
Audio CD
1
1
0:00:00
DVD-V
DVD-V
DVD-V
DVD-V
DVD-V
DVD-V
Video CD
Video CD
Video CD
CD
CD
CD
DVD-V
DVD-V
DVD-V
DVD-V
DVD-V
DVD-V
DVD+
DVD+RW
DVD+RW
DVD+R
DVD+R
DVD+R
DVD+R
DVD+R
DVD+R
DL
DVD-
DVD-RW
DVD-RW
+VR
DVD-R
DVD-R
DVD-R
+VR
DVD-
DVD-RW
DVD-RW
Video
DVD-R
DVD-R
DVD-R
Video
CD
CD
CD
Video CD
Video CD
Video CD
MP3
MP3
MP3
STANDBY-ON
.@/: ABC
DEF
GHI
OPEN/CLOSE
ZOOM
TIMER
PROG.
1
PQRS
4
DISPLAY
7
TITLE
REC MODE
RAPID PLAY
REC
REV
PREV
PLAY
PAUSE
STOP
FWD
NEXT
CM SKIP
JKL
2
TUV
5
SPACE
8
DISC MENU
0
MNO
3
WXYZ
6
CLEAR
9
RETURN
CH
REPEAT
SETUP
OK
2
1
3
4
STANDBY-ON
.@/: ABC
DEF
GHI
OPEN/CLOSE
ZOOM
TIMER
PROG.
1
PQRS
4
DISPLAY
7
TITLE
REC MODE
RAPID PLAY
REC
REV
PREV
PLAY
PAUSE
STOP
FWD
NEXT
CM SKIP
JKL
2
TUV
5
SPACE
8
DISC MENU
0
MNO
3
WXYZ
6
CLEAR
9
RETURN
CH
REPEAT
SETUP
OK
2
1
3
Summary of Contents for SV2000 WV10D6
Page 79: ...79 EN MEMO...