SuperServer 5019S-WR User's Manual
35
34
Chapter 3: Maintenance and Component Installation
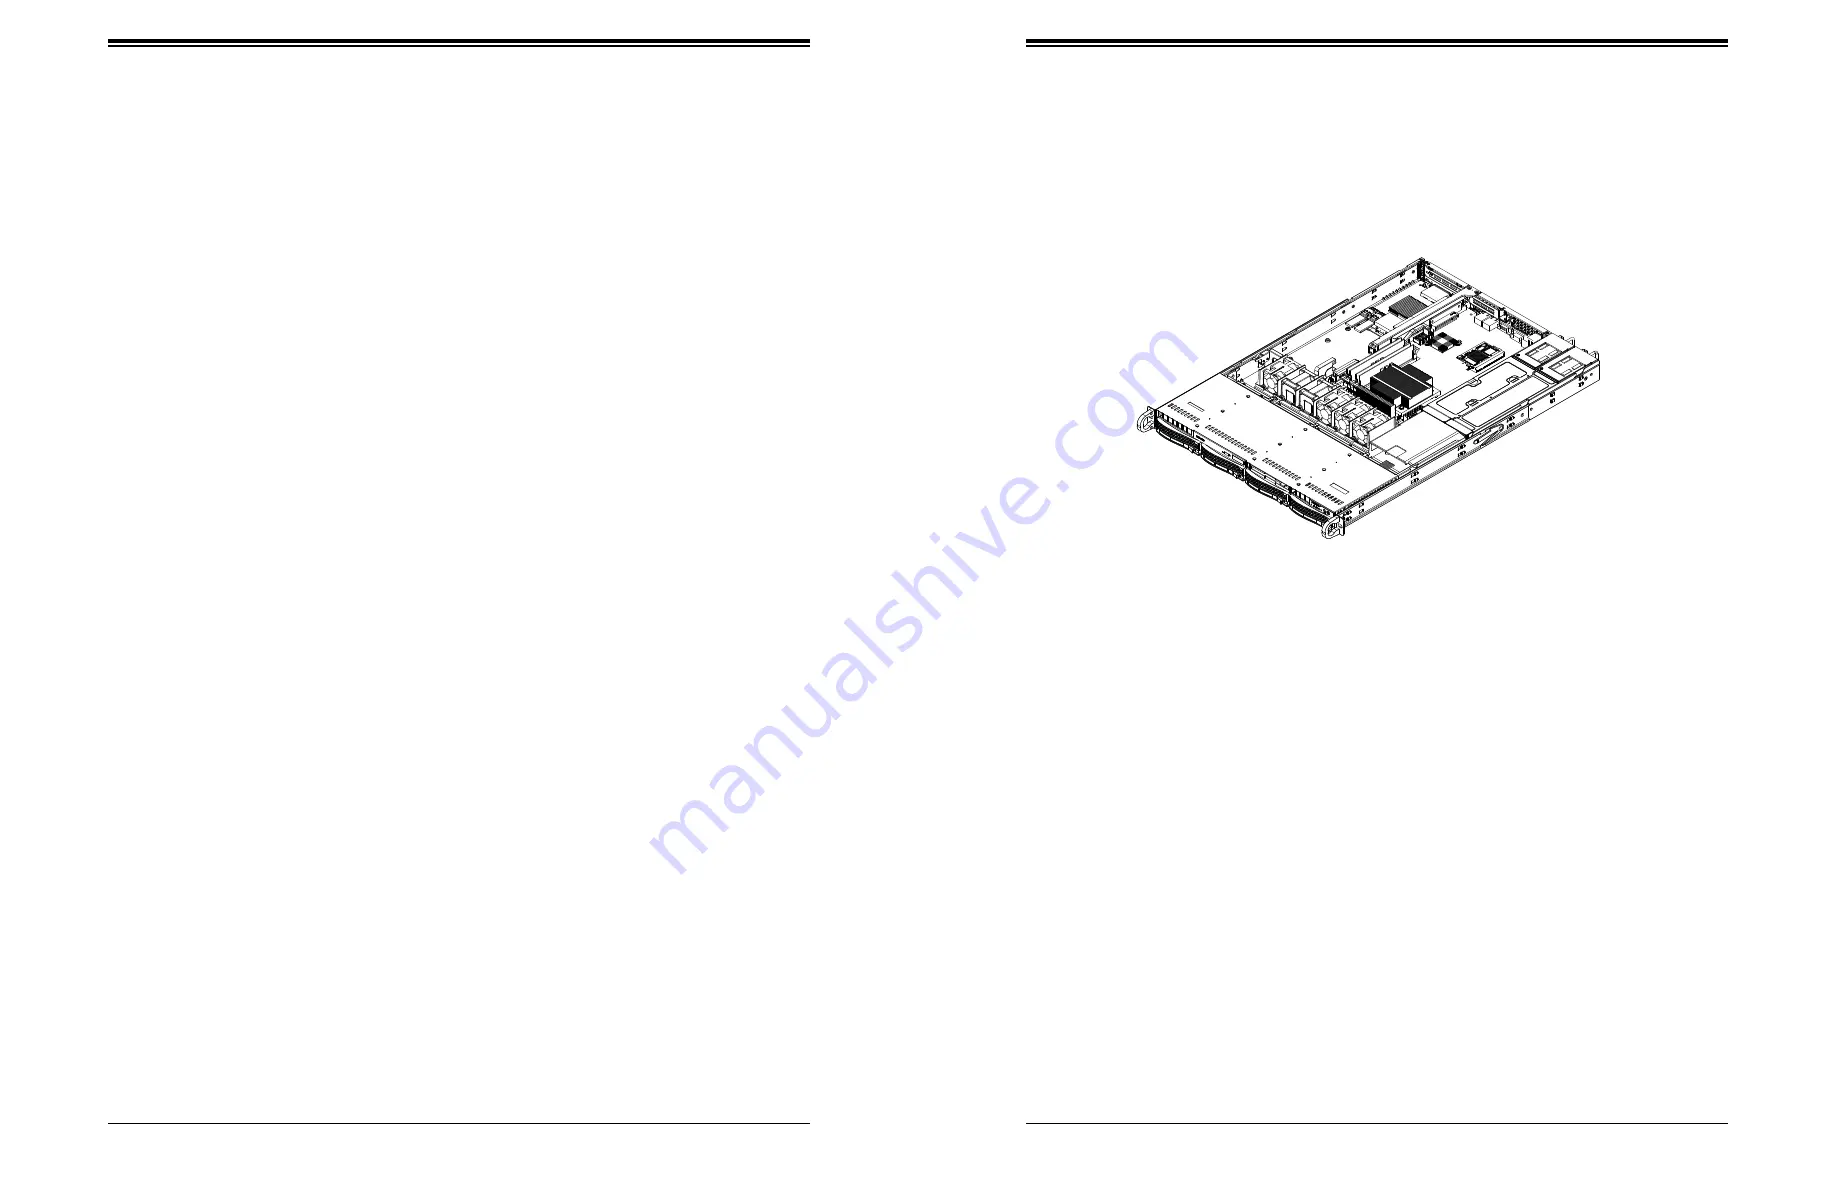
Figure 3-10. Replacing a System Fan
DVD-ROM Drive Installation
The 5019S-WR can accommodate a slim DVD drive (optional). Side mounting brackets are
needed to install the DVD drive in the chassis.
Accessing a DVD-ROM Drive
Begin by removing power from the system as described in Section 3.1.
1. Unplug the power and data cables from the drive.
2. Locate the locking tab at the rear of the drive. It will be on the left side of the drive when
viewed from the front of the chassis.
3. Pull the tab away from the drive and push the drive unit out the front of the chassis.
4. Add a new drive by following this procedure in reverse order. You may hear the faint
*click* of the locking tab when the drive is fully inserted.
5. Reconnect the data and power cables to the drive then replace the chassis cover and
restore power to the system.
System Cooling
Four 4-cm counter-rotating fans provide the cooling for the system. Each fan unit is actually
made up of two fans joined back-to-back, which rotate in opposite directions. This counter-
rotating action generates exceptional airflow and is effective in dampening vibration levels.
The chassis provides two additional open fan housings, where an additional system fan may
be added for optimal cooling.
It is very important that the chassis top cover is installed for the cooling air to circulate properly
through the chassis and cool the components.
Replacing a Failed Fan
Fan speed is controlled by system temperature via IPMI. If a fan fails, the remaining fans
will ramp up to full speed. Replace any failed fan at your earliest convenience with the exact
same type and model (the system can continue to run with a failed fan).
1. With the server powered on, remove the chassis cover and inspect the fans to see
which one has failed.
2. Power down the server and remove the AC power cords.
3. Remove the failed fan's wiring from the fan header on the motherboard and remove the
failed fan from the chassis.
4. Place the new fan into the vacant space in the housing while making sure the arrows on
the top of the fan (indicating air direction) point in the same direction as the arrows on
the other fans.
5.
Connect the fan wires to the same fan header as the fan just removed.
6. Power up the system and check that the fan is working properly and that the LED on the
control panel has turned off. Finish by replacing the chassis cover.
Note:
the figure above is intended to show fan location only. The serverboard may differ from
that in the 5019S-WR.


