SuperServer 5019S-WR User's Manual
33
32
Chapter 3: Maintenance and Component Installation
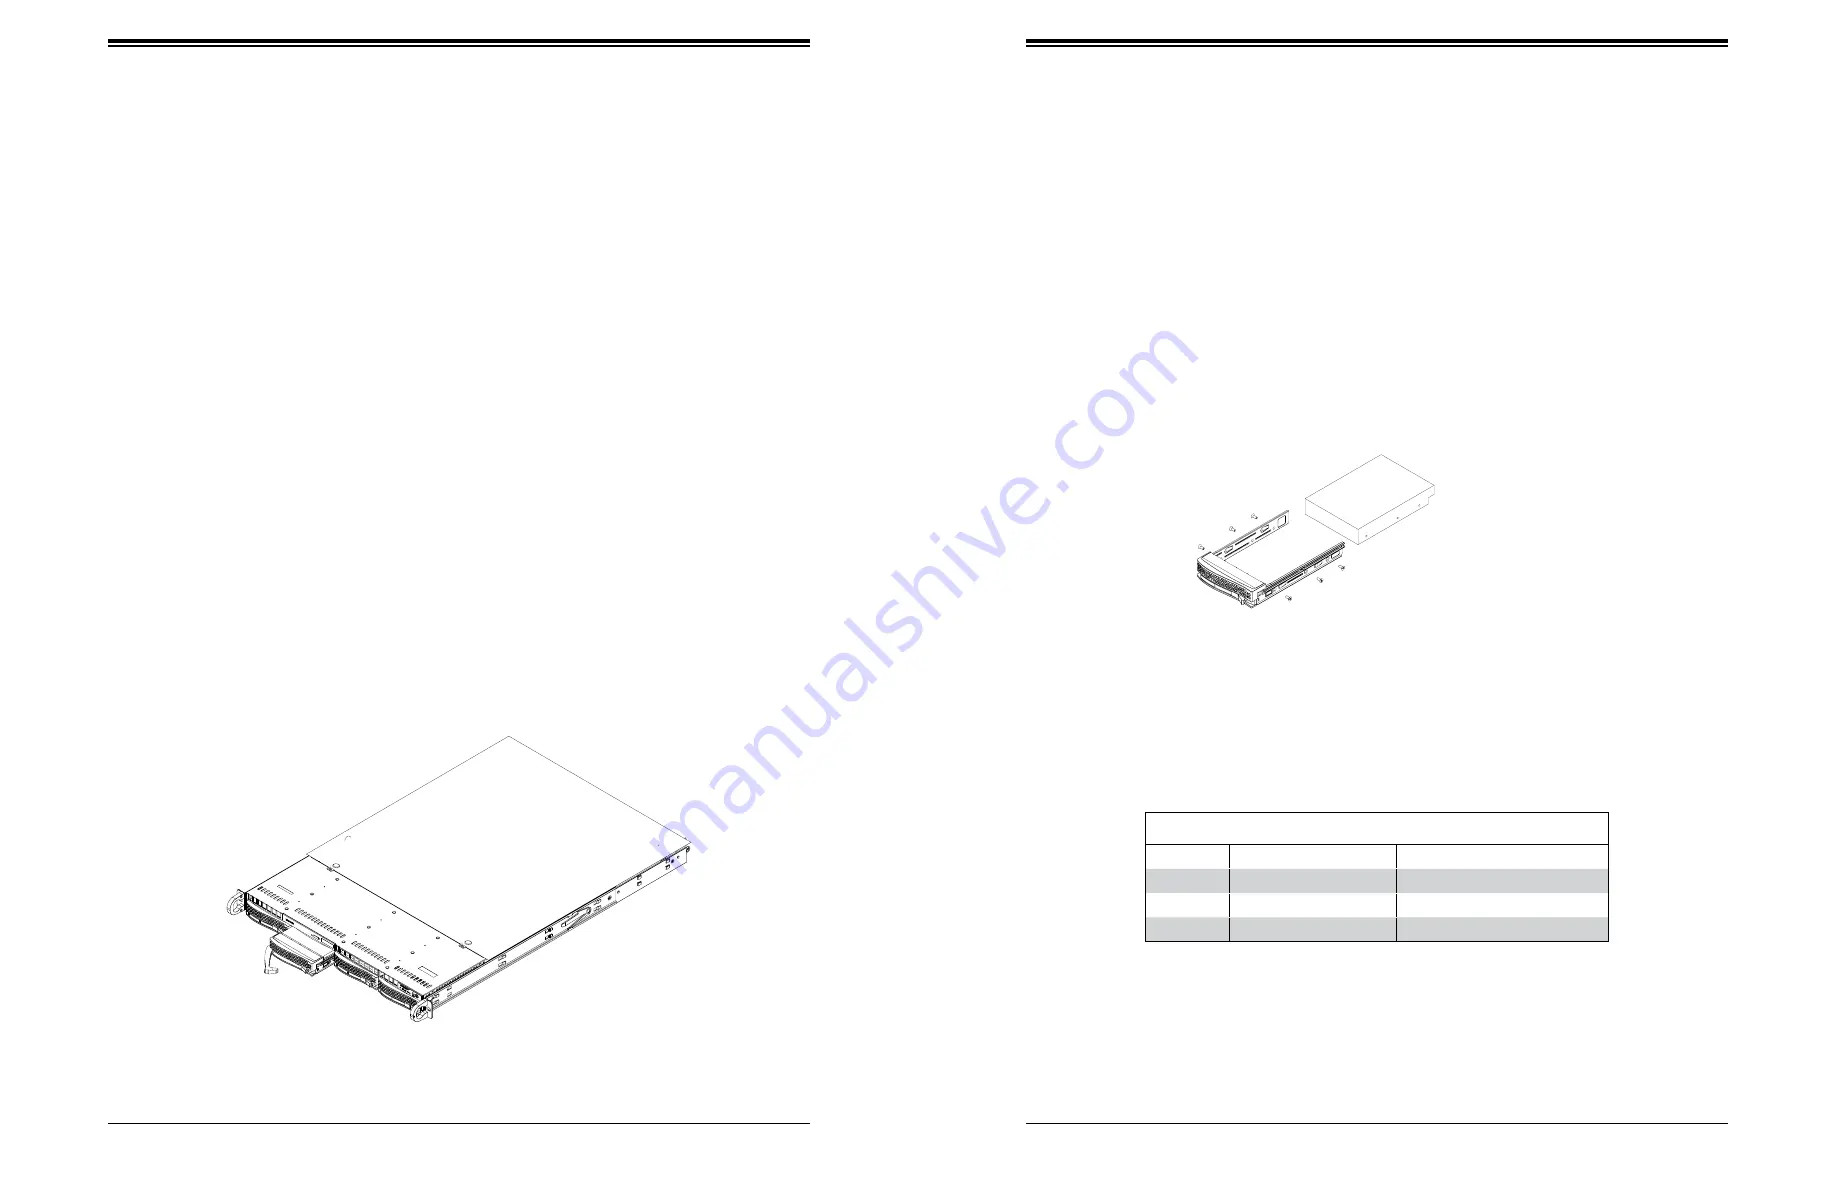
Figure 3-8. Removing a Drive Carrier
Figure 3-9. Mounting a Drive in a Carrier
Note:
Enterprise level hard disk drives are recommended for use in Supermicro chassis and
servers. For information on recommended HDDs, visit the Supermicro website at
supermicro.com/products/nfo/files/storage/SBB-HDDCompList.pdf
3.4 Chassis Components
Front Bezel
If your system has an optional bezel attached to the front of the chassis, you will need to
remove it to gain access to the drive bays.
1. Unlock the front of the chassis and then press the release knob.
2.
Carefully remove the bezel with both hands. A filter located within the bezel can be
removed for replacement/cleaning.
It is recommended that you keep a maintenance log to list filter cleaning/replacement dates,
since its condition affects the airflow throughout the whole system.
Hard Drives
Your server may or may not have come with hard drives installed. Up to four 3.5" hard drives
are supportd by the chassis.
SATA drives are mounted in drive carriers to simplify their installation and removal from the
chassis. (Both procedures may be done without removing power from the system.)
Removing a Hot-Swap Drive Carrier
1. Push the release button on the carrier.
2. Swing the handle fully out.
3. Grasp the handle and use it to pull the drive carrier out of its bay.
Hard Drive Carrier LED Indicators
LED
State/Condition
Indication
Green
Blinking
Drive activity
Red
Blinking
Drive rebuilding
Red
Solid on
Drive failure
Mounting a Drive in a Drive Carrier
1. To add a new drive, install it into the carrier with the printed circuit board side facing
down so that the mounting holes align with those in the carrier.
2. Secure the drive to the carrier with the screws provided, then push the carrier
completely into the drive bay. You should hear a *click* when the drive is fully inserted.
This indicates that the carrier has been fully seated and connected to the midplane,
which automatically makes the power and logic connections to the hard drive.
Removing a Drive from a Drive Carrier
1. Remove the screws that secure the hard drive to the carrier and separate the hard drive
from the carrier.
2. Replace the carrier back into the drive bay.
Hard Drive Carrier Indicators
Each hard drive carrier has two LED indicators: an activity indicator and a status indicator. In
RAID configurations, the status indicator lights to indicate the status of the drive. In non-RAID
configurations, the status indicator remains off. See the table below for details.


