3
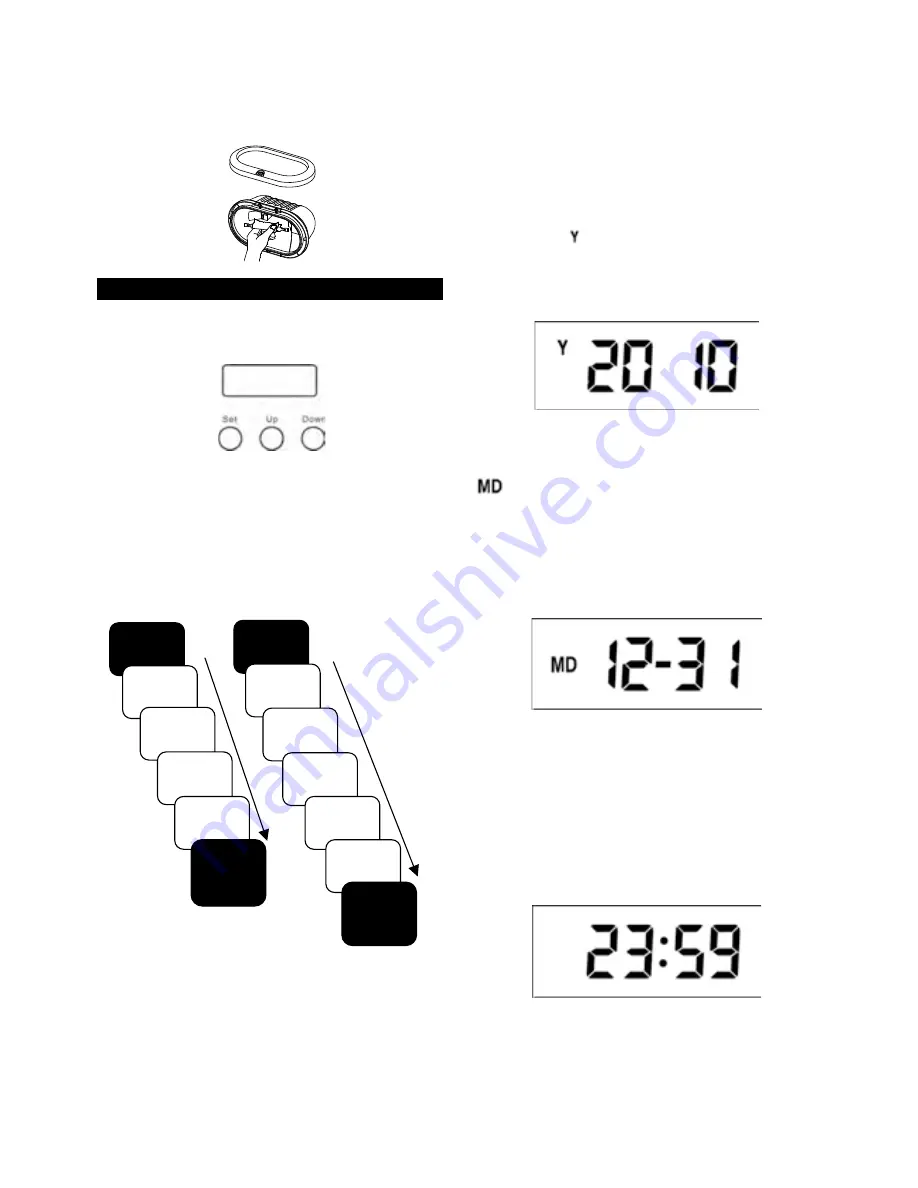
(4) Take off the front surround. Install bulb by inserting
one end first and depressing until enough
clearance is gained to seat the other end of the
socket. Rotate halogen bulb to assure proper
seating. Refit the front surround in place and
fasten the screw (FIGURE 8).
FIGURE 8
FUNCTION SETTING
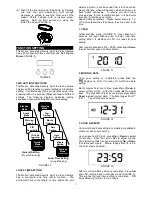
The Motion Activated Security Light & Video Camera
has a LCD panel with three control knobs:
Set
,
Up
and
Down
(FIGURE 9).
FIGURE 9
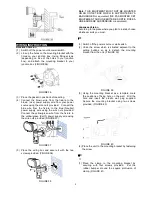
TWO SETTING FUNCTIONS
The Motion Activated Security Light & Video Camera
has two setting functions: general setting and local time
setting. Under standby mode, prompt pressing or long
pressing (about 3 seconds) of
Set
can lead to different
settings. The following diagram illustrates setting
sequence of general setting and local time setting.
FIGURE 10
LOCAL TIME SETTING
The Motion Activated Security Light & Video Camera
has a pre-record and time record function. The
pre-record time is the length of time before the unit
detects a motion; it can be varied from 4 to 12 seconds.
During this time, video will be taken which allows you to
trace what’s happening. To ensure you get correct
time and day for the recorded images, it is particular
important to set the year, month,
day and time accurately. Please select scene to 1, 2
or 3 before follow the steps below to set up exact local
time.
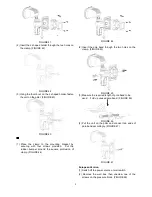
1. YEAR
Under standby mode (FIGURE 3), press
Set
for 3
seconds and light flashes once to enter local time
setting. When
displays on LCD, it is ready for year
setting.
Year range is between 2010 ~ 2099, press
Up
or
Down
to select correct year, as shows below:
FIGURE 11
2. MONTH & DATE
Once year setting is completed, press
Set
, the
displays on LCD, it is ready for month and date
setting.
Month ranges from Jan to Dec, press
Up
or
Down
to
select correct month. After that, press
Set
to adjust
date. The digit will not flash so you simply press
Up
or
Down
to select correct date. The date ranges from 1
st
to 31
st
. The LCD shows as below:
FIGURE 12
3. HOUR & MINUTE
Once month and date setting is completed, press
Set
to
enter hour and minute setting.
Hour ranges from 00 to 23, press
Up
or
Down
to select
correct hour. After that, press
Set
to adjust minute.
The digit will not flash so you simply press
Up
or
Down
to select exact minute. Minute ranges from 00 to 59.
The LCD shows as below:
FIGURE 13
After month and date setting is completed, press
Set
and LCD returns back to standby mode (FIGURE 3).
This implies the local time setting is completed. PIR
stops detecting function for one minute.
Standby
Mode
Scene
Mode
Warning
Sound
PIR
Sensitivity
ID Code
Learning
Standby
Mode
(completed)
General Setting
(Prompt Pressing)
Standby
Mode
Year
Setting
Month
Setting
Date
Setting
Hour
Setting
Minute
Setting
Standby
Mode
(completed)
Local Time Setting
(Long Pressing)


