20
INSTALLING THE REAR WHEEL (cont.)
A
B
C
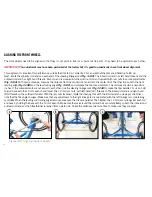
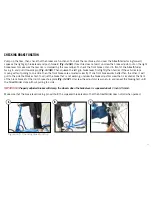
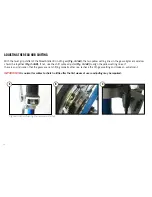
Figure 3-12. Installing the rear wheel (cont.)
While still holding the 2 mm hex wrench in the 6 o’clock position, insert the ending ferule of the shifter cable housing into the
cassette bracket that is facing forward in the 3 o’clock position
(Fig. 3-12A)
. Slowly release the tension on the 2 mm hex wrench to
allow the return spring to move the hex wrench back to the 9 o’clock position, making sure the shifter cable lies in the groove of the
cassette pulley
(Fig. 3-12B)
. Move the twist grip shifter to gear 4 and check the gear alignment window on the cassette pulley to make
sure the 2 yellow setting lines are together
(Fig. 3-12C; see also Fig. 3-16 Adjusting the Rear Hub Shifting)
.
ROTATING THE CRANK ARMS
In order to fold the StreetStrider for packing and transporting, both crank arms are rotated in the same forward position. To set the
crank arms to the correct position for striding, the left crank arm has to be rotated 180 degrees relative to the right crank arm. With
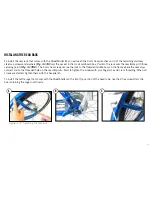
the 8 mm hex wrench, unscrew the one key release crank bolt on the left crank arm
(Fig. 3-13A)
. Lift the crank arm off the square
tapered bottom bracket spindle
(Fig. 3-13B)
and rotate the right crank arm to the opposite position, then replace the left crank arm
onto the spindle
(Fig. 3-13C)
. Screw the crank bolt back in with the 8 mm hex wrench
(Fig. 3-13D)
, tightening to 350 inch lb
(29 ft lb or 39 Nm), to create a secure connection between the crank arm and the bottom bracket spindle.


