stewmac.com
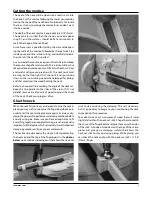
mately 3/64" (1.3mm) thick at the top and 5/32" (4mm) at the
base. The back of the bridge (towards the tailpiece) should
remain flat and perpendicular to the top when installed.
The front side of the bridge should taper or curve inward
slightly just above the feet. Sand the bridge to thickness or
use a chisel, file, or knife.
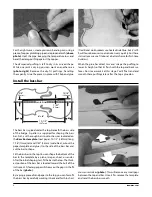
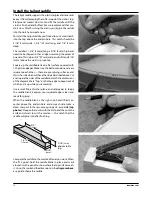
In the
photo below
, the bridge has been fitted to the
top, trimmed to height, and shaped round on the front. It
rests squarely on its feet, and is ready to be smoothed of
scratches.
The bridge’s taller side is for the bass strings, with the treble
strings sitting slightly lower and closer to the fingerboard.
The bridge will need final height adjustment and fitting.
Flatten the bridge by sanding it on a flat surface. Do this
sanding on the back of the bridge (the side with a logo
stamped on it). Scribble with pencil on this side, then sand
until the pencil marks are gone. The disappearing marks will
show whether you’re sanding the whole surface evenly.
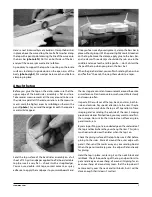
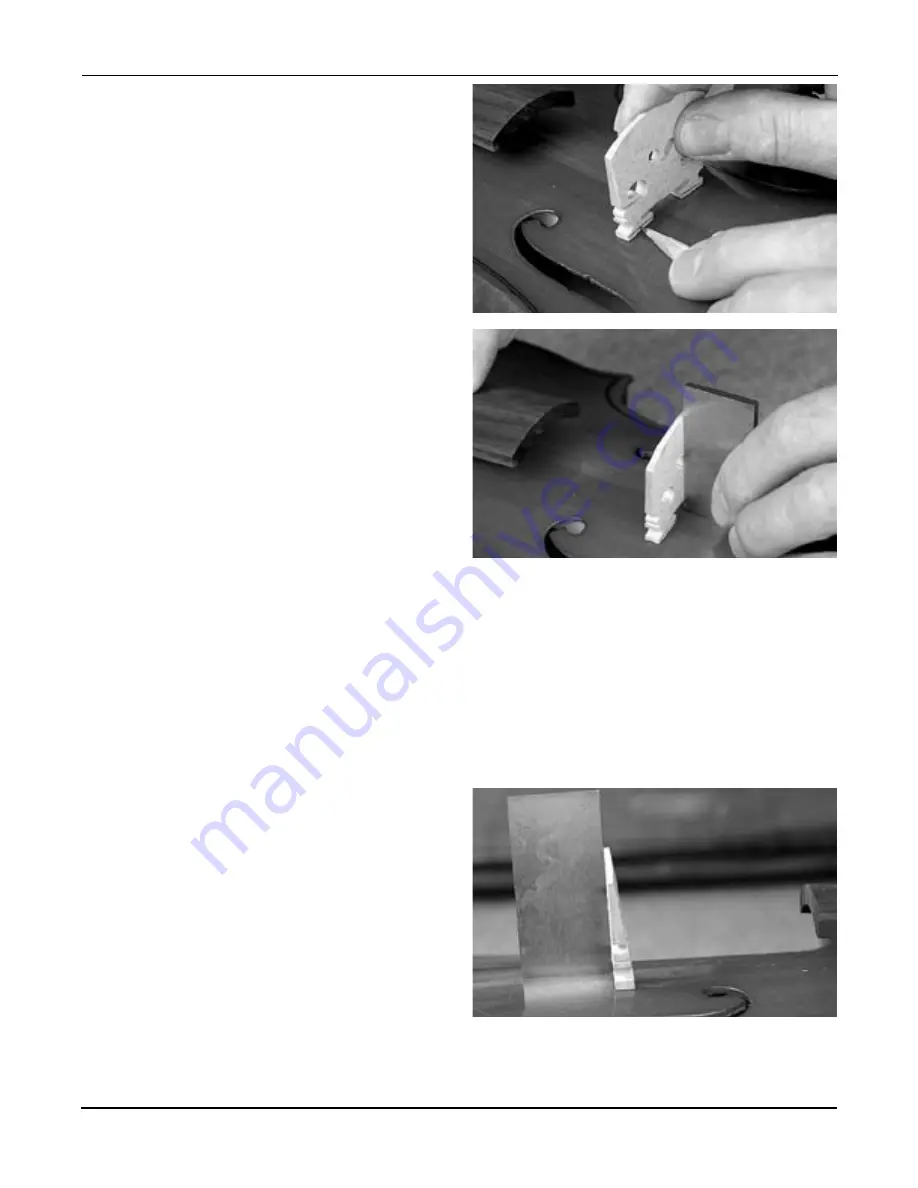
The feet of the bridge must conform to the curved top of
the violin. Set the bridge in place and trace the curve of the
top onto it using a “half pencil” (a pencil sanded flat on one
side)
(above photo)
. Trim the feet to this shape, leaving
the pencil line showing (this leaves wood to work with in
shaping the feet).
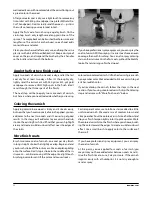
Trim the feet so that the bridge sits square to the top
(above
photo)
. Carving the feet accurately can be difficult. A good
method is to put a small piece of 120-grit sandpaper on
the top in the bridge location and sand the feet with short
strokes until they match the top’s curve. Be careful to keep
the bridge standing up straight, perpendicular to the top.
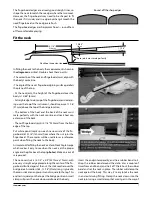
With a pencil, mark the locations for the two outer strings (G
and E) 1-5/16" (33.5mm) apart and centered. Mark the two
remaining strings (D and A) at 7/16" (11.3mm) apart.
To check the height of the bridge, lay a straightedge on
the fingerboard. Extend this straightedge to the bridge,
and make a pencil mark showing this height at the G string
position. Make another mark at the E string position (these
are the two outer strings).
These two marks indicate the fingerboard line extended to
the bridge. Next, make a second pair of marks above these
two, indicating a higher point for shaping the top of the
bridge. Raise the G string mark by 9/32" (7mm) on the bass
side, and raise the E string mark by 7/32" (5.5mm) on the
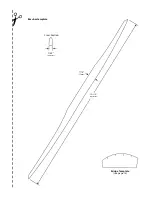
treble side. Draw a curve between these two marks using the
bridge template
(see "Prepare the neck" cut out page).
The E-string slot should be 3/32" (2.5 - 3mm) above the fin-
gerboard line, and the G-string should be 11/64" (4.5mm). If
only a small adjustment is required (less than 1/64" (1mm)),
remove material from the feet by sanding. If more must be
removed, take the material from the top rather than the
feet. The feet should remain between 5/64" (1.9mm) to 1/8"
(2.5mm) thick.
If the bridge is too heavy it will affect the violin’s tone, so it
will need to be thinned and shaped. It should be approxi-
Fit the bridge
16
Summary of Contents for 5342
Page 1: ...Violin Kit 5342 Assembly Instructions www stewmac com ...
Page 2: ......
Page 9: ... ...
Page 10: ......
Page 23: ......

