background image

REPRODUCCIÓN DE VÍDEOS Y FOTOGRAFÍAS
1.- Deslice el interruptor de Encendido / Apagado (12) a la posición de 
PLAY. En pantalla se mostrará la última fotografía o vídeo realizado.
2.- Presione el botón de selección (8) hacia la derecha o hacia la izquierda 
para visualizar la fotografía o vídeo deseado.
3.- Presione ENTER (8) para comenzar la reproducción del vídeo.

REPRODUCCIÓN CONTÍNUA DE VÍDEOS Y FOTOGRAFÍAS
Mediante esta función puede reproducir de forma automática y por un 
lapso de 3,5 segundos, cada una de las fotografías y vídeos almacenados 
en memoria.

1.- Deslice el interruptor de Encendido / Apagado (12) a la posición de 
PLAY. 
2.- Presione el botón de Menú (10) y seleccione la opción Conf Reprod, 
presione ENTER (8) para confirmar la opción.
3.- Seleccione la opción Presentación. Presione ENTER (8) para 
configurar esta opción.
4.- Si desea activar la función seleccione Activad, en caso contrario 
seleccione Desactivado.
5.- Presione el botón de Menú (10) para regresar al modo de 
reproducción. Automáticamente comenzará la reproducción de las 
imágenes.
6.- Presione cualquier botón para detener la presentación.

Nota:
En el modo de reproducción contínua, únicamente el primer cuadro de un 
vídeo será visualizado.

BORRADO DE PELÍCULAS E IMÁGENES
1.- Deslice el interruptor de Encendido / Apagado (12) a la posición de 
PLAY.
2.- Mueva el botón de selección (8) hacia abajo para ingresar al modo de 
Miniaturas.
3.- Utilice el botón de selección (8) para seleccionar la imagen o vídeo que 
desee borrar. Muévalo hacia la derecha o hacia la izquierda.
4.- Presione el botón de Modo (9) para seleccionar la imagen o vídeo que 
desee borrar.

Si desea borrar todas las fotografías y vídeos:

1.- Deslice el interruptor de Encendido / Apagado (12) a la posición de 
PLAY.
2.- Presione el botón de Menú (10).
3.- Mueva el botón de selección (8) hacia la derecha para seleccionar 
Ajustes de Memoria. Presione ENTER (8) para confirmar.
4.- Seleccione la opción Borrar Todo (Delete All) y presione ENTER (8) 
para confirmar.
5.- Si desea borrar todo, seleccione la opción SI (Yes) y presione ENTER 
(8). 
6.- Si no requiere borrar todos  los archivos, seleccione NO y presione 
ENTER (8).

GRABACIÓN DE VOZ
Utilice esta función para grabar memos en el momento que desee en el 
lugar donde lo necesite.

VIDEO AND PICTURES PLAYBACK

1.- Switch the On / Off (12) button to PLAY position. The last picture or the 
last movie will displays on the LCD screen.
2.- Move 5-way (8) button to the left or to the right to visualize the desired 
picture or movie.
3.- Press ENTER (8) to start to play the video.

PLAYING A SLIDE SHOW

Use this function to play the stored pictures and videos automatically in 
sequence. Each video or picture will display for 3,5 seconds each.

1.- Switch the On / Off (12) button to PLAY position. The last picture or the 
last movie will displays on the LCD screen.
2.- Press Menu (10) button and choose Playback settings, then press 
ENTER (8) to confirm the option.
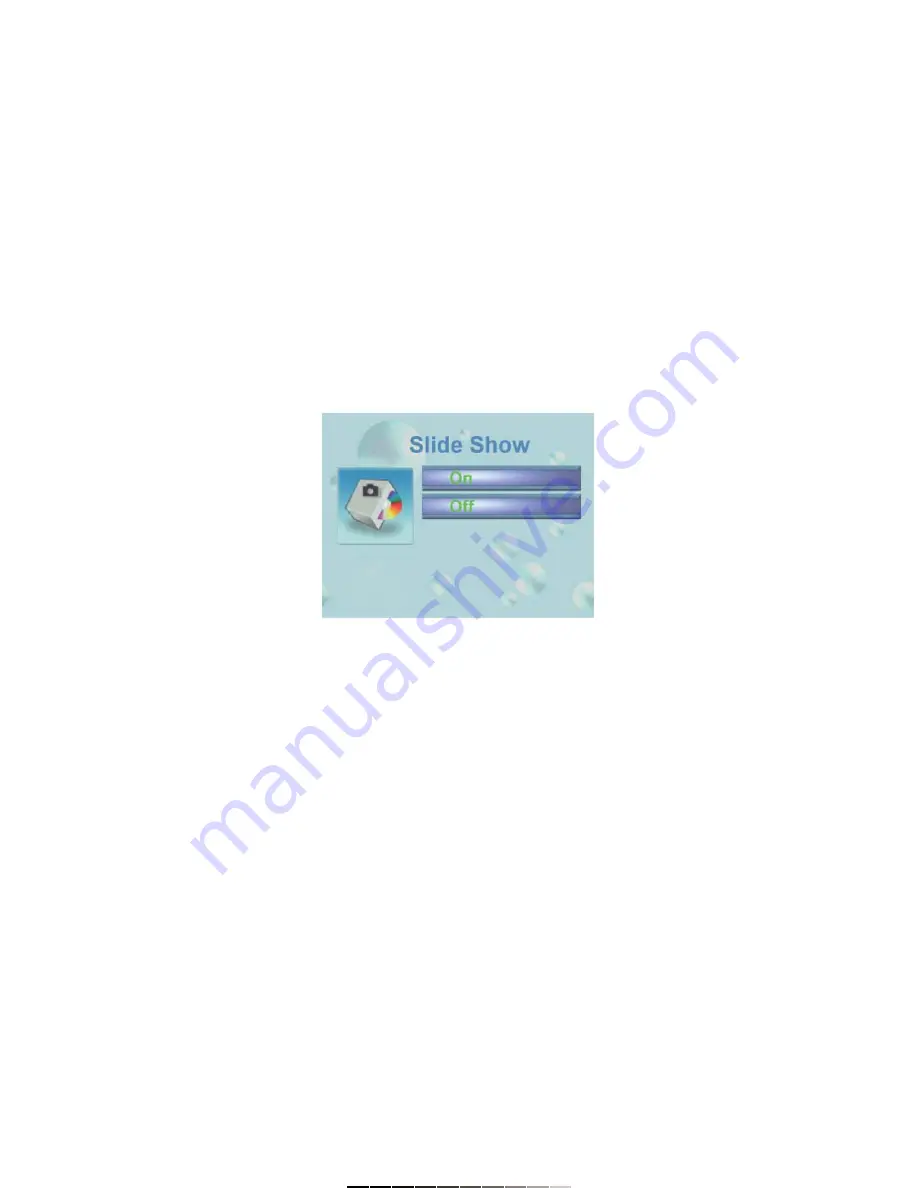
3.- Choose Slide Show option. Press ENTER (8) to set this function.
4.- If you want to activate the slide show function, choose On, otherwise, 
choose Off.
5.- Press Menu (10) button to back to playback mode. 
6.- Press any button to stop the slide show.

Note:

On slide show mode, only the first frame of each movie will be 
displayed.

DELETING PICTURES AND MOVIES

1.- Switch the On / Off (12) button to PLAY position. 
2.- Move the 5-way (8) button down to enter to thumbnail mode.
3.- Use the 5-way (8) button to choose the desired picture or movie that 
you want to delete. Move it to the left or right.
4.- Press Mode (9) button to choose the picture or video that you want to 
delete.

If you want to delete all the pictures and videos:

1.- Switch the On / Off (12) button to PLAY position. 
2.- Press Menu (10) button.
3.- Move the 5-way (8) button to the right to choose Memory settings. 
Press ENTER (8) to confirm.
4.- Choose Delete All option and press ENTER (8) to confirm the option.
5.- If you want to delete all the files, choose Yes and then press 
ENTER (8).
6.- If you don’t want to delete all the files on the card, choose NO and then 
press ENTER (8).

VOICE RECORDING

Use this function to record memos anytime, anywhere.

Summary of Contents for CAM-5000

Page 1: ...a DATOS DEL DISTRIBUIDOR DISTRIBUTION NOMBRE DISTRIBUIDOR ADDRESS DOMICILIO PRODUCT PRODUCTO BRAND MARCA MODEL MODELO SERIAL NUMBER No DE SERIE DATE OF DELIVERY FECHA DE ENTREGA Call Center Centro de Atención a Clientes del Interior 01 800 500 9000 Mexico City Cd de México 53 54 22 90 Warranty CONDITIONS 1 This warranty card with all the required information the invoice or purchase ticket the pack...

Page 2: ...ías En modo de vídeo y voz permite comenzar la grabación 9 Modo Permite cambiar entre modo de vídeo cámara y grabación de voz 10 Menú Permite entrar al modo de configuración de cámara INSTRUCTION MANUAL FOR 6 0 MEGAPIXEL DIGITAL CAMERA Model CAM 5000 Brand Steren Before using your new Digital Camera read this instruction manual to prevent any damage Put them away in a safe place for future referen...

Page 3: ...escena 4 Calidad de imagen 5 Tamaño de imagen 6 Balance de blancos 7 Nivel de batería 8 Fotografías restantes 9 Temporizador 10 Multi fotografía 11 Tarjeta SD en uso 12 Estado del zoom digital 11 In use LED Lights on when the equipment is in use 12 On Off Turns the equipment off switch to play and rec mode 13 USB port Allow one to connect the equipment to a computer through an USB port 14 Battery ...

Page 4: ...cione el idioma del proceso de instalación y presione Aceptar para continuar 4 En la pantalla de bienvenida presione Siguiente para continuar 5 Presione en el botón de Instalar para comenzar con el proceso de instalación 6 Presione Finalizar para concluir el proceso Voice recording 1 Voice mode 2 Battery level 3 Recording time remaining time 4 SD card inserted 5 File list 6 Current file 7 Recordin...

Page 5: ...ción Cal Imagen y seleccione la calidad de imagen deseado Presione ENTER para confirmar Utilice el botón de Selección 8 para realizar los ajustes 4 Presione el botón de Menú 10 para salir Note If the main installation window cannot displays search the SETUP EXE file on E unit if the letter E correspond to your CD ROM drive and run it To locate the setup exe file looks for the operating system fold...

Page 6: ...C 2 Presione el botón de Modo 9 una vez para entrar al modo de Captura de Fotografía 3 Presione el botón de Menú una vez utilice el botón de Selección 8 para seleccionar la opción de Conf Captura Presione ENTER 8 para confirmar The available picture sizes are 6M 2864 x 2152 4M 2048 x 1536 2M 1600 x 1200 1M 1024 x 768 To set the picture size 1 Press Menu 10 button 2 Choose Quality Settings option 3...

Page 7: ...ty Settings 3 Ubique y seleccione la opción Tamaño de película y seleccione una de las opciones de acuerdo a sus necesidades Presione ENTER para confirmar Utilice el botón de Selección 8 para realizar los ajustes 4 Presione el botón de Menú 10 para salir 4 Choose Flash settings option and press ENTER 8 to confirm 5 Choose one of the next options On enables the flash Off disables the flash Auto dep...

Page 8: ... All y presione ENTER 8 para confirmar 5 Si desea borrar todo seleccione la opción SI Yes y presione ENTER 8 6 Si no requiere borrar todos los archivos seleccione NO y presione ENTER 8 GRABACIÓN DE VOZ Utilice esta función para grabar memos en el momento que desee en el lugar donde lo necesite VIDEO AND PICTURES PLAYBACK 1 Switch the On Off 12 button to PLAY position The last picture or the last m...

Page 9: ...uar 9 Seleccione el país en el que se encuentra así como el tipo de sistema de vídeo que utiliza NTSC o PAL Presione Siguiente para continuar 10 Presione Siguiente en la dos ventanas posteriores a fin de comenzar con el proceso de instalación 11 Siga las instrucciones en caso de que se requiera instalar software adicional 12 Presione Finalizar para concluir con el proceso 1 Switch the On Off 12 bu...

Page 10: ...ón de otra función repita el proceso 6 Una vez que los procesos de instalación actualización han concluido podrá comenzar a utilizar su nueva cámara con su programa favorita de mensajería instantánea o de videoconferencia MASS STORAGE MEMORY Your digital camera can works as mass storage Then you can store data files music or pictures 1 Place de CD installation onto the CD ROM drive 2 Plug the came...

Page 11: ... you can store pictures videos and any other file on it MEMORY CARD CAPACITY Estimated maximum movie recording time Estimated maximum picture storage capacity Resolución Calidad Resolution Quality 640 x 480 Ultrafine 38 44 00 19 17 09 35 04 37 Superfine 39 29 00 19 39 09 46 04 43 Fine 42 33 00 21 11 10 32 05 05 Normal 43 41 00 21 45 10 49 05 13 320 x 240 Ultrafine 01 54 05 56 48 00 28 15 00 13 37 ...

Page 12: ...ción Trouble Solution El equipo no enciende Revise que la batería esta cargada y correctamente instalada Revise que el adaptador de corriente esta correctamente conectado Apagó Encendió de manera muy rápida la cámara Para encenderla espere unos segundos después de apagarla The camera can t turn on Check that the battery is fully charged and correctly installed Check that the AC power adaptor is co...

Reviews: