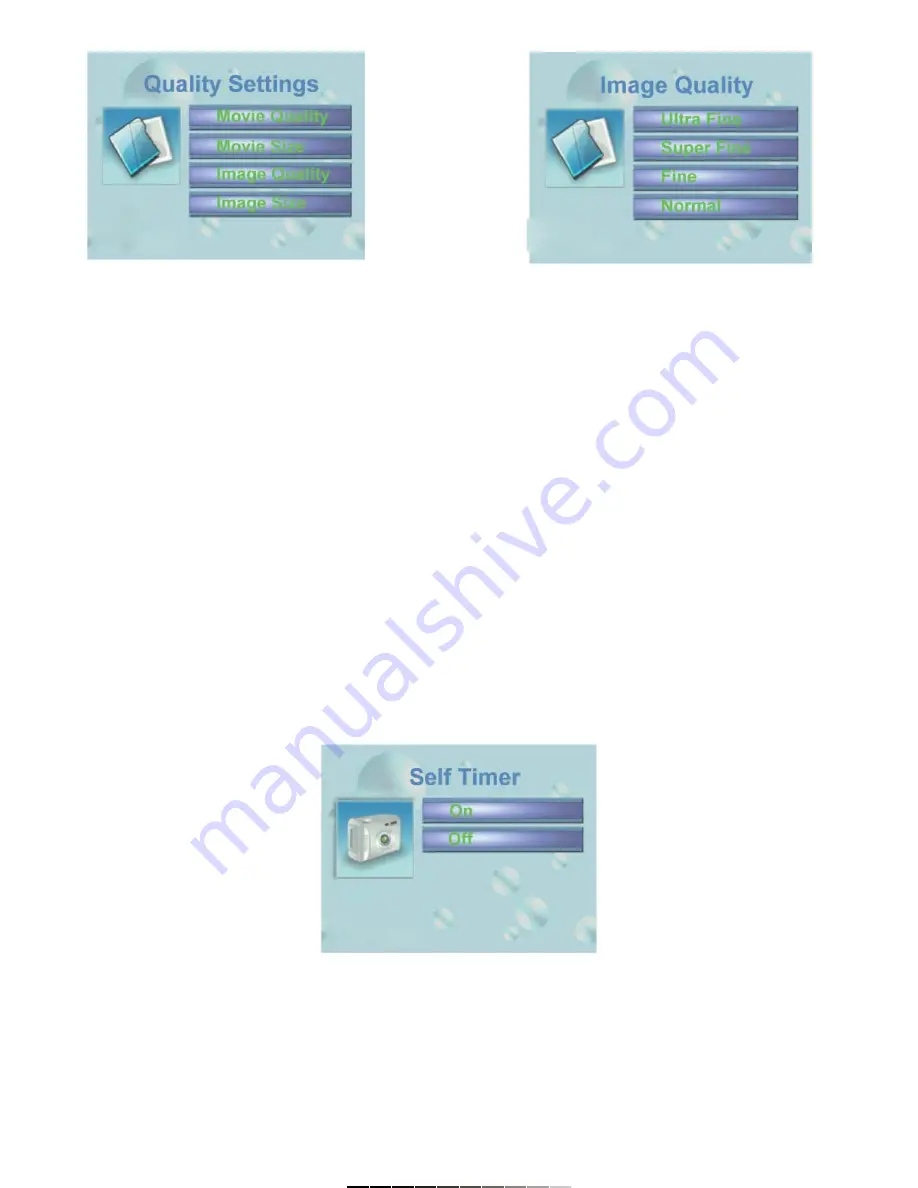
Los tamaños de imagen disponibles son:
(6M) 2864 x 2152
(4M) 2048 x 1536
(2M) 1600 x 1200
(1M) 1024 x 768
Para ajustar los tamaños de imagen:
1.- Presione el botón de Menú (10).
2.- Seleccione la opción Conf. de Calidad (Quality Settings).
3.- Ubique y seleccione la opción Tamaño de Imagen y seleccione el
tamaño de imagen deseado. Presione ENTER para confirmar. Utilice el
botón de Selección (8) para realizar los ajustes.
4.- Presione el botón de Menú (10) para salir.
AJUSTE DEL TEMPORIZADOR
Mediante esta función puede realizar una fotografía de forma automática
después de 10 segundos.
1.- Deslice el interruptor de Encendido / Apagado (12) a la posición de
REC.
2.- Presione el botón de Menú.
3.- Seleccione Ajustes de Captura y presione ENTER (8).
4.- Utilice el botón de selección (8) hacia arriba o abajo para activar (ON)
o desactivar (OFF) la función de temporizador. Presione ENTER (8) para
confirmar la opción.
5.- Presione el botón de Modo (9) para regresar al modo de Captura de
Fotografías.
6.- Presione el disparador (8) para comenzar con el temporizador.
7.- Ahora cuenta con 10 segundos antes de que se realice la fotografía.
USO DE FLASH
1.- Deslice el interruptor de Encendido / Apagado (12) a la posición de
REC.
2.- Presione el botón de Modo (9) una vez para entrar al modo de Captura
de Fotografía.
3.- Presione el botón de Menú una vez, utilice el botón de Selección (8)
para seleccionar la opción de Conf. Captura. Presione ENTER (8) para
confirmar.
The available picture sizes are:
(6M) 2864 x 2152
(4M) 2048 x 1536
(2M) 1600 x 1200
(1M) 1024 x 768
To set the picture size:
1.- Press Menu (10) button.
2.- Choose Quality Settings option.
3.- Locates and choose Image Size option and choose the desired picture
size. Press ENTER to confirm. Use the 5-way button (8) to make the
changes.
4.- Press Menu (10) button to exit.
SELF-TIMER SETTINGS
Use this function to take a picture using a countdown (you have 10
seconds before the picture will be taken).
1.- Slide the On / Off switch (12) to REC position.
2.- Press Menu button (10).
3.- Choose Capture settings and press ENTER (8) button.
4.- Move the 5-way button (8) up and down to activate (ON) or
deactivate (OFF) the self-timer function. Press ENTER (8) to confirm the
option.
5.- Press Mode (9) button to back to Picture Capture mode.
6.- Press ENTER (8) button to start the self-timer.
7.- Now, you will have 10 seconds before the camera take a picture.
USING THE FLASH
1.- Switch the On / Off (12) button to REC position.
2.- Press Mode (9) button once to enter to Picture Capture mode.
3.- Press Menu button once again, use 5-way (8) button to choose
Capture Settings option. Press ENTER (8) to confirm the option.


