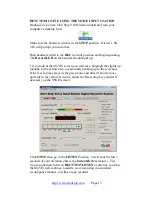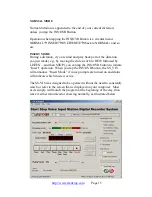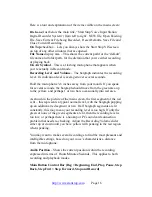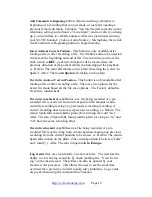
If you hold down the spring-loaded handset switch in the
REW
(rewind) position, your dictation will begin rewinding. Subsequently
going to the
LISTEN
position will let you play back from wherever
you stopped the Rewinding process.
If you go back to the
REC
position, your dictation will continue
appending onto the end of the current dictation.
Adjust Playback level if necessary, through the
Playing Volume
slider.
When you are ready to save your dictation, just click the
EOL
(End of
Letter) button on the handset. The dictation will be saved.
-If you haven’t selected a custom recording destination, your dictation
will be automatically saved to the factory default location,
“c:\Recordings”, and given a sequential file name.
You can fully customize the saving location and file name structure
(e.g. Sally Jones 0003.mp3) that you want, using the
Default…File
Save
Options
menu explained later in the manual.
-You can also manually name the file, by instead pressing Button
Number 1 on the Base Unit before making a recording.
Notes
:
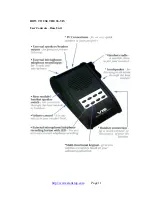
-You can select whether the audio playback comes out of the Base
Unit, or from the Handset itself, by sliding the
“Mic/Spkr”
switch
located on the left hand side of the base unit. The sound is generally
richer and louder from the base unit’s speaker, but the handset speaker
is preferred by some users who like the sound to come from the same
spot that they are dictating into.
-There is also another
Volume Control
on the base unit also adjusts the
overall volume of the SS-VIS base unit’s speaker. We recommend
leaving this control all the way up (to the left = loudest).
INS/OVR Button (Insert/Overwrite button)
This convenient feature lets you add new dictation or sentences into
something you’ve just dictated, or dictated previously.
http://www.startstop.com
Page 14


