Service Manual: E-TR and E-TRi
53
Fig 5
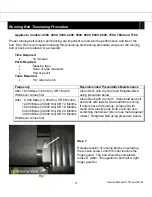
Step 4
Using a ruler or tape measure, draw a line on
each piece of tape parallel to each first line at a
distance of 3/8” (9.5mm) from each first line.
(See Fig 5)
Step 5
You are now ready to begin tensioning the belt.
Before beginning, make sure the line on each
piece of tape closest to the tail roller is aligned
with the edge of the deck on each side. (See Fig
5)
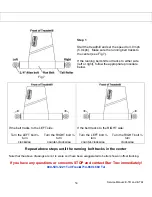
Fig 6
Step 6
Using the 1/4" Allen wrench begin tightening the
tensioning screws (see Fig 1). You will tighten
(or stretch) the run belt until the forward lines on
the tape are aligned with the edge of the deck.
Be careful to ensure the Tail Roller does not
turn while you are stretching the belt. If the
Tail Roller turns while you are stretching the
belt, start the procedure over. If the Tail
Roller turns while stretching the belt you will
not obtain proper tension.
When finished, remove the tape from the running
belt.
Summary of Contents for Pro Tread AC 7600
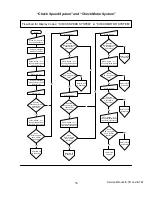
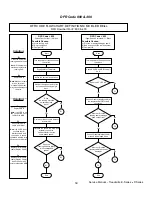
Page 47: ...Service Manual E TR and E TRi 45 SOFTWARE MCB...
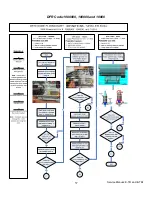
Page 59: ...Service Manual E TR and E TRi 57 DFR Code 1000000 100000 and 10000...
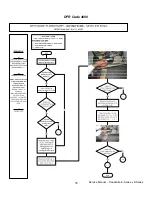
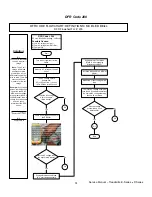
Page 60: ...Service Manual Treadmills E Series P Series 58 DFR Code 4000...
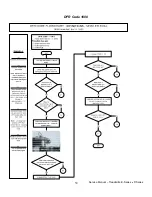
Page 61: ...Service Manual Treadmills E Series P Series 59 DFR Code 1000...
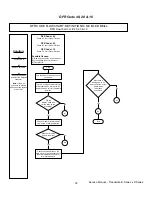
Page 65: ...Service Manual Treadmills E Series P Series 63 DFR Remaining Codes...
Page 67: ...Service Manual AC Pro Tread 7600 7700 65 This page intentionally left blank...

