Service Manual: E-TR and E-TRi
47
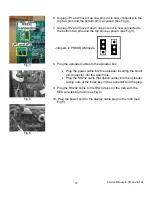
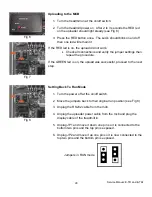
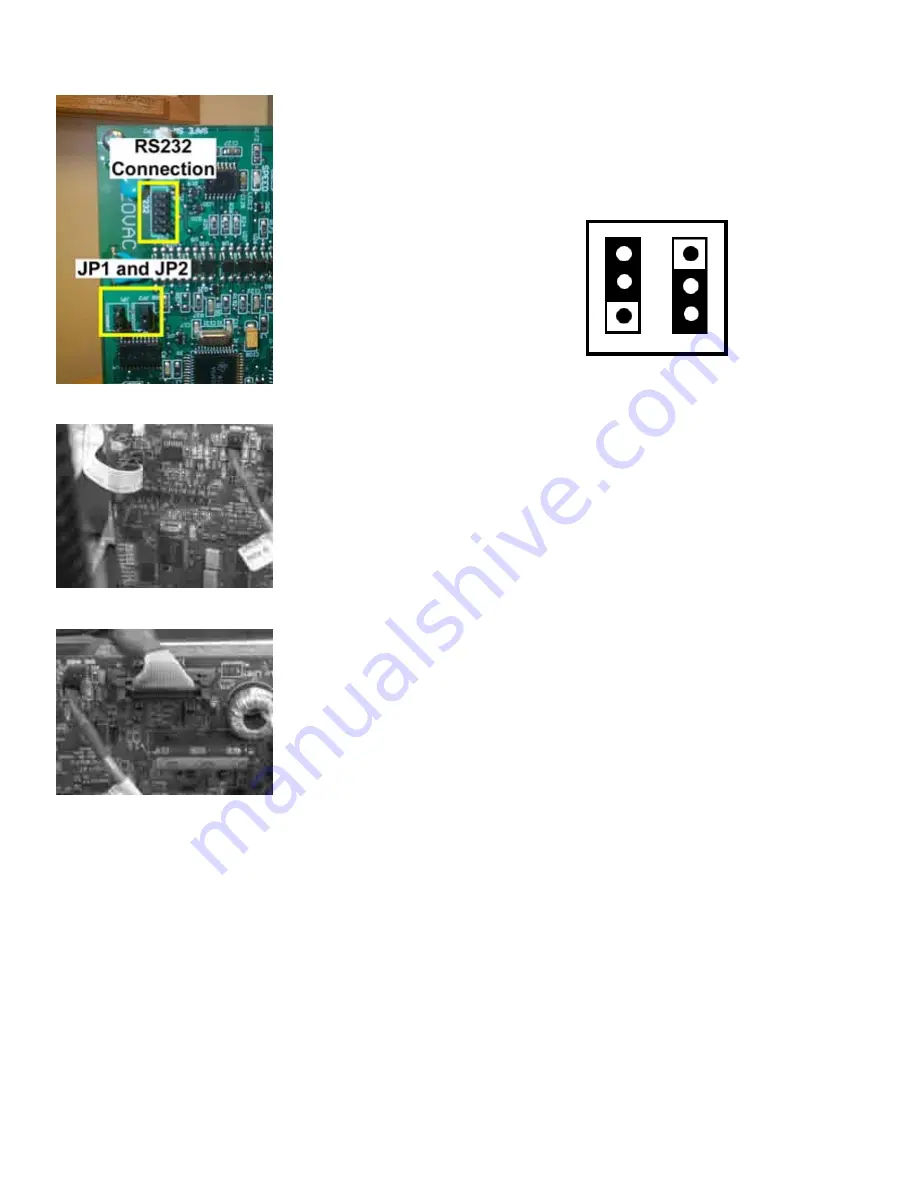
6. Unplug JP1 and move it up one pin so it is now connected to the
top two pins and the bottom pin is exposed (see Fig 3).
7. Unplug JP2 and move it down one pin so it is now connected to
the bottom two pins and the top pin is exposed (see Fig 3).
Jumpers in PROGRAM mode
Fig 3
Fig 4
Fig 5
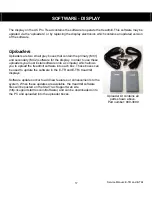
8. Plug the uploader cables to the uploader box:
•
Plug the power cable into the uploader inserting the small
pin connector into the small hole.
•
Plug the RS232 cable (flat ribbon cable) into the uploader
taking note of the index key in the connector and the plug.
9. Plug the RS232 cable to the RS232 pins on the mcb with the
RED wire facing down (see Fig 4).
10. Plug the power cord to the display cable plug on the mcb (see
Fig 5).
Summary of Contents for Pro Tread AC 7600
Page 47: ...Service Manual E TR and E TRi 45 SOFTWARE MCB...
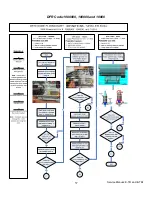
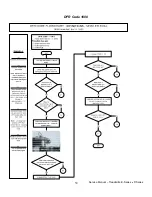
Page 59: ...Service Manual E TR and E TRi 57 DFR Code 1000000 100000 and 10000...
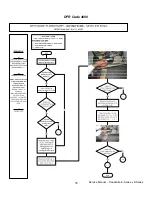
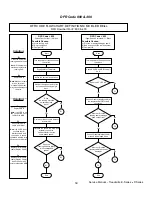
Page 60: ...Service Manual Treadmills E Series P Series 58 DFR Code 4000...
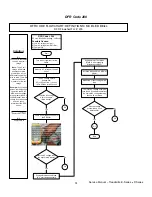
Page 61: ...Service Manual Treadmills E Series P Series 59 DFR Code 1000...
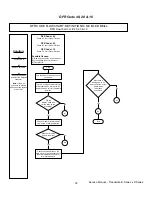
Page 65: ...Service Manual Treadmills E Series P Series 63 DFR Remaining Codes...
Page 67: ...Service Manual AC Pro Tread 7600 7700 65 This page intentionally left blank...

