Chapter 2: Getting Started
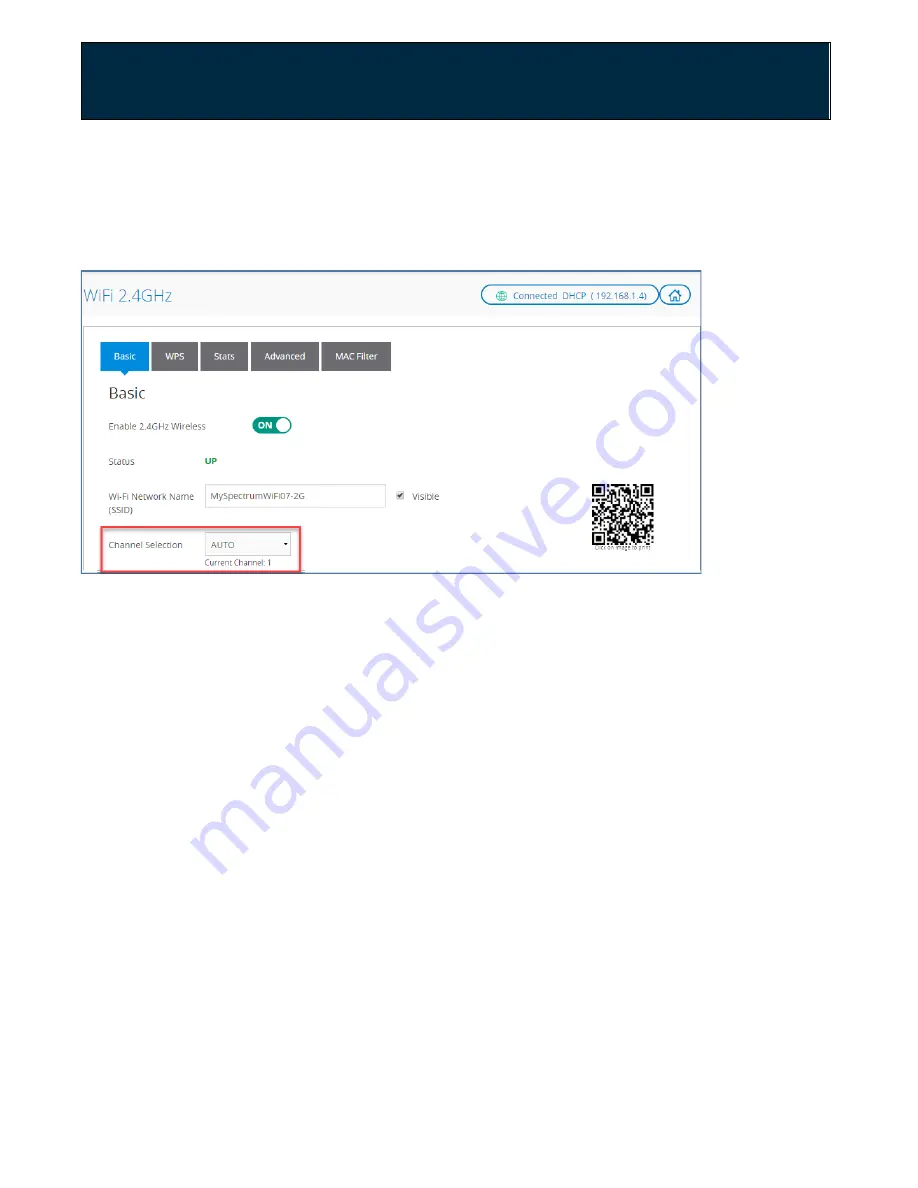
Change the WiFi Channel
You may want to change your WiFi network channel to avoid other WiFi networks
or interfering devices such as microwaves. If you select “Auto,” the router will
select the best available channel for your wireless network.
1.
Sign in to the web GUI.
2.
Select the network where you want to change the WiFi channel.
3.
In the Basic Tab, select the drop-down menu under Channel Selection then
select the channel you want to use.
4.
Click Apply.
Enabling WPS Push Button Pairing
WPS (WiFi Protected Setup) push button pairing provides an easy way to join
devices to your WiFi network with the push of a button. By default, WPS is
disabled. To enable it, follow the instructions below.
1.
Sign in to the web GUI.
2.
Select the network you want to configure. Enable WPS on both WiFi networks
to easily pair devices to either network using the WPS button.
3.
In the WPS Tab, slide the Enable WPS switch to
ON
.
4.
Under WPS Mode, select both Push Button and PIN defaults.
5.
Click Apply. The connection methods will display at the bottom of the screen.
User Guide Model RAC2V1S
21


