


91369 Service Manual
5-19
Troubleshooting
Battery Charger
To verify that a faulty charger exists on the CPU PCBA, do the following:
1 Install a known good, fully discharged battery.
2 Power the monitor from the AC power supply and switch the monitor OFF. If the front panel battery LED
does not blink, replace the CPU PCBA.
3 Let the battery cycle through a complete charge (90-120 minutes with monitor OFF).
Note:
The indicated time is for NiMH batteries only.
4 Check the front panel battery LED. It should be ON and not blinking. If not, replace the CPU PCBA. (Also,
if the LED blinks for more than an hour, the charger is likely faulty).
Recorder
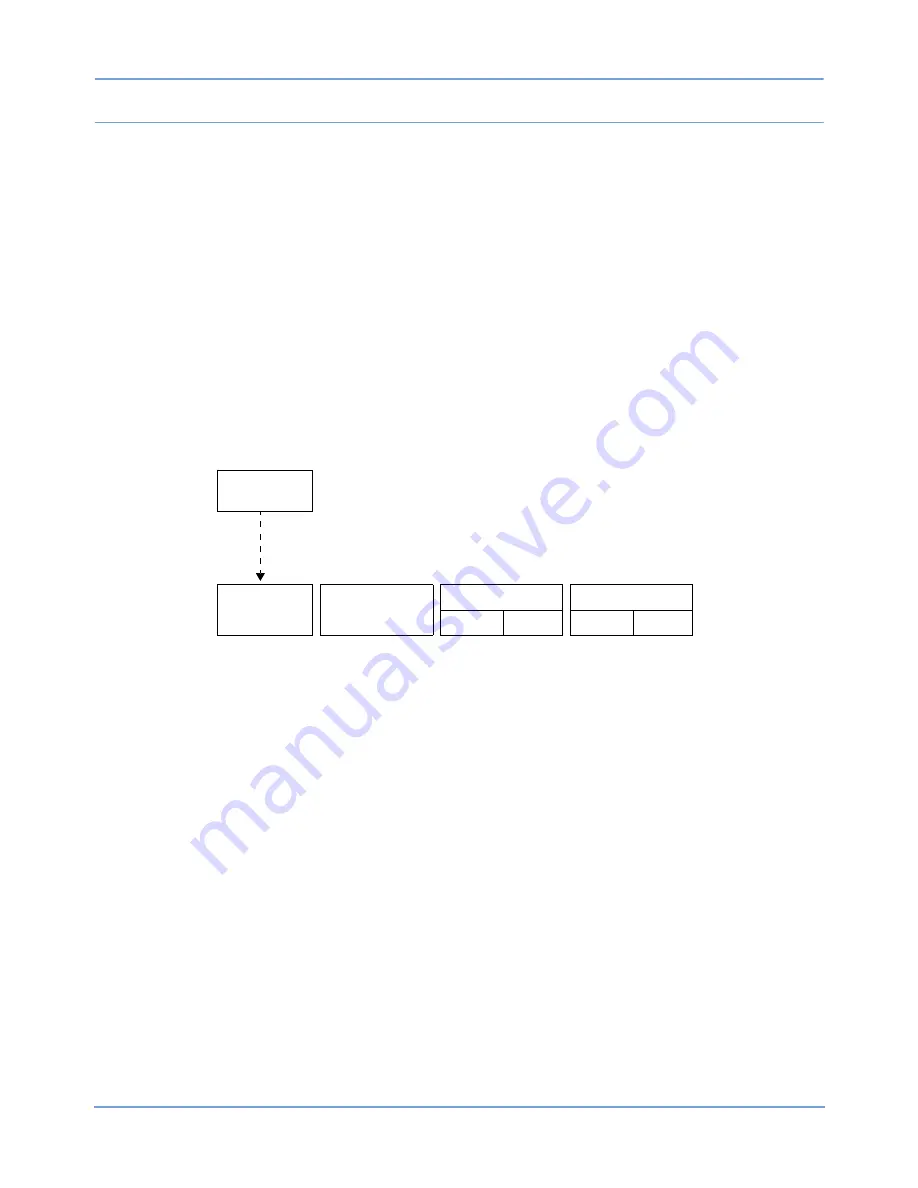
Figure 5-9: Printer Controls menu
The optional recorder downloads the printer control keys after it signs onto the SDLC bus. All of the printer
control keys are initially inactive. The PRINTER ON/OFF key becomes active only if the recorder signs onto
the SDLC bus with both an alive packet and on-line packet. If there is some failure in this process, the
PRINTER ON/OFF key remains inactive. If this key is active and later becomes inactive, then a failure has
deleted the recorder module from the SDLC bus.
At power-ON, LED D2 on the recorder CPU PCBA (located under the recorder assembly) will be ON. As the
recorder executes its diagnostics, the LED will light ON and OFF with successive tests. If all diagnostics pass,
the recorder will sign on to the SDLC link with the LED OFF. If a diagnostic error occurs, the LED is left ON or
flashing.
PRINTER
CONTROLS
STOP
RECORDING
CONVERT TO
CONTINUOUS
SLOW
PRINTER
ON
OFF
ON
OFF


