30
2
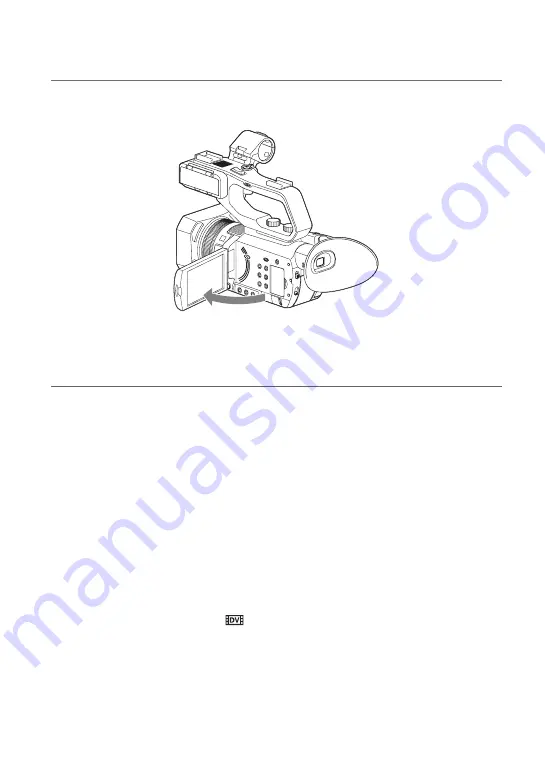
Open the LCD screen, and press the START/STOP button (or the handle
record button) to start recording.
The recording lamps light up during recording.
To stop the movie recording, press the START/STOP button or the handle record button
again.
b
Notes
• When [AUTO] is selected in the [MIC SELECT] menu and the XLR handle unit is connected to the
camcorder without a microphone attached to the INPUT1 and INPUT2 jacks, the internal microphone is
not selected and no audio is recorded. In this case, select [INT MIC]. Refer to page 92.
• When the access lamp is lit or flashing in red, your camcorder is reading or writing data on recording
media. Do not shake or apply strong force to your camcorder, do not turn the power off, and do not
remove the recording media, battery pack or the AC Adaptor. The image data may be destroyed.
• See page 114 on the recording time of movies.
• If a movie file size exceeds 2 GB while recording in DV or AVCHD format, the camcorder automatically
divides the file and creates a new one.
• The menu settings, picture profile settings, and settings made using the AUTO/MANUAL switch are
saved when you close the LCD screen and turn off the camcorder. The POWER/CHG lamp flashes while
the settings are being stored.
z
Tips
• When recording at a setting other than DV, the aspect ratio is fixed to 16:9. When recording in DV mode,
you can switch the aspect ratio to 4:3 ([
WIDE REC], p. 90).
• You can change the screen display during recording (p. 71).
• Indicators displayed on the LCD screen during recording are shown on page 13.
• The recording lamps can be set to stay off ([REC LAMP], p. 101).
Recording (Continued)


