10
Installation and Connection
Installing
Install the unit on a level surface, such as a desktop.
If, unavoidably, you need to mount the unit on an
inclined surface, mount the unit using the mounting
screw holes on the bottom panel to prevent the unit from
falling.
• Cables may catch on the connector shell of other
cables connected to adjacent connectors and not be
connected properly, depending on the cables used.
Check that the cables can be used with the unit
beforehand.
• Mount the unit so that no strong force is applied to the
cables connected to the unit. Cables may be pulled out
or the unit may malfunction.
• Notes about temperature rise of the unit
– The unit may become hot during use. This is not a
malfunction.
– Avoid use where the unit is in direct contact with
exposed skin for extended periods.
– The temperature rise may occur quickly in high-
temperature environments.
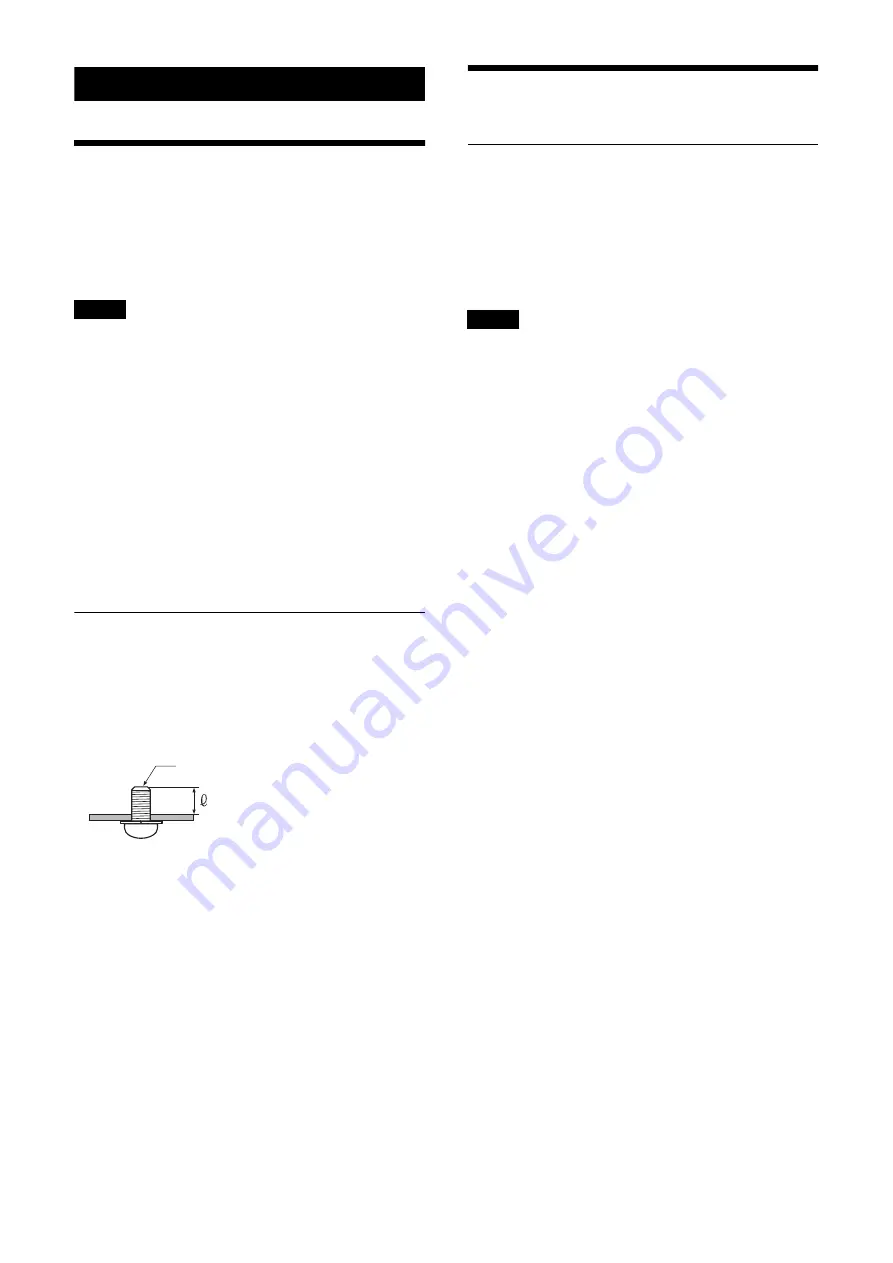
Mounting using mounting screws
Attach the unit using the four mounting holes (for M3
screws) on the bottom panel. Use M3 screws that meet
the following criteria. Attach the unit with the screws
against a flat surface, without ridges or undulations, and
tighten securely.
4
= 3 mm to 8 mm
Connecting
Connecting to AC power supply
Connect to the AC power supply using an AC adapter
(not supplied) and power cord.
The POWER LED lights green when power is supplied.
After the unit has powered up, the STATUS LED lights
green when access from a web browser becomes
enabled.
• For details about supported AC adapters (not
supplied), contact your distributor. Use of other AC
adapters may cause a fire or malfunction.
• Connect the power supply to the unit only after
powering on the other peripheral devices.
Notes
M3 screw
Notes


