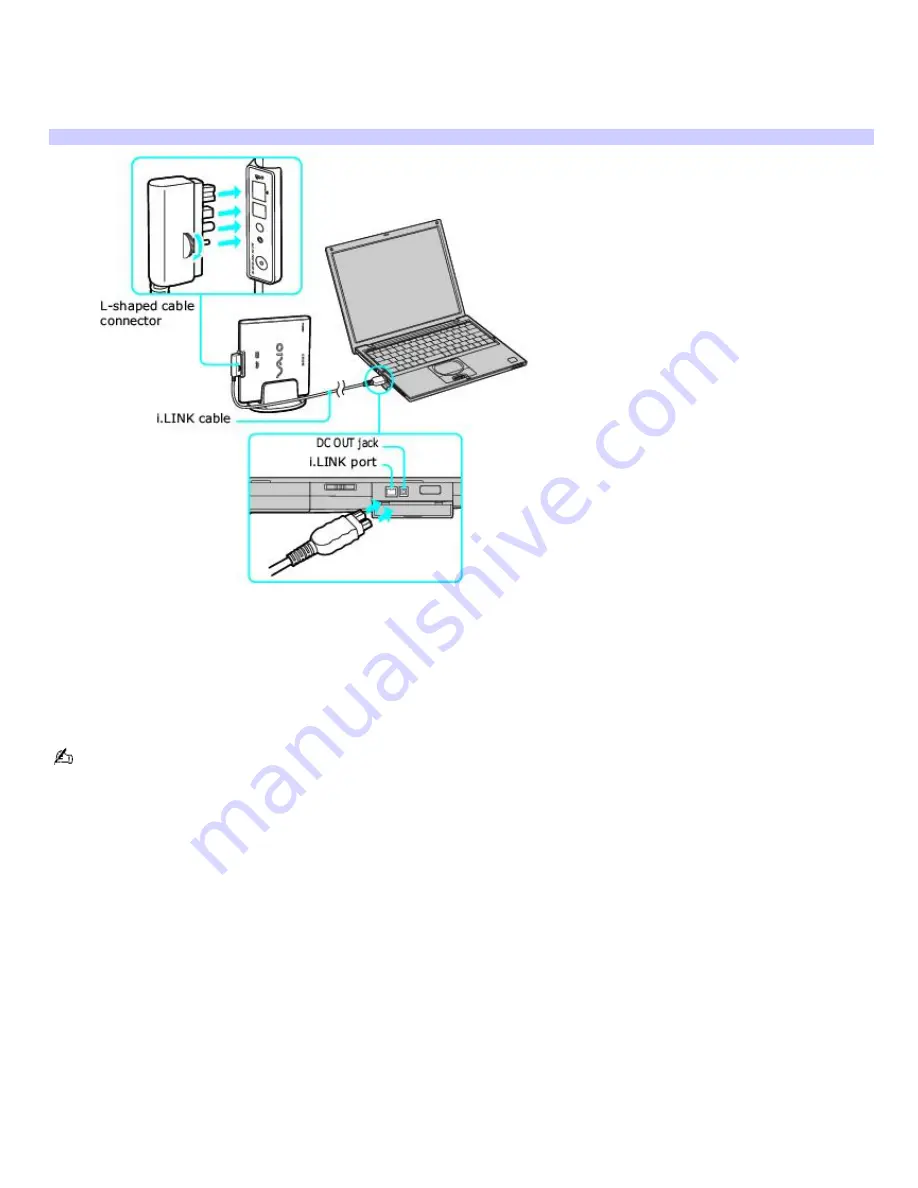
To connect an i.LINK optical disc drive
1.
Before connecting this drive, close any active applications to help prevent data loss.
2.
Insert the L-shaped connector of the peripheral cable (supplied with the i.LINK drive) into the matching jack on
the i.LINK drive. Secure the connector by turning the LOCK device clockwise.
Connecting i.LINK optical disc driv e
3.
Insert the straight-shaped, two-prong connector of the peripheral cable into both the computer's i.LINK port and
DC OUT jack.
4.
The i.LINK drive's power indicator lights up, and the computer automatically detects and identifies the connected
drive.
5.
Click Start on the Windows
®
operating system taskbar, and select My Computer to verify that an icon for the
i.LINK optical disc drive was added in the window.
The Sony i.LINK optical disc drive is compatible only with certain Sony VAIO
®
PCG series computers preinstalled with
Microsoft
®
Windows
®
XP Home Edition or Professional.
Page 52


