GB
3
Place the supplied CD-ROM
“Content Management Utility” in
the disc drive of your computer.
The installation screen appears.
If the screen does not appear, click
[Start]
[Computer] (in Windows
XP, [My Computer]), then double-click
[SONYCMU(E:)] (CD-ROM).
4
Select the language for the
application to be installed, then
click [OK].
5
When the install wizard screen
appears, click [Next].
6
Confirm the license agreement,
and if you accept the terms,
select [I accept the terms in the
license agreement], then click
[OK].
7
Select the drive or folder to
install the application, then click
[Next].
8
Select the option to create the
desk-top shortcut, then click
[Next].
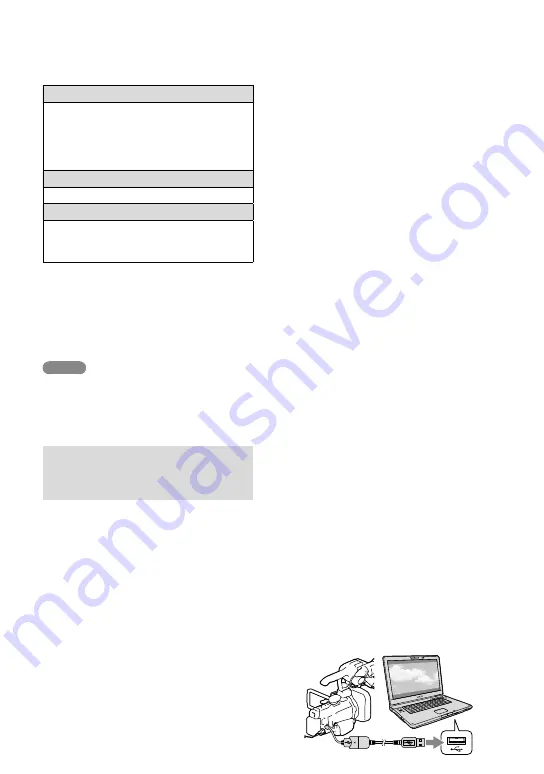
9
Turn on your camcorder, then
connect the camcorder to the
computer using the supplied
USB cable.
Hard disk
Disk volume required for installation:
Approximately 100 MB
Only the NTFS or exFAT file system can be
used to import or register videos for viewing
to a hard disk.
Display
Minimum 1,024 × 768 dots
Others
USB port (this must be provided as standard,
High-Speed USB (USB 2.0 compatible)) (CD-
ROM drive is necessary for installation)
*
1
Standard installation is required. Operation is
not assured if the OS has been upgraded or in
a multi-boot environment.
*
2
64-bit editions and Starter (Edition) are not
supported.
*
3
Starter (Edition) is not supported.
Notes
Operation with all computer environments is
not assured.
The supplied software “Content Management
Utility” is not supported by Macintosh
computers.
Step 2 Installing the supplied
software “Content Management
Utility”
Install “Content Management Utility”
before connecting your camcorder to a
computer.
1
Confirm that your camcorder is
not connected to the computer.
2
Turn on the computer.
Log on as an Administrator for
installation.
Close all applications running on the
computer before installing the software.


