13
Adjusting the picture
Additional TV Features
Although the picture is adjusted at the factory, you can modify it to suit your own taste.
1
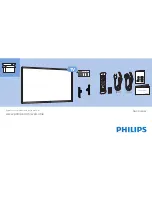
Press the MENU button on the remote control to display
the menu on the TV screen.
2
Move the OK button on the remote control DOWN to
select the
symbol on the menu screen then move RIGHT
to enter the ‘PICTURE CONTROL’ menu on the TV screen.
3
Move the OK button UP or DOWN to select the item on
the screen you wish to adjust. For a description of the
menu items and their effects, see the following table.
4
Move the OK button RIGHT to highlight the settings.
5
Adjust the setting by moving the OK button UP, DOWN,
LEFT or RIGHT.
6
As soon as you have adjusted the item, press the OK
button to store the new setting.
7
Repeat steps 3-6 to adjust the other items.
8
Press the MENU button to remove the display from the
TV screen.
Screen Position
SCREEN MODE
Screen Mode
[zoom ]
[ 0 ]
Strobe
Auto 16:9
Correction
[on]
[off]
Screen Position
SCREEN MODE
Screen Mode
[zoom ]
[ 0 ]
Strobe
Auto 16:9
Correction
[on]
[off]
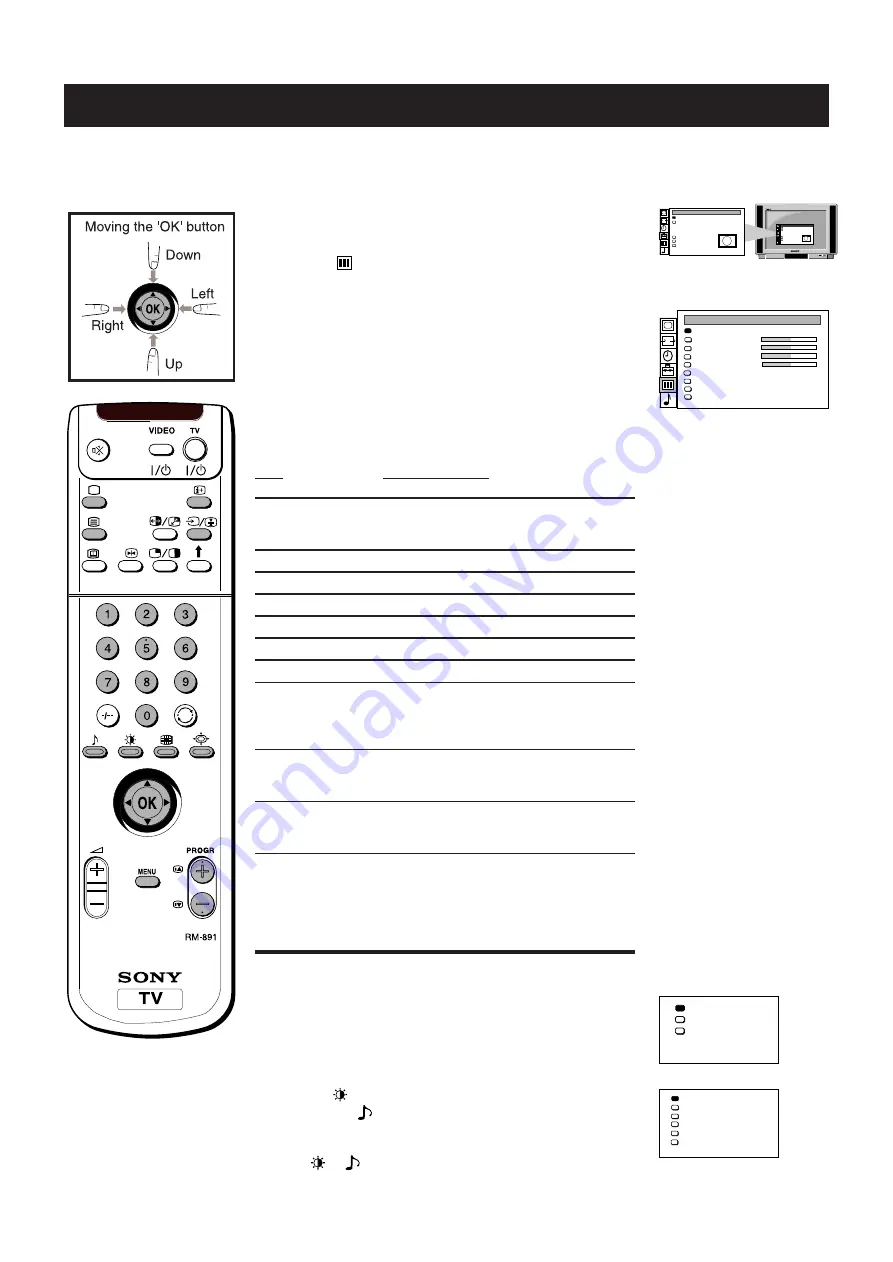
Contrast
Brightness
Colour
Sharpness
Reset
Noise Reduction
AI
100 Hz Mode
PICTURE CONTROL
Picture Mode
[Personal]
[off]
[2 ]
. . . . . . . . .
. . . . . . . . .
. . . . . . . . .
. . . . . . . . .
[off]
Item
Operation/Effect
Picture Mode
$
Personal (for individual settings)
Movie (for films)
4
Live (for live broadcasts)
Contrast
“
Less
”
More
Brightness*
“
Darker
”
Brighter
Colour*
“
Less
”
More
Hue**
“
Greenish
”
Reddish
Sharpness*
“
Softer
”
Sharper
Reset
Resets picture to factory preset levels
AI
$
Off: normal
(Artificial Intelligence)
4
On: automatic optimization of
contrast level according to the TV
signal.
Noise Reduction***
$
Off: normal
4
On: reduces picture noise in case of a
weak broadcast signal.
100 Hz Mode
$
1: normal
4
2: Line Flicker Reduction off.
* Only if you select ‘Personal’ in ‘Picture Mode’.
**Available for NTSC colour system only.
***Available when viewing analogue channels only.
Changing Picture and Sound Modes
Quickly
You can quickly change the Picture Mode or the Equalizer
Mode without entering the ‘PICTURE CONTROL’ or the
‘SOUND CONTROL’ menu screens.
1
Press the
symbol on the remote control for picture
modes or the
symbol for equalizer modes.
2
Move the OK button on the remote control UP or DOWN to
select the desired mode.
3
Press
or
again to remove the display from the TV
screen.
Live
Personal
Movie
Personal
Vocal
Jazz
Rock
Pop
Flat