


HVR-DR60
6-7
(2) Confirm that a new drive name is displayed on the PC.
The name appeared differs depending on the PC.
(3) Double-click “HDD_check.exe” copied to the PC.
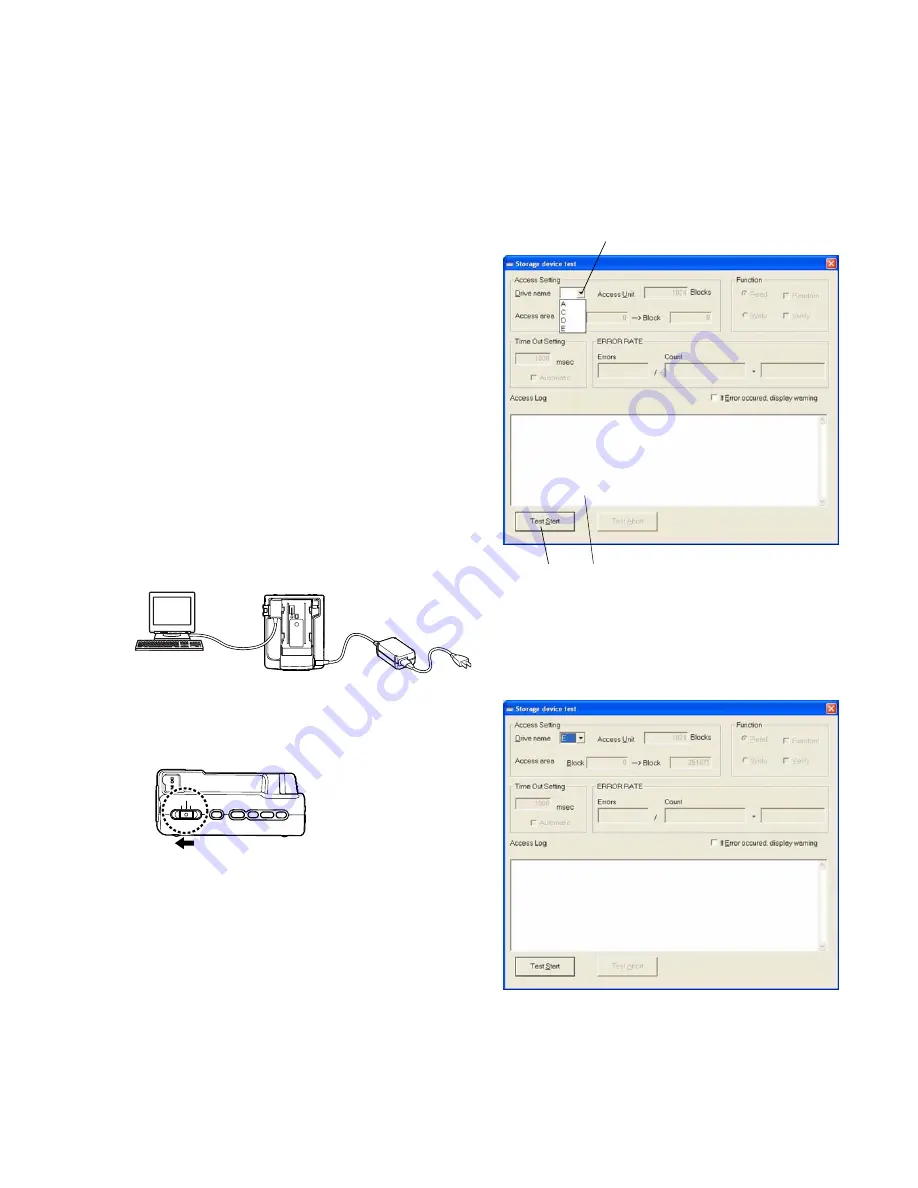
(4) The “Storage device test” window appears.
Select the drive name added to the PC.
Note:
Be sure to select the new drive added to the PC since
the existing ones are also appeared in the pul-down
list.
Fig. 6-4-3
1
Select Drive name of HVR-DR60 connected to PC.
2
Display Access Log at the time of program execution.
3
The start button of test program.
(5) Click “Test Start”.
Fig. 6-4-4
AC adapter
HVR-DR60
i.LINK cable
PC
POWER
COMPUTER
VIDEO
6-4. HDD Check
Perform the factory check of HDD.
Confirmation condition: Only when a HDD is replaced.
Jig specified:
• PC (with IEEE1394 terminal and driver exclu-
sive for HVR-DR60 adjustment/confirmation in-
stalled)
• iLINK cable
• AC adapter
Adjustment Inspection Procedure
1. Format the HDD.
(1) Set the Power (mode selector) SW to VIDEO.
(2) Press the MENU button.
The MAIN MENU appears on the LCD of HVR unit.
(3) Press the FF button on the HVR unit to set the cursor to DE-
LETE.
(4) Press the PLAY button to perform DELETE.
(5) Press the FF button to set the cursor to FORMAT.
(6) Press the PLAY button to perform FORMAT.
(7) Press the FF button to set the cursor to OK.
(8) Press the PLAY button.
Formatting starts.
(9) When “Complete” appears on the LCD, press the STOP but-
ton.
If “270min” appears on the LCD, formatting completes.
2. Check the HDD, using the HVR-DR60 check software.
Check Software Name: HDD_check.exe
Connection
Fig. 6-4-1
Procedures
(1) Slide the POWER switch of HVR-DR60 unit to “COM-
PUTER”.
Fig. 6-4-2
1
3
2


