


1-30
CSPK-5000E
Configuring the System
Setting the synchronization mode
The CSP-5000E System Controller supports both line
lock and VD-S. If a Sony VD-S lock camera is
installed, you can turn on the VD setting to enable
external syncronization.
1
From the main menu, select “INPUT
CONFIGURE” and then press the SET key.
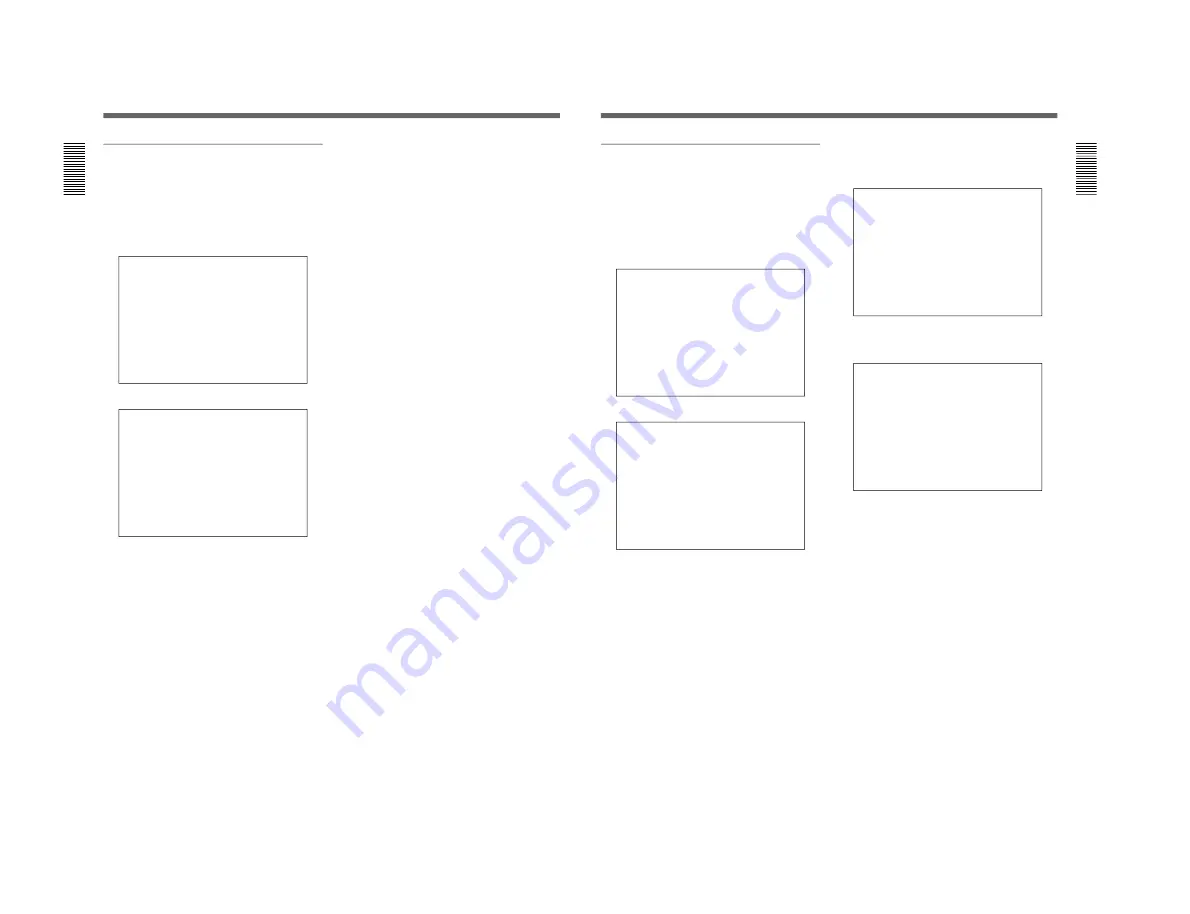
INPUT CONFIGURE
→
SOURCE ID
CABLE COMPENSATION
RECEIVER TYPE
VD
P/T LIMIT
2
Select “VD” and then press the SET key.
VD
CAM TYPE
→
1 OFF
2 OFF
3 OFF
4 OFF
5 OFF
6 OFF
7 OFF
8 OFF
3
Select a camera number. If necessary, press the
NEXT or PREVIOUS key to see other pages.
4
Use the cursor keys to cycle through the options:
OFF, and ON. Select “ON” for a Sony VD-S lock
camera.
5
Repeat the same procedure with other cameras.
When you are ready, press the SET key to accept
the changes.
32(EN)
Limiting the pan/tilt unit movement
Depending on the receiver used, you can use the “P/T
LIMIT” setting to limit the pan/tilt unit movement in
horizontal and vertical directions.
This is available only when the receiver type of the
camera is “TWIST PAIR.”
1
From the main menu, select “INPUT COFIGURE”
and then press the SET key.
INPUT CONFIGURE
→
SOURCE ID
CABLE COMPENSATION
RECEIVER TYPE
VD
P/T LIMIT
2
Select “P/T LIMIT” and then press the SET key.
P/T LIMIT
SELECT RECEIVER NO.
→
1 9 17 25
2 10 18 26
3 11 19 27
4 12 20 28
5 13 21 29
6 14 22 30
7 15 23 31
8 16 24 32
Note that only the receiver numbers whose
“RECEIVER TYPE” is set to “TWIST PAIR” in
the RECEIVER TYPE menu.
3
Select a receiver number. If necessary, press the
NEXT or PREVIOUS key to see other pages.
Then press the SET key.
P/T LIMIT
→
LEFT
RIGHT
UP
DOWN
CLEAR
4
Use the cursor keys to select the direction you
want to limit (RIGHT LIMIT in this example) and
then press the SET key.
RIGHT LIMIT SETTING
5
Use the joyball to control the pan/tilt unit so that
the camera moves to the rightmost position where
you want to limit the movement.
6
Press the SET key.
7
Repeat the above procedure to limit the movement
in other directions.
To clear the limit in all directions
Select “CLEAR” in step 4 and then press the SET key.
33(EN)