4
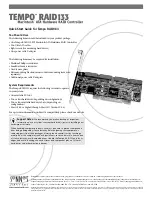
Quick Start Guide for Tempo RAID133
10.
Route the Ultra ATA cables to the Tempo RAID133 card; avoid
the processor’s heat sink and make sure the cables will not get
crushed or pinched by any part of the case when the computer is
reassembled.
11.
Attach the Ultra ATA cables’ host (blue) connectors to the
Tempo RAID133.
12.
Check the cable connections;
make sure all cables are prop-
erly connected to the Tempo RAID133 and the hard drives
.
Drive Formatting: Mac OS 8.5 through 9.x
This section covers the process of formatting the hard drives attached
to the Tempo RAID133 using Apple’s Drive Setup utility under Mac
OS 8.5 through 9.x. (The Drive Setup application is installed during
the Mac OS installation process and is usually located in the Utilities
folder on the hard drive containing your active System Folder.) If
you want to format your drives under Mac OS X, skip to “Drive
Formatting: Mac OS X” on page 5.
1.
Turn on your computer.
2.
Initialize (format) each of the drives attached to the Tempo
RAID133 with Drive Setup
(Figure 7)
. For drives larger than 2
Gigabytes, format them as Mac OS Extended (HFS+) to take full
advantage of their storage capacity.
3.
Shut down the computer.
4.
Move DIP switch 2 on the Tempo RAID133 to ON to select the
striping mode
(Figure 8)
.
5.
If you removed the card to move the DIP switches, verify the
card is seated fi rmly in the slot.
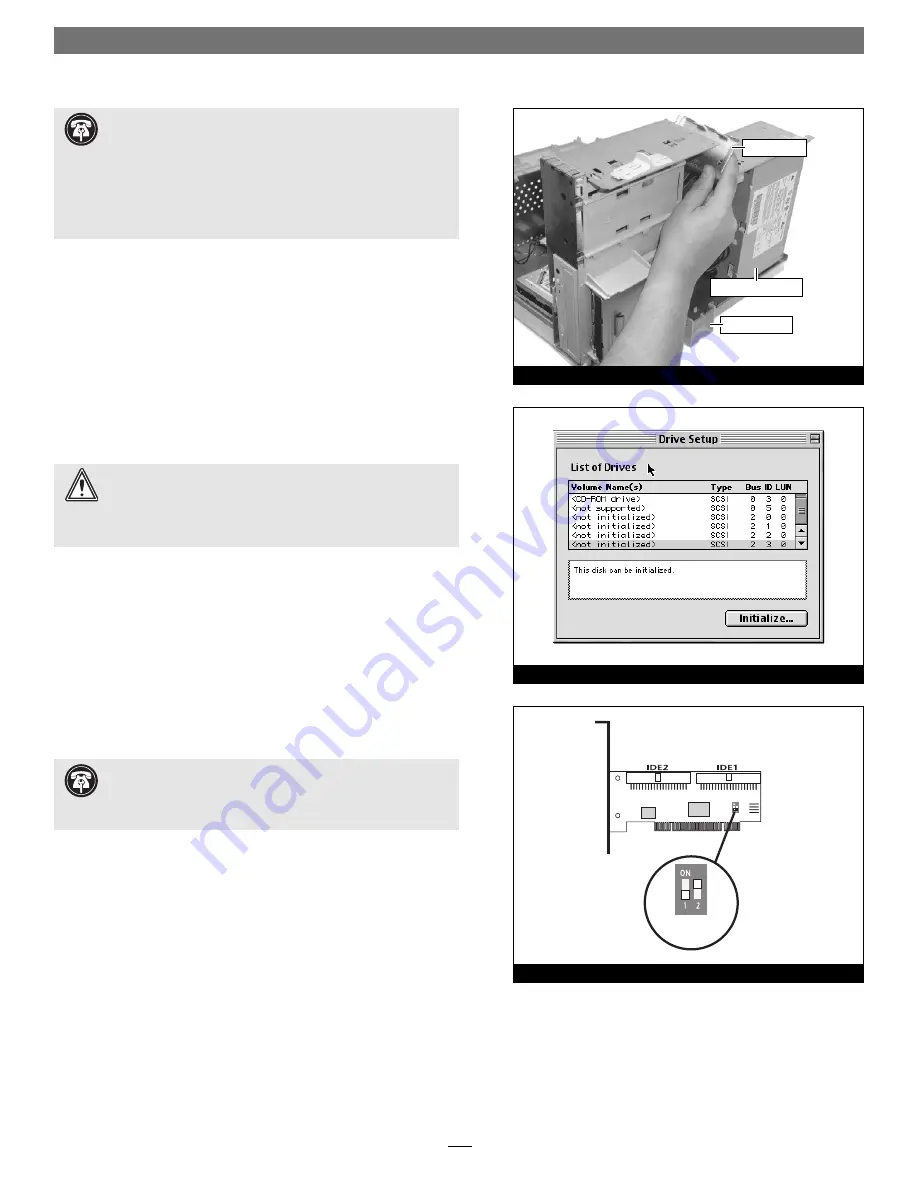
Support Note:
Power Macintosh G3 Desktop users must
remove the access panel on the main chassis to route the Ultra
ATA cables from the drives to the Tempo RAID133 card. You may need
tools to perform this procedure. To remove the access panel, first unlock
and tilt up the internal assembly; remember to lower the assembly
support stand. Next, firmly twist the top edge of the panel forward
toward the power supply, then lift the panel out
(Figure 6)
. Save the
panel in case you ever need to use it again.
WARNING:
Hard drives attached to the Tempo RAID133 will
not mount (appear on the desktop) until they have been for-
matted; this includes drives with data on them, previously used in
other computers. Please be aware that formatting a drive erases any
data present.
Support Note:
IDE hard drives attached to the Tempo
RAID133 will register as a SCSI devices to the computer. For
example, in
Figure 7
the newly installed hard drives show up as <not
initialized> under Volume Name(s) and SCSI under Type.
Figure 6
Tempo RAID133 Macintosh
ATA Hardware RAID Controller
striping
mode
Figure 8
Figure 7
access panel
support stand
power supply case


