8
Calibrate the Solidator
1.
Remove the black acrylic sheet that is in the place the resin container will be mounted.
2.
Attach the printing platform to the Z-Axis using the knob-screws. Make sure the label is
pointing to the front.
3.
Position the resin container in the machine with the resin container label to the front. The
label indicates the correct direction of the resin container. The label must be in the front! This
is very important and must never be done wrong!
4.
Turn on the Solidator using the power switch. A green LED on the power unit should light up.
5.
Within 15 seconds, the Solidator logo should be displayed on the touch screen.
6.
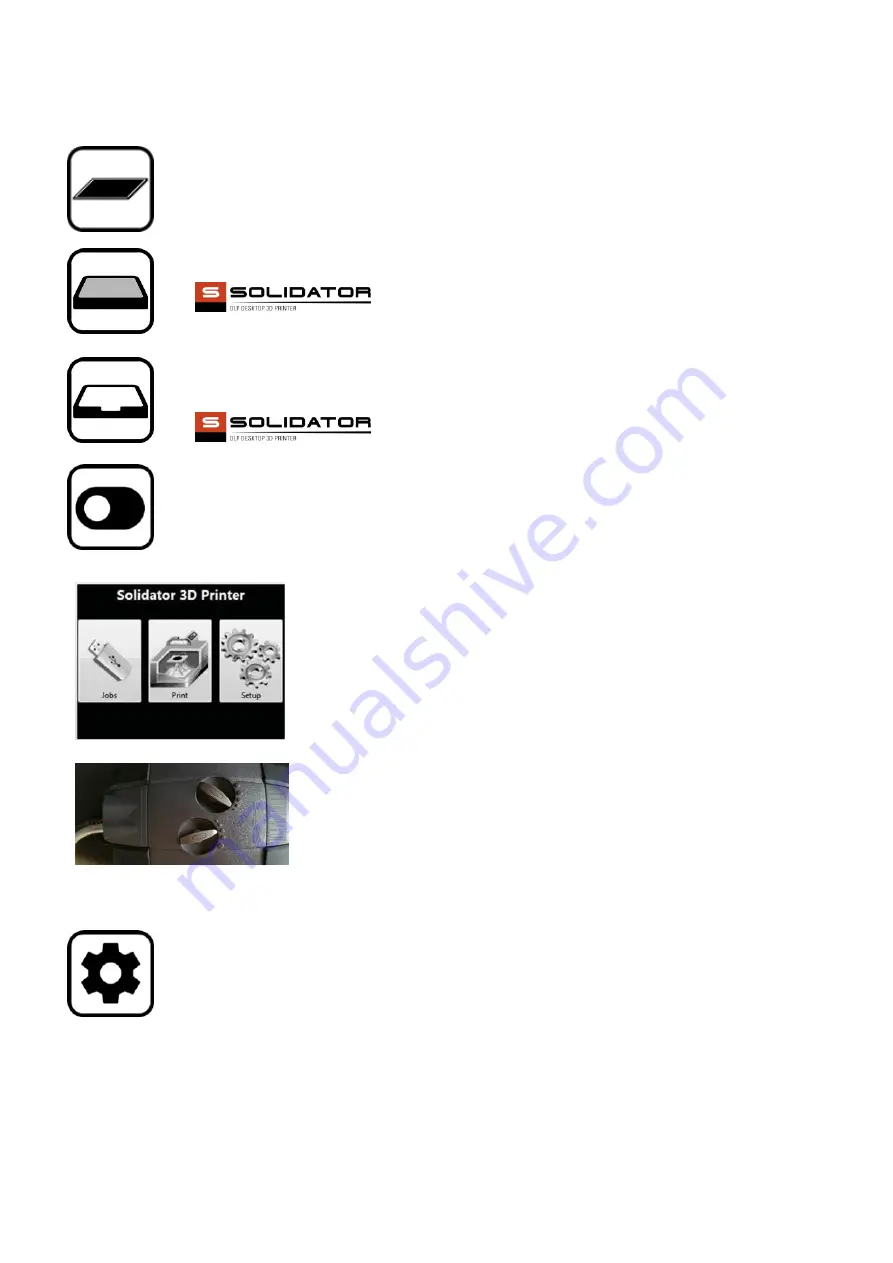
Following another 45 seconds, you should see the following screen:
If instead you see an error message reading, Calibration Data Mismatch,
please ensure the USB cable on the backside is properly connected. You will
recognize that the WiFi adapter starts blinking blue once connected
correctly. If fixed, just turn off and on again.
IMPORTANT:
Please make sure the pump is set to
3
points where the tube is connected.
Also make sure where nothing is connected the setting is 1.
7.
Select the Setup → calibrate → projector option. This will start the projector and display a
calibration pattern in red. Place the calibration board on top, and check whether the displayed
pattern matches the size of the calibration board outer lines.
If the size or focus is not correct, use the Zoom wheel and the Focus wheel to adjust the
projection. Then remove the calibration board again.
Note:
You can remove the the semi-transparent cover of the zoom and focus wheel and stick it
back after calibration again.
(ii)
If the projector is not turning on, please ensure the projector is connected to power which is
indicated by the red LED if so and also ensure the RS232 cable is connected on both sides.
Summary of Contents for 1.0
Page 1: ...SOLIDATOR DLP DESKTOP 3D PRINTER USER MANUAL ...
Page 17: ...17 ...


