23
E25 / E35 ELLIPTICAL
POWER UP
When power is connected to the Elliptical the console will automatically power up. These
models are connected directly to 115 VAC and there is a power switch located where the line
cord plugs into the unit on the left side near the front (See page 4 for location).
rst powered on, the console will perform an internal self-test. During this time all the
, the dot matrix display will show a software version
(i.e.: VER 1.0) and the message window will display an odometer reading. The odometer reading
displays how many hours the elliptical has been used and how many virtual miles the elliptical
has gone. The time in hours will be to the left and the odometer in miles will be displayed to the
right.
The odometer will remain displayed for only a few seconds then the console will go to the start
les and
the message window will be scrolling the start up message. You may now begin to use the
console.
CONSOLE OPERATION
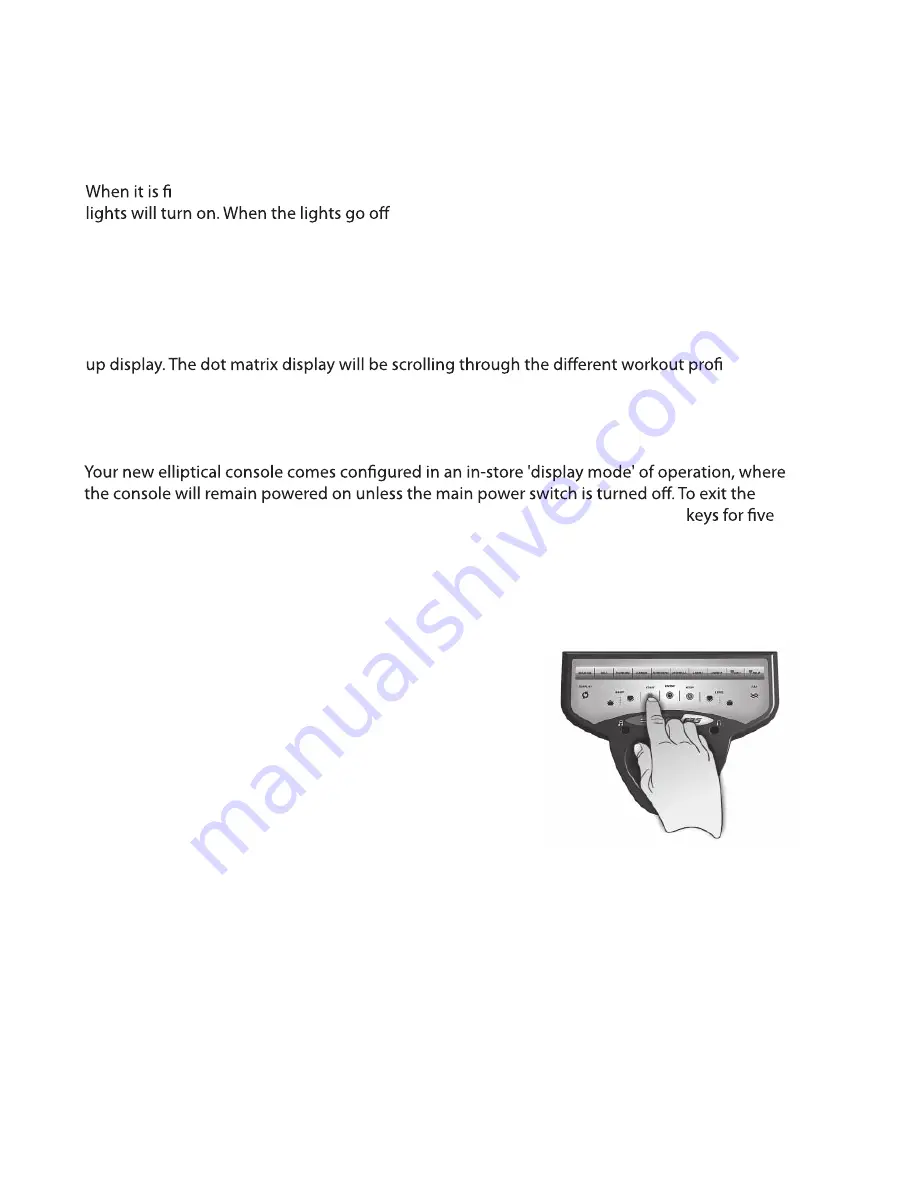
QUICK START
This is the quickest way to start a workout. After the console
powers up you just press the Start key to begin, this will
initiate the Quick Start mode. In Quick Start the Time will
count up from zero and the workload and incline may be
adjusted manually by pressing the Incline and
Level Up or Down buttons. The dot matrix display will be
showing a track with a blinking dot indicating your progress
as it travels around the track.
BASIC INFORMATION
E25
The Message Window will initially be displaying the elapsed Time, Program Name and
Distance (in miles). Each time the Display Button is pressed the next set of information will appear.
The next set of information displayed will be: Speed (in mph), RPM (pedaling speed) and Watts
(indication of work level. A reading of 100 watts means you are doing enough work to light a 100 watt
light bulb). The third set of information displayed is: Calories, Level (work level from 1-20) and Pulse
(heart rate in beats per minute). Pressing the Display Button one more time will set the display to show
the Incline Level. Segment time is next, which is a count down clock for the current profile segment,
then scan mode where the displayed information will change every 4 seconds.
!!ATTENTION
display mode, for normal operation, press and hold the Stop, Enter and Display
seconds; the display will show: Display Mode - ON. Use the Up key to change the setting to
OFF then press Enter.
Summary of Contents for E25
Page 10: ...8 E25 E35 ELLIPTICAL ...
Page 12: ...STEP2 10 ASSEMBLY 2 ASSEMBLY STEP1 1 E25 E35 ELLIPTICAL ...
Page 14: ...12 ASSEMBLY STEP4 4 ASSEMBLY STEP3 3 E25 E35 ELLIPTICAL ...
Page 18: ...16 E25 E35 ELLIPTICAL ...
Page 20: ...ASSEMBLY 18 STEP2 2 ASSEMBLY STEP1 1 E25 E35 ELLIPTICAL ...
Page 22: ...20 ASSEMBLY STEP4 4 ASSEMBLY STEP3 3 E25 E35 ELLIPTICAL ...
Page 36: ...EXPLODED VIEW DIAGRAM E25 34 E25 E35 ELLIPTICAL ...
Page 41: ...EXPLODED VIEW DIAGRAM E35 39 E25 E35 ELLIPTICAL ...


