© CASWA Pty Ltd – 2013
24 | Page
Enter the capacity of the hoist in tonnes and press <OK>. Your device is now calibrated and you will
not need to zero or calibrate this hoist in order to use this Liftlog.
NB: You need to have selected the <0-10V> input type on the LiftlogXL and also check that the
ControlPRO is set to output load on its analog output pins.
4.6.4
Checking the Gain
Irrespective of the indicated load (which is determined from the calibration), the signal indicator (bar
below the load display) shows the absolute magnitude of the input signal.
Before undertaking a calibration, check the magnitude of the signal at near full load. It should be
approximately 70-80% of the full scale reading.
If the signal is too large, the signal indicator will turn red and you should reduce the amplification
applied to the signal by moving the gain slider to the left.
If the signal is less than half of full scale, then increase the amplification by moving the gain slider to
the right.
4.6.5
Calibrating the Logger
With no load on the hook, press the <Zero> button.
After a brief pause the indicated load will show zero. Do not be concerned if the indicated load
changes or is slightly higher than zero; in this state the indicated load is very sensitive to both
electrical noise and very small changes in applied load.
Next, lift a known load with the crane. Ideally this load should be >80% of the crane’s lifting
capacity.
Note: In practice, it is often not possible to arrange test weights for every install. Provided the input
amplification has been set correctly (5.2.2), then an acceptable calibration may be performed with
30-50% of the cranes capacity. However, if this is done, the Liftlog™XL should then be recalibrated
when the crane is next subject to a full load test.
With this known load lifted, press the <Cal> button.
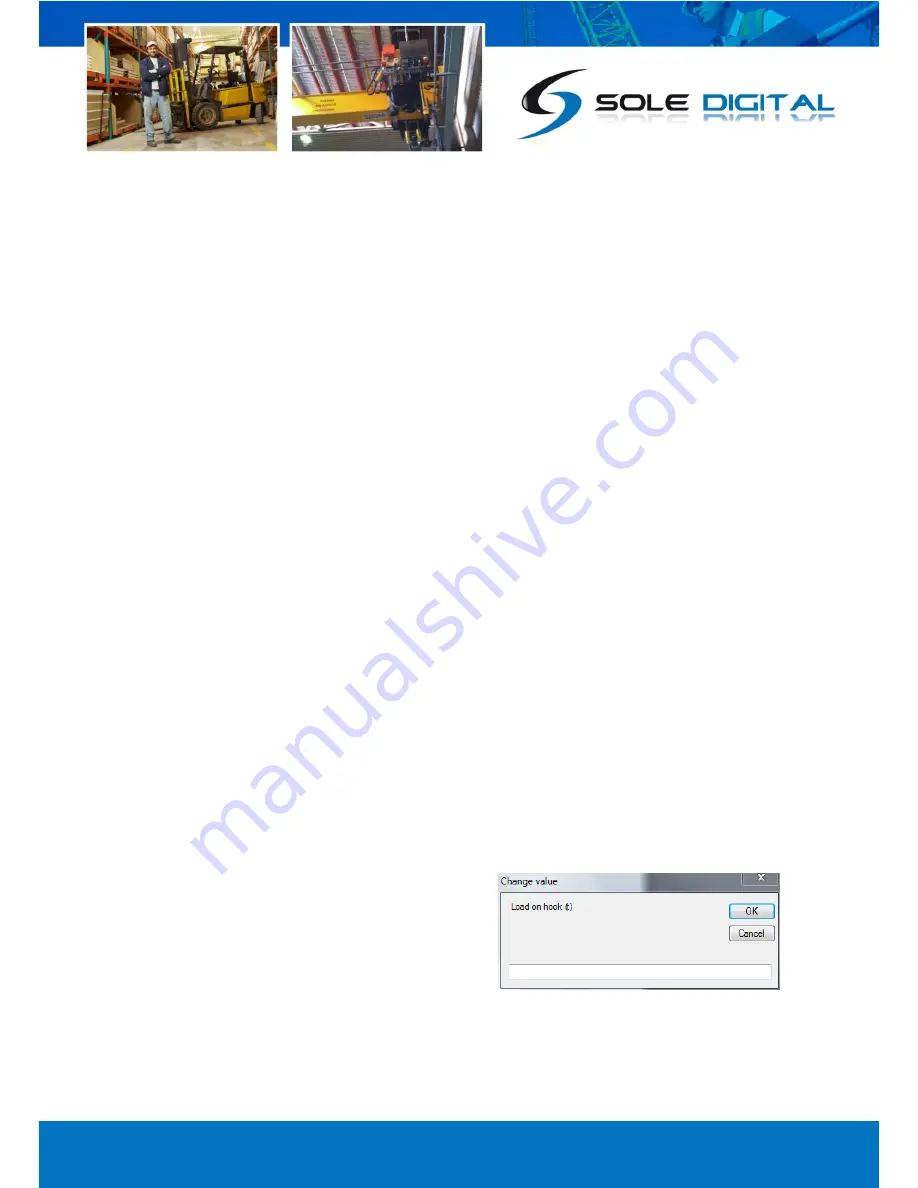
The FSU application will prompt you to enter the load.
Do so and press <OK>.
After a brief pause the indicated load will match the
load on the hook.


