background image

19


Settings manual 

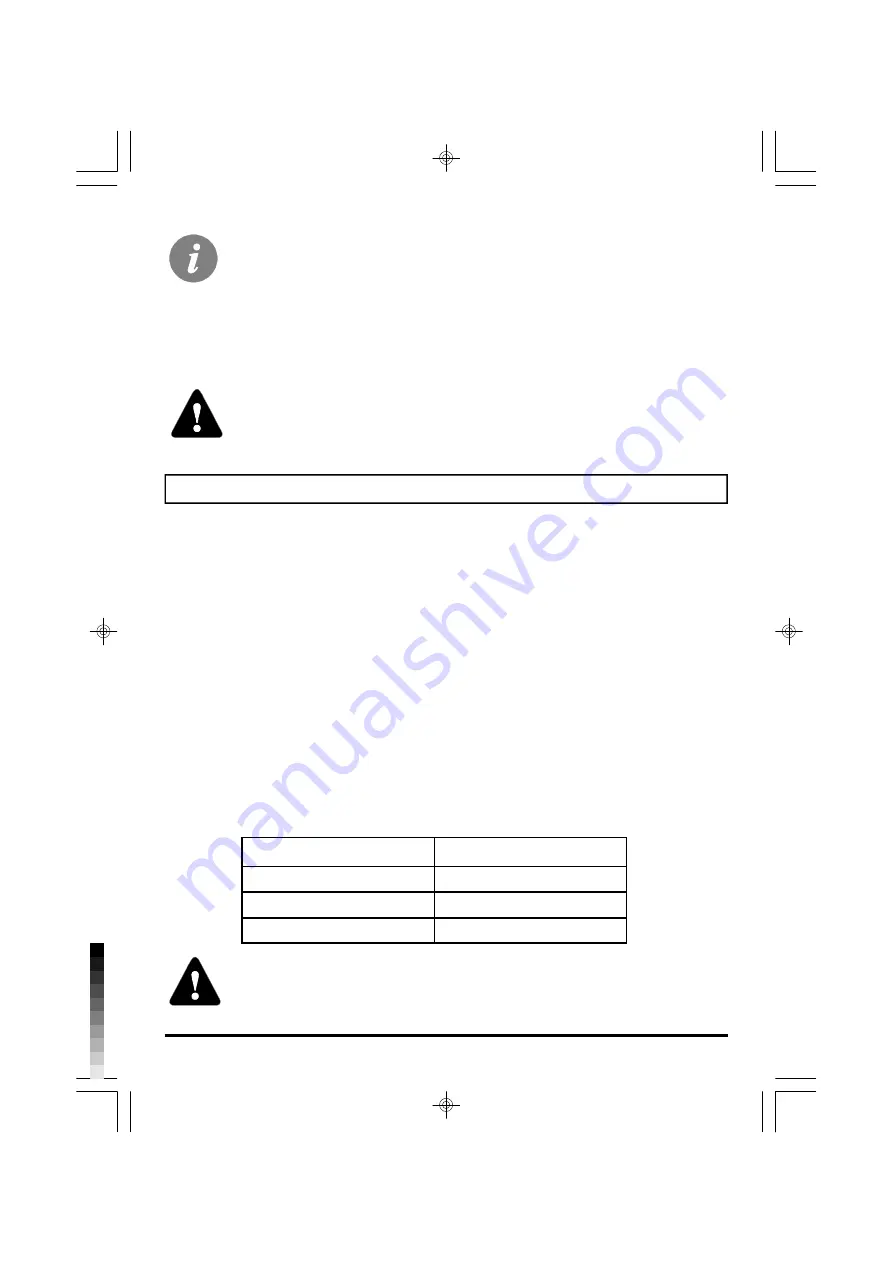
Heating system: 

Setting span: 

floor heating 

0,4 - 0,8 

wall heating 

0,6 - 1,0 

radiator heating 

0,8 - 1,4 

HEATING CURVE


ADJUSTING THE HEATING CURVE STEEPNESS


With adjusting the heat curve steepness, the controller is tuned with the buil-
ding. For optimal controller operation, the right setting of the heat curve steep-
ness is very important. 

The hydraulic scheme can be changed every time. 
This can be done as follows: 
1. 

In the base view rotate the navigation button so long that you get to the scheme 
preview. Than push and hold 

the


button and the info

 button. When the scheme 

number begins to flash, stop holding the buttons. With rotation of the navigation 
button select the desired scheme and confirm it with pressing the navigation but-
ton.  

2. 

The hydraulic scheme can also be changed in parameter S1.1. 

3. 

You can retake the controller three step setup. 


Restarting the three step procedure! 

Unplug the controller from the power source. Press and hold the key 

info

 and recconect 

the power supply. When the controller restarts itself, the 3 step procedure is activated. 

Heating curve steepness tells us, what temperature is required for the heating bodies by a  
determined outdoor temperature. The steepness setting depends on the heat system type 
(floor, wall, radiator, convector heating) and insulation of the building.. 

If you have enough data, you can determine the heating curve steepness with a calculation, 
otherwise from experience, based from the evaluation of heating system dimensioning and 
building insulation. 
The steepness is set correct, if the room temperature remains stable, even by large outdoor 
temperature changes. 
Until the outdoor temperature remains above + 5 °C , you can adjust the day / night tempera-
ture with keys on the room unit. If it gets colder in the building, while the outdoor temperature 
is dropping, then the heat curve steepness is set to low - you should increase the setting. If 
the object by low outdoor temperatures gets warmer, the heat curve steepness needs to be 
decreased.  
The maximum steepness increase/decrease should not be greater than 0,1 to 0,2 units at 
one observation. At least 24 hours must expire between two observations. 
 
Preferred settings of the heating curve steepness: 

O3060008

 stran 19

torek, 15. julij 2008 07:51

Standardizirana barva 1

Summary of Contents for PROMATIC D10

Page 1: ...g circuit controller boiler controller d h w heating controller PROMATIC D20 mixing and direct heating circuit controller d h w and sun collector heating controller heat pump system controller control...

Page 2: ...15 Automatic setting of the required night temperature 16 Setting the temperature required d h w temperature 16 Manual one time turning on of d h w warming 17 Anti legionella program 17 Heating with...

Page 3: ...ating curve steepness 28 DOMESTIC HOT WATER 29 D h w required temperature setting 29 Sun collectors difference 29 HEAT SOURCES 30 Minimum liquid fuel boiler temperature setting 30 Minimum solid fuel b...

Page 4: ...d for timed pro gramming of room and d h w heating The PROMATIC controllers are ensuring the maximum comfort and energy saving Thank you for buying a SOLARBAYER product We will try to further enhance...

Page 5: ...cuit DC direct heating circuit 1 burner 2 circulation pump of the direct heating circuit UWP2 circulation pump for d h w circulation BCP 3 circulation pump of the mixing heating circuit UWP circulatio...

Page 6: ...mum temperature of solid fuel boiler setting the start up temperature difference for sun collectors setting steepness of the heating curve DC 5 setting the minimum temperature of liquid fuel boiler 6...

Page 7: ...temperature display RLF Liquid fuel boiler temperature display KF Return pipe temperature return in the solid fuel boiler display RLKF D h w temperature display BF1 BF2 Solid fuel boiler temperature d...

Page 8: ...h w circulation Time program for anti legionella function D h w warming circulation permanent switch off Switch off D h w warming or circulation permanent switch on Heating turned on automatic heating...

Page 9: ...t for heating on required night saving temperature ECO activated on room unit Remote control of the heating Automatic switch to summer heating mode Devices connected to communication port COM Room uni...

Page 10: ...LCD display we can look up all the important data for the controller operation The data are displayed on base and operation indication views BASE VIEW OPERATION INDICATION VIEWS On the base view is d...

Page 11: ...URN PIPE TEMP MC STAND PIPE TEMP DC BOILER TEMPERATURE D H W TEMPERATURE FLOOR TEMPERATURE SOLID FUEL BOILER TEMP SUN COLLECTORS TEMP D H W TEMPERATURE D H W CIRCULATION TEMP STAND PIPE TEMP MC RETURN...

Page 12: ...unit Description and presentation of the operation indication view You can change the indication views listed bellow by pressing the button MIXING HEATING CIRCUIT DIRECT HEATING CIRCUIT DIMESTIC HOT W...

Page 13: ...confirm the selection with pressing the button again Selecting the P1 or P2 time program ERROR MESSAGES A sensor that is not working properly If you notice any unexpected behavior of the controller i...

Page 14: ...heating season and let the d h w warming turned on Manual operation This mode of operation is used for measuring the smoke gases emissions or when the controller is broken down Controller turns on the...

Page 15: ...RATURE You can set the required day temperature with this button The tempera ture setting is reflected as a parallel shift of the heating curve The daytime temperature can be set in a span between 12...

Page 16: ...re that is at least 10 C higher than the preferred d h w temperature AUTOMATIC SETTING OF THE REQUIRED NIGHT TEMPERATURE You can set the automatic setting of the required night tempetaure by turning t...

Page 17: ...after the beep MANUAL ONE TIME TURNING ON OF D H W WARMING The function one time turning on the d h w warming is used when you need the d h w warming outside the time program Activate it by turning th...

Page 18: ...roller in three easy steps STEP 1 In this step the hydraulic scheme is selected and confirmed with pressing the button for 2 seconds By some hydraulic schemes you also can select floor or radiator hea...

Page 19: ...the 3 step procedure is activated Heating curve steepness tells us what temperature is required for the heating bodies by a determined outdoor temperature The steepness setting depends on the heat sys...

Page 20: ...20 Settings manual Outdoor temperature Stand pipe temperature Ta C Tv C HEAT CURVE DIAGRAM O3060008 stran 20 torek 15 julij 2008 07 51 Standardizirana barva 1...

Page 21: ...he menu press and hold the navigation button for 2 seconds You can browse through the menu by turning the navigation button to the left or to the right and you can select items by pressing the button...

Page 22: ...T TIME EXIT DEFAULT SETTINGS TIME PROGRAMS ALL SETTINGS USER SETTINGS SAVE USER SETTINGS EXIT CONTROLLER DATA TIME PROGRAMS ROOM HEATING P1 ROOM HEATING P2 D H W WARMING D H W CIRCULATION ANTI LEGIONE...

Page 23: ...programs SELECTING THE PROGRAM The second icon is used for copying the time program from the selected day to the next day Press the button to select the item and confirm the selection by pressing it...

Page 24: ...along the timeline with the button When you find the preferred time of the beginning of the time inter val confirm it by pressing the button Now the cursor will be placed to the end of the interval f...

Page 25: ...FRI 5 00 6 00 Program for protection against legionella Day D h w circulation active MON FRI 05 30 7 30 15 00 22 00 SAT SUN 06 30 8 30 12 00 14 00 16 00 23 00 If the room unit DD2 is connected then t...

Page 26: ...ameter changing option are Setting is made with buttons on the controller Setting is made with the navigation button By pressing the button the value of the parameter begins to flash now you can alter...

Page 27: ...can be set by choosing CONTROLLER PARAMETERS BASIC PARAMETERS FROST PROTECTION SETTING THE REQUIRED DAY TEMPERATURE The required day temperature can be viewed by choosing CONTROLLER PARAMETERS BASIC P...

Page 28: ...ler The setted curve steepness can be viewed by choo sing CONTROLLER PARAMETERS MIXING HEATING CIRCUIT HEATING CURVE STEEPNESS MC D10 D20 CONTROLLER PARAMETERS MIXING HEATING CIRCUIT HEATING CURVE STE...

Page 29: ...h w temperature for the value of switch on difference then the circulation pump KTP is switched on Sun collectors difference is set on 12 C by default and can be changed in span from 5 to 30 C SUN COL...

Page 30: ...n on the controller The setted temperature can be viewed by choosing MINIMUM SOLID FUEL BOILER TEMPERATURE SETTING BY D20 Usually the minimum solid fuel boiler temperature is set between 35 C and 70 C...

Page 31: ...m it by pressing the button When you are finished or if you want to cancel the time and date settings you can press the ESC key for return to the previous menu BASIC SETTINGS SET LANGUAGE SET TIME SET...

Page 32: ...er programs and returns the default time programs ALL SETTINGS Returns all the parameters to its default values USER SETTINGS Loads the previous saved user settings SAVE USER SETTINGS Saves the curren...

Page 33: ...OF CONFORMITY DISPOSAL OF OLD ELECTRICAL ELECTRONIC EQUIPMENT Discarding old electrical and electronic equipment valid for EU member states and other European countries with organized separate waste...

Page 34: ...over damages as a result of improper use normal wear and de fects that have no effect on value functionality and operation safety of the product This guarantee becomes void if repairs are done by unau...

Page 35: ...35 Notes NOTES O3060008 stran 35 torek 15 julij 2008 07 51 Standardizirana barva 1...

Page 36: ...9 0 84 21 9 35 98 29 http www solarbayer de Email info solarbayer de O3060007 v2 0 Programm v2 0 Solarbayer GmbH Am D rrenhof 22 85131Pollenfeld Preith Deutschland tel 49 0 84 21 9 35 98 0 fax 49 0 84...

Reviews: