32
Connecting Wii U/Wii
Connect Wii U/Wii to connect to Internet.
Method of connection in this guide is confirmed and described
by HUAWEI TECHNOLOGIES CO., LTD. Please refrain from
contacting Nintendo Co., Ltd. regarding these descriptions.
SSID (Network Name) and Security Key
(WPA Key or WEP Key)
For SSID and Security Key, see "
they are changed, use set SSID and Security Key.
Default SSID is shown in alphanumerics with a leading
"501HWa-" or "501HWb-." Do not connect to other
neighboring WLAN network.
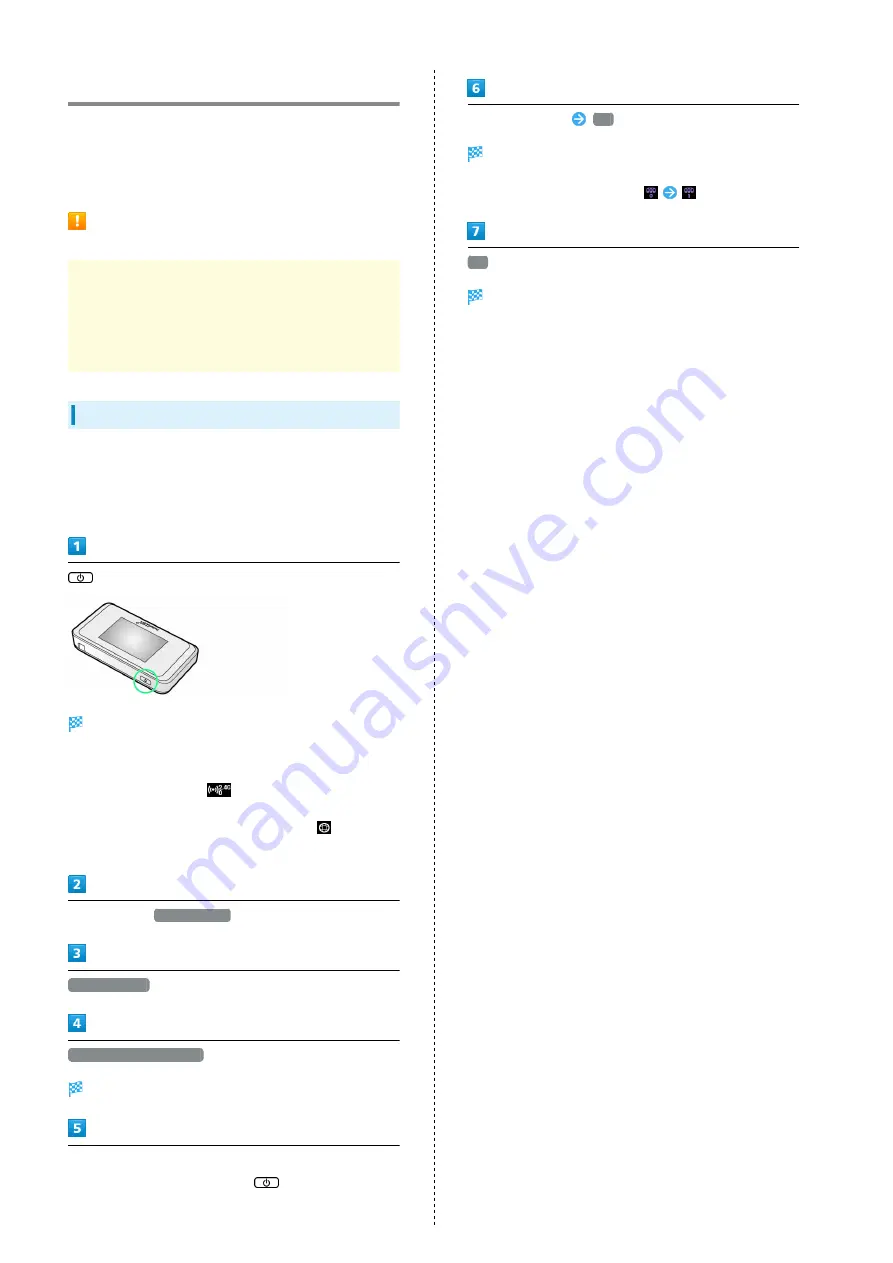
Wii U
This section describes setup operations with screenshots and
steps for "SSID A" at "WPA" security setting. Some operations
and screenshots vary by security method. For details, refer to
Wii U user guide.
(Press & Hold)
Lock Screen appears when powered on and WLAN function
is enabled. Wi-Fi router automatically connects to the
Internet.
・When WLAN is enabled,
(Wi-Fi connection standard
(2.4G/5G) / number of connected devices) lights and
when Wi-Fi router connects to the Internet,
(Internet
connected) lights.
In Wii U menu,
Wii U本体設定
インターネット
インターネットに接続する
Searching access points starts.
In list, select Wi-Fi router's SSID
・When "SSID" is not shown, Press
to exit Sleep mode.
Enter Security Key
OK
Connection test starts. When "接続テストに成功しました。
" appears, setting is complete. WLAN connection count number
on Display increases by one (e.g.
).
OK
Saving of settings starts.
・If confirmation displays for setting access point as the
normally used access point, set as necessary.
・If confirmation displays for updating the Wii U unit, update
the unit as necessary. See the Nintendo website for details
and operation.
Summary of Contents for 501HW
Page 1: ...501HW User Guide...
Page 2: ......
Page 19: ...17 Getting Started 501HW Power Off Press Hold Power is off...
Page 20: ...18...
Page 46: ...44...
Page 62: ...60 Resetting Data Traffic Reset all data traffic volumes for 1 2 and 3 Data volume is reset...
Page 92: ...90...
Page 100: ...98 Next Confirm description for SSID and SSID Stealth in LAN Wi Fi setup Next...
Page 103: ...101 Settings Using WEB UI 501HW Select the network OK Network search is set...
Page 106: ...104 Set each item Save Created profile appears for profile name...
Page 108: ...106 Enter each item Save Edited information appears...
Page 122: ...120 Set each item Apply LAN Wi Fi basic settings for SSID A are made...
Page 126: ...124 Set each item Apply LAN Wi Fi advanced settings are made...
Page 128: ...126 OK MAC Address Filtering is set...
Page 130: ...128 OK MAC Address Filtering is canceled...
Page 132: ...130 OK Wi Fi router is rebooted and DHCP is set...
Page 137: ...135 Settings Using WEB UI 501HW Apply OK IP address filtering settings are canceled...
Page 140: ...138 Canceling Portmapping In Menu List Router Setting Portmapping Delete OK...
Page 141: ...139 Settings Using WEB UI 501HW Apply OK Portmapping settings are canceled...
Page 144: ...142 Canceling Special Applications In Menu List Router Setting Special Applications Delete OK...
Page 145: ...143 Settings Using WEB UI 501HW Apply OK Special application settings are canceled...
Page 154: ...152 OK Wi Fi router reboots to its default settings...
Page 164: ...162 Delete OK Information is deleted after pop up screen is shown...
Page 166: ...164 Delete OK Information is deleted after pop up screen is shown...
Page 178: ...176 Enter Login password Login Settings open LAN Wi Fi...
Page 181: ...179 Settings Using WEB UI 501HW Enter Login password Login Settings open LAN Wi Fi...
Page 189: ...187 Settings Using WEB UI 501HW Data Usage...
Page 192: ...190 Data Usage...
Page 195: ...193 Settings Using WEB UI 501HW Data Usage Reset...
Page 196: ...194 Yes Data volume is reset...
Page 198: ...196 Information Information is shown...
Page 199: ...197 Settings Using WEB UI 501HW Select information to confirm Information is shown...
Page 202: ...200 Delete YES Information is deleted after pop up screen is shown...
Page 204: ...202 Enter Login password Login Settings open Device Information Information is shown...
Page 221: ...Appendix Troubleshooting 220 Specifications 223 Warranty Service 225 Customer Service 225...
Page 228: ...226...
Page 243: ......


