


Scanner
Menu Options (lower toolbar icon)
49
2.
Continue to select the
Back
icon until the “stopping communication” message
is displayed.
3.
Select the
Change Vehicle
icon (
Figure 5-10
Change Vehicle icon
The vehicle description on the lower toolbar will change to display “No Active
Vehicle”.
4.
Select the
Home
icon on the lower toolbar, to return to the Home screen
(
).
Figure 5-11
Home icon
5.
Disconnect the CSM from the vehicle DLC.
5.2 Menu Options (lower toolbar icon)
The following Menu options are available:
•
—allows you to print or save the data being viewed.
•
—allows you to perform certain maintenance operations and adjust tool
settings.
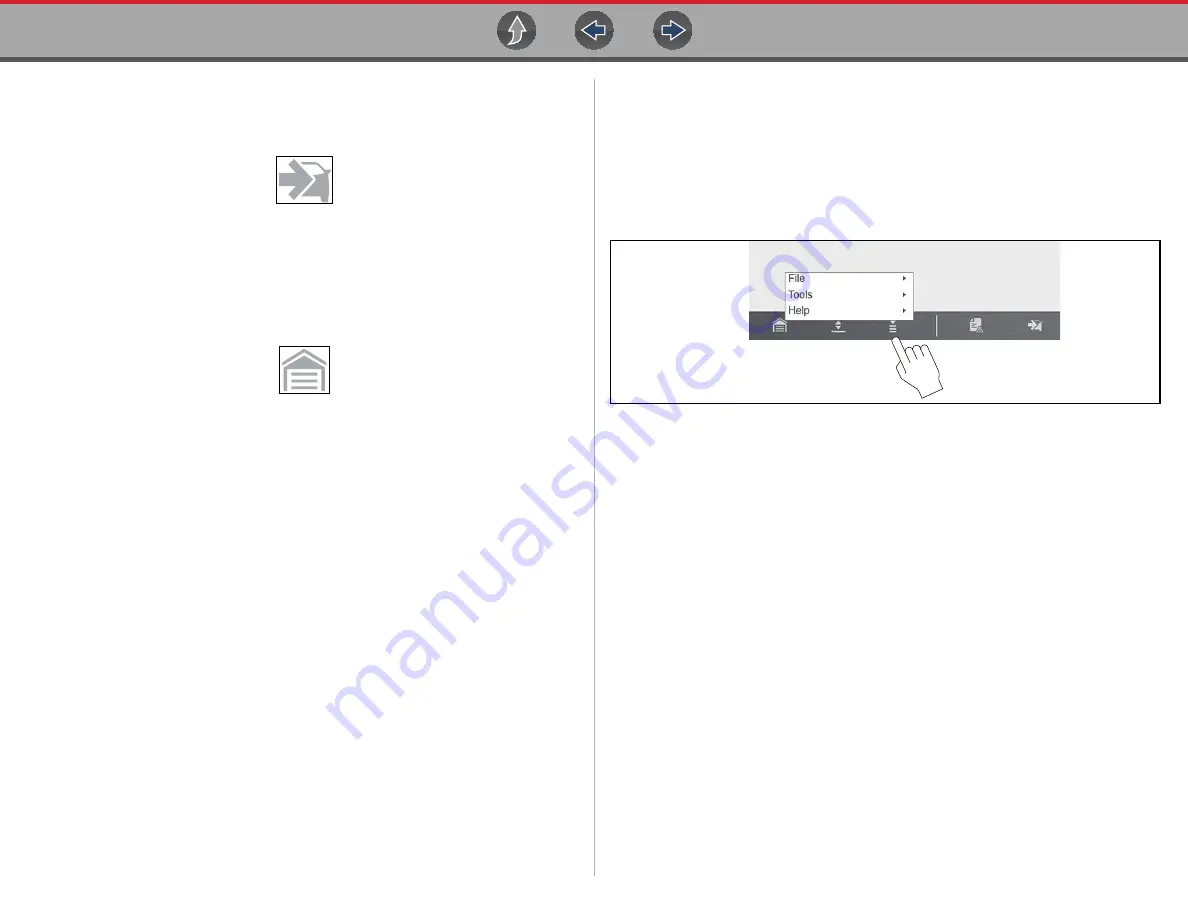
•
—see
Figure 5-12
Menu icon (menu)
5.2.1 File
Use to print or save a copy of the data currently being viewed. Menu options
include:
•
Save
—opens a submenu with these options:
–
Screenshot
—saves a graphic image of the current screen.
–
Collected Data
—saves a recording of all the data currently in the buffer plus
the number of frames designated after the trigger event (see
).
•
—opens a submenu with these options:
–
Screen
—sends the current screen image to a printer.
–
Troubleshooter
—prints the full text of the troubleshooter topic shown in the
main body.
Selecting an option opens a Windows Print dialog box for printing or saving the
file. See
5.2.2 Tools
This option (only available from within Scanner) allows you to adjust tool settings to
your personal preferences. Selecting
Tools
opens a menu with two options:
•
Units Setup -
Changing the Units of Measurement
•


