C
HAPTER
2
| Installing the ADSL Router
Connecting and Powering On
– 32 –
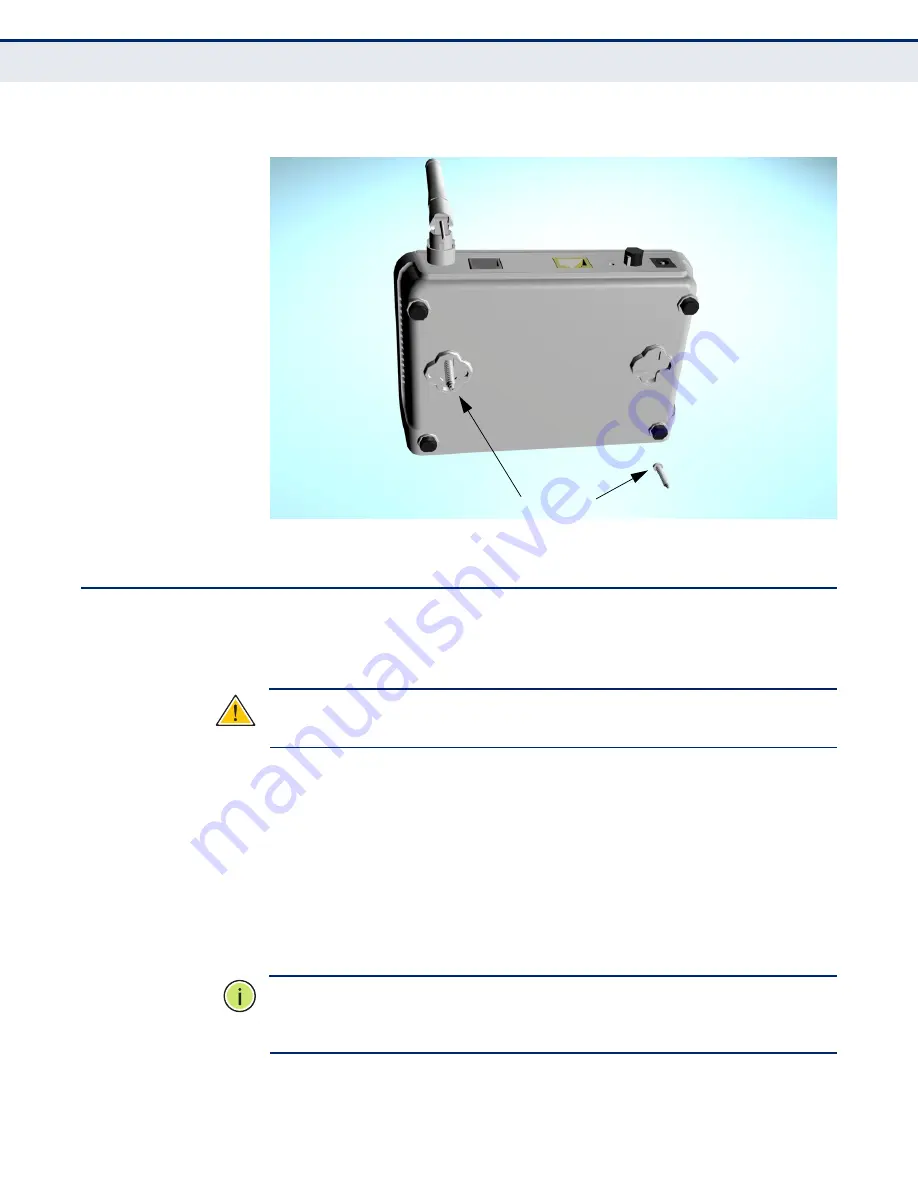
Figure 7: Wall Mounting Screws
C
ONNECTING
AND
P
OWERING
O
N
Connect the AC power adapter to the ADSL Router, and the power cord to
an AC power outlet.
C
AUTION
:
Use ONLY the power adapter supplied with this ADSL Router.
Otherwise, the product may be damaged.
1.
Observe the Power LED
– When you power on the ADSL Router,
verify that the Power indicator turns on, and that the other indicators
start functioning as described under
“LED Indicators” on page 27
.
2.
Connect the Ethernet Cable
– The ADSL Router can be connected to
a 10/100 Mbps Ethernet network through a device such as a hub or a
switch. Connect your network to the RJ-45 port on the back panel with
Category 5 or better UTP Ethernet cable. When the ADSL Router and
the connected device are powered on, the Ethernet Link LED should
turn on indicating a valid network connection.
N
OTE
:
The RJ-45 port on the ADSL Router supports automatic MDI/MDI-X
operation, so you can use straight-through cables for all network
connections to PCs, switches, or hubs.
Mounting Screws
Summary of Contents for BARRICADE SMC7901WBRA2 B1
Page 15: ...CONTENTS 15...
Page 34: ...CHAPTER 2 Installing the ADSL Router Connecting and Powering On 34...
Page 43: ...CHAPTER 3 Initial Configuration Wizard 43 Figure 14 System Restarting...
Page 44: ...CHAPTER 3 Initial Configuration Wizard 44...
Page 46: ...SECTION Web Configuration 46...
Page 58: ...CHAPTER 4 Status Information Routing Table 58...
Page 68: ...CHAPTER 5 WAN Configuration ADSL Settings 68...
Page 74: ...CHAPTER 6 LAN Configuration DHCP Settings 74...
Page 126: ...CHAPTER 10 Advanced Configuration TR 069 Configuration 126...
Page 136: ...APPENDIX A Troubleshooting Before Contacting Technical Support 136...
Page 149: ...INDEX 149...
Page 150: ...149100000005A R01 SMC7901WBRA2 B1...


