


C
HAPTER
4
| Configuring the Router
Access Control
– 90 –
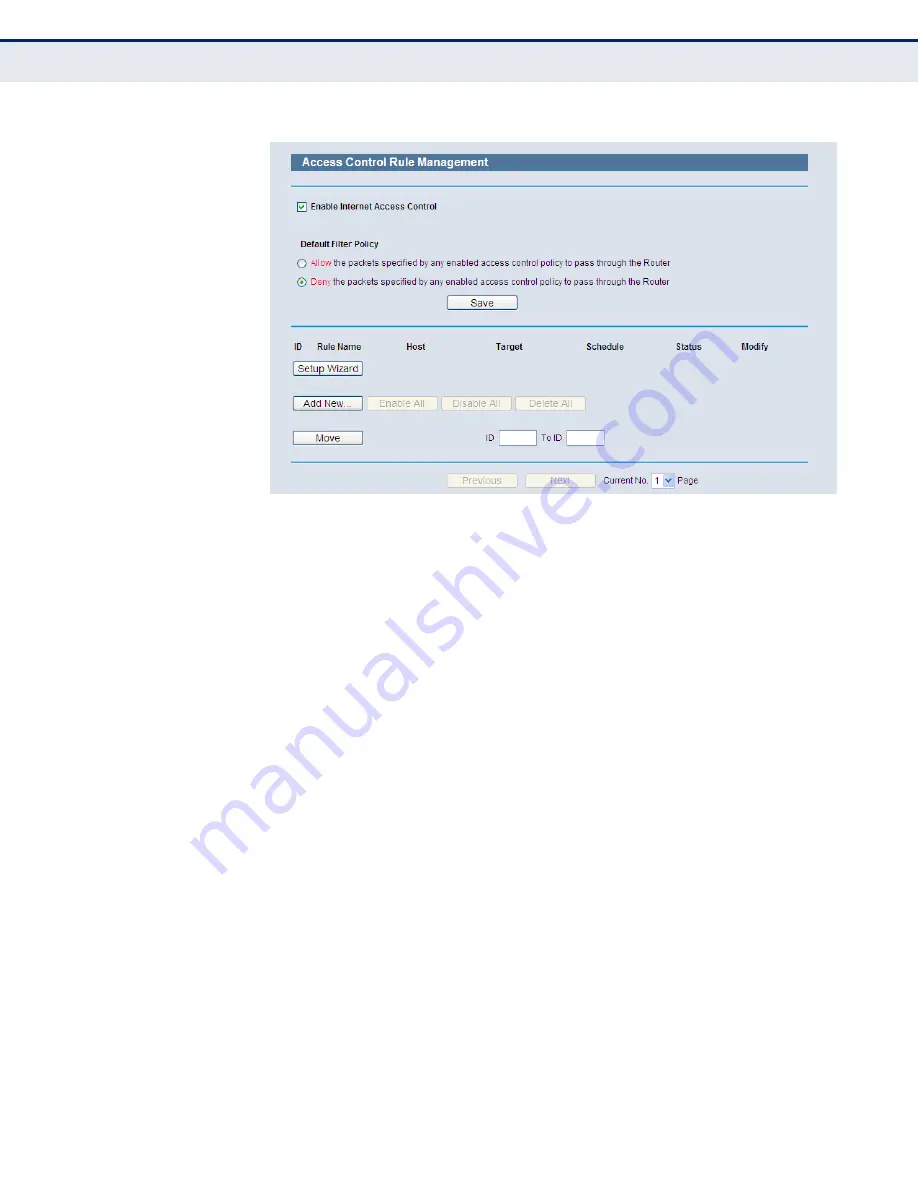
Figure 77: Access Control Rule Management
◆
Enable Internet Access Control
- Select the check box to enable the
Internet Access Control function, so the Default Filter Policy can take
effect.
◆
Rule Name
- Here displays the name of the rule and this name is
unique.
◆
Host
- Here displays the host selected in the corresponding rule.
◆
Target
- Here displays the target selected in the corresponding rule.
◆
Schedule
- Here displays the schedule selected in the corresponding
rule.
◆
Action
- Here displays the action the Router takes to deal with the
packets. It could be Allow or Deny. Allow means that the Router permits
the packets to go through the Router. Deny means that the Router
rejects the packets to go through the Router.
◆
Status
- This field displays the status of the rule. Enabled means the
rule will take effect, Disabled means the rule will not take effect.
◆
Modify
- Here you can edit or delete an existing rule.
To add a new rule, please follow the steps below.
1.
Click the “Add New” button and the next screen will pop-up, as shown
in
.
2.
Give a name (e.g. Rule_1) for the rule in the Rule Name field.


