22
Using the Document Camera
99-00864-20 D0
3.
Press the
Menu
button on the document camera control panel.
The on-screen display menu appears. For more information on using the on-screen
display menu, see page 9.
4.
Select
Format Media
in the on-screen display menu, and then press the right arrow button
to display its submenu.
5.
Select
Format?
, and then press the
Menu
button
to confirm your selection.
1.
After you finish using the SD memory card, press the
Camera
button
on the document
camera control panel to display the camera image on the connected projector or display.
2.
Push the SD memory card to remove it from the slot.
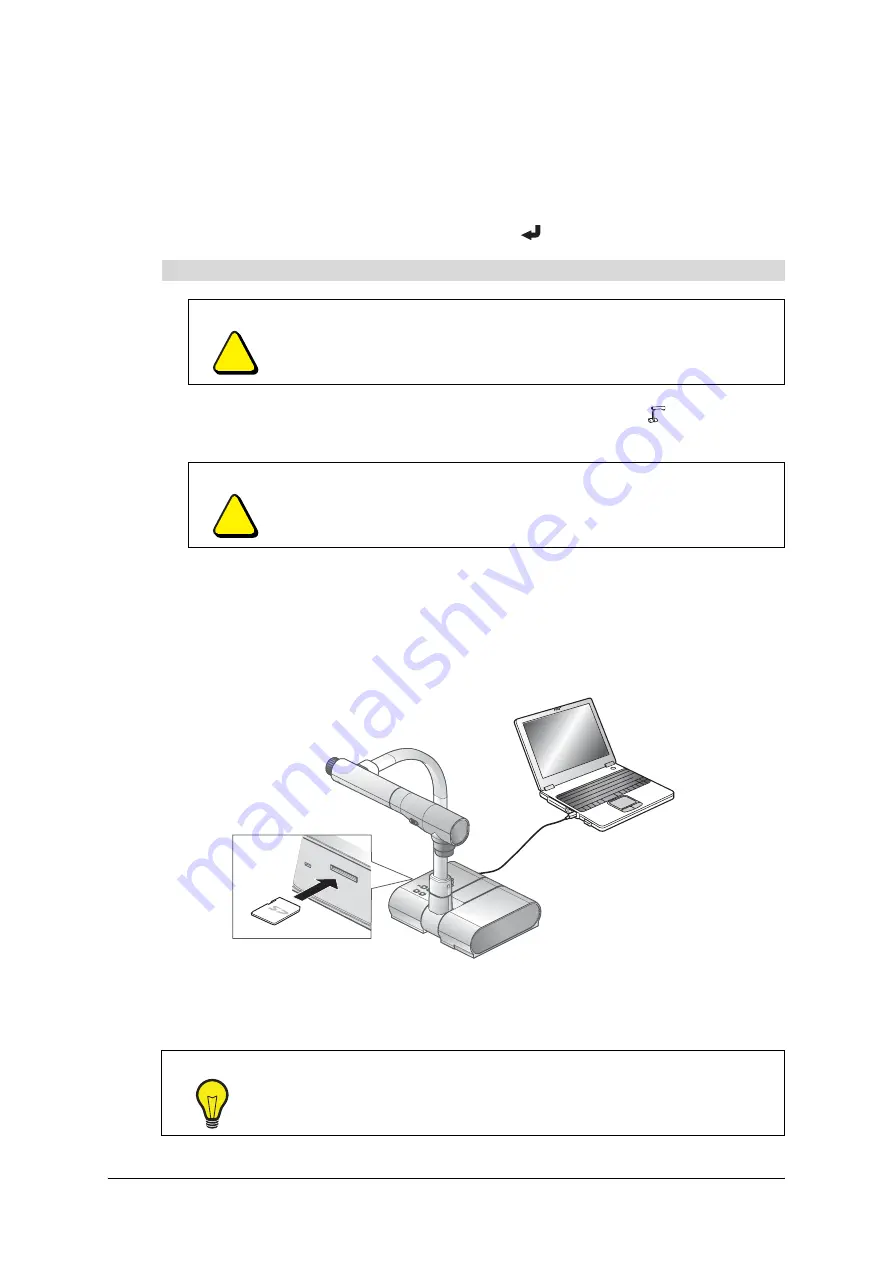
Transferring Image Data from the SD Memory Card to a Computer
If you connect a computer to the document camera using a USB cable, you can transfer image
data from an SD memory card (not provided) to a computer.
NOTE:
You can transfer image data to your computer only if the computer is running the
Microsoft® Windows® 2000 (SP4 or later), Windows XP (SP2 or later), or Windows Vista®
operating system.
To remove the SD memory card
CAUTION
Remove the memory card before you turn off the document camera.
CAUTION
Do not remove an SD memory card from the document camera unless the
connected projector or display shows the camera image.
TIP
For best results, use a USB 2.0 compliant cable.
Summary of Contents for SMART 280
Page 1: ...Installation and User s Guide SMART Document Camera 280 ...
Page 8: ...vi 99 00864 20 D0 ...
Page 14: ...6 Introduction 99 00864 20 D0 ...
Page 36: ...28 Troubleshooting the Document Camera 99 00864 20 D0 ...
Page 39: ......


