background image


www.smartdigital.com.au


Edition 1.2 

13


PACKING UP 

Powering OFF system 

Powering OFF the Media Player 

1.


Remove DVD or other media prior to switching off unit 

2.


Switch power slider on the media player to “Off” 

Powering OFF the Projector 

1.


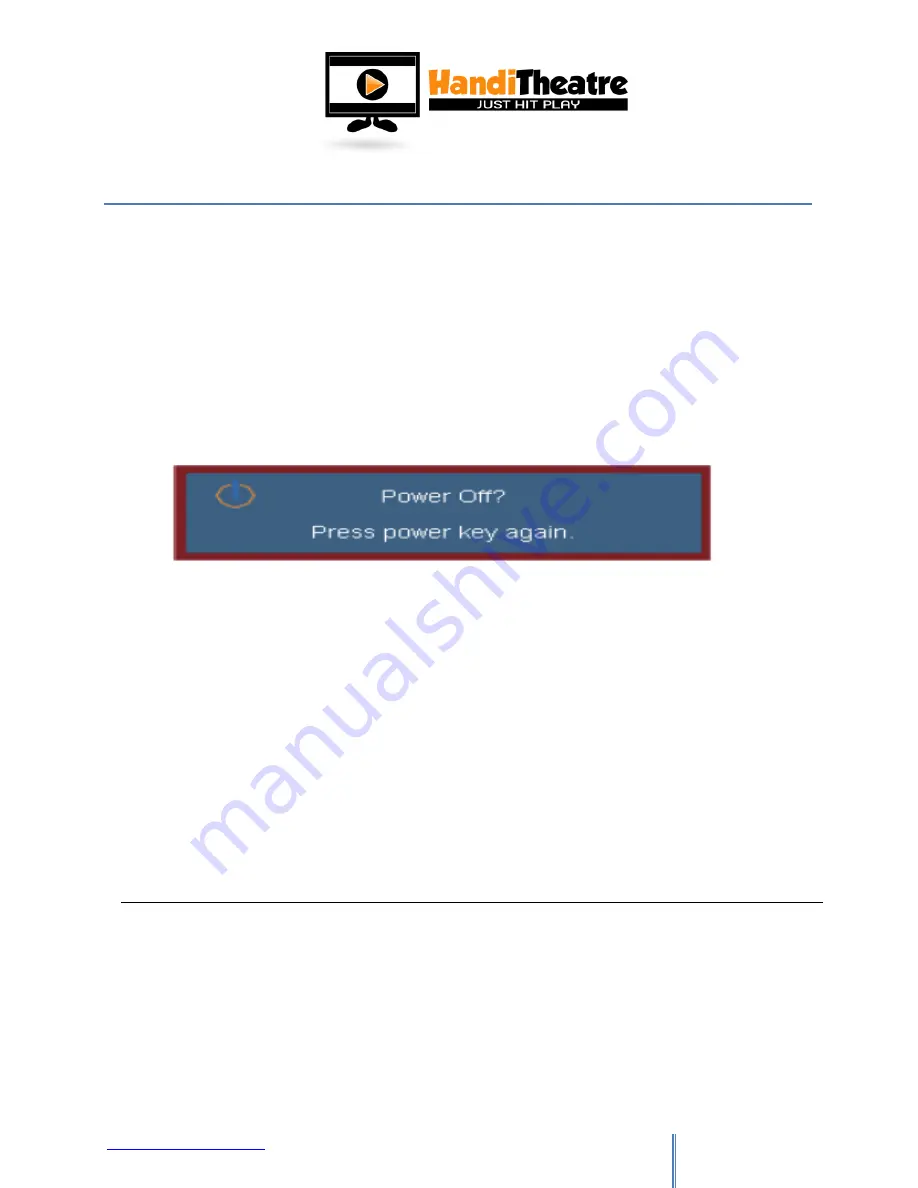
Press the “POWER” button to turn off the projector lamp. 

2.


The following message will be displayed on the screen. 


3.


Press the “POWER” button again to confirm, otherwise the message will disappear after 15 
seconds. 

4.


When you press the “POWER” button a second time, the system will show the countdown timer 
on the screen. 

5.


The cooling fans continue to operate for about 10 seconds for cooling cycle. When the Power 
LED turns Red, the projector has entered standby mode. 

6.


If you wish to turn the projector back on, you must wait until the projector has completed the 
cooling cycle and has entered standby mode. Once in standby mode, simply press “POWER” 
button to restart the projector. 

7.


Do not turn on the projector immediately following a power off procedure. 

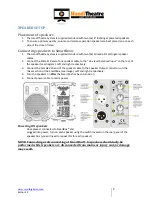
Powering OFF speakers 

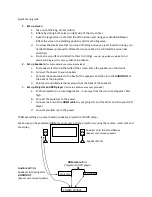
Turn o

ff

 each speaker using the switch located on the rear panel of the speaker box (you will need to 

repeat this for each speaker) 

And unplug the cables.

NOTE: Always ensure speakers are turned off and disconnected from power before disconnecting speaker 

cables from either speakers or SmartBox

®

Summary of Contents for HandiTheatre

Page 1: ...ands b Connect the power to your speakers c Connect the audio cables to the back of the speakers and then into the AUDIO OUT at the back of the projector d Volume is controlled via the level switch at...

Page 2: ...large 2 way valve you MUST complete the inflation using the small 1 way valve located on the top of the two way valve o Before screening use the 1 way valve to inflate the screen so that it is as tigh...

Page 3: ...creen secured down with tent pegs to help keep screen clean NOTE push tent pegs right into ground so that it is not raised above ground level for screen and operator safety 2 Remove your HandiScreen f...

Page 4: ...are now ready to inflate your screen 4 Ensure one inflation deflation valve is sealed completely Have your handheld blower ready for inflation 5 Open the other inflation valve completely so that the...

Page 5: ...s Once screen has inflated enough to stand up on its own remove the blower and seal the first valve Screen inflates as pictured below when inflated from the inflation ready position 7 Place the blower...

Page 6: ...with a tether attached Find this D ring tether and then from each corner walk out 2 3 LARGE STEPS approximately 2 3 metres and twist the stake into the ground and connect that tether using the clip 9...

Page 7: ...on the rear of the speaker see diagram Left and right respectively 3 Connect the Female XLR end of the speaker cable to the Speaker Output connectors on the mixer section of the SmartBox see image Lef...

Page 8: ...et and the front and rear of the projector Image Alignment 1 To align the image of the projector to your screen use the zoom function to get the image the correct size and focus to get the image clear...

Page 9: ...into the headphones or line out port of the laptop 4 Connect the other end of the 3 5 mm jack plugs into IPOD Input of the mixer Game Console HDMI can be connected to the projector Game Console Video...

Page 10: ...The cooling fans continue to operate for about 10 seconds for cooling cycle When the Power LED turns Red the projector has entered standby mode 6 If you wish to turn the projector back on you must wa...

Page 11: ...e in a loose know and lay gently onto screen tubing 2 Fold screen in half with white screen surface front on the inside by pushing the centre of the front frame towards the back so that it sits over t...

Page 12: ...ck section of attached to the screen surface Then hang out to dry DRYING 1 If your screen gets wet from dew or rain don t stress Simply shake off as much of the water as possible and then pack away Br...

Reviews: