•
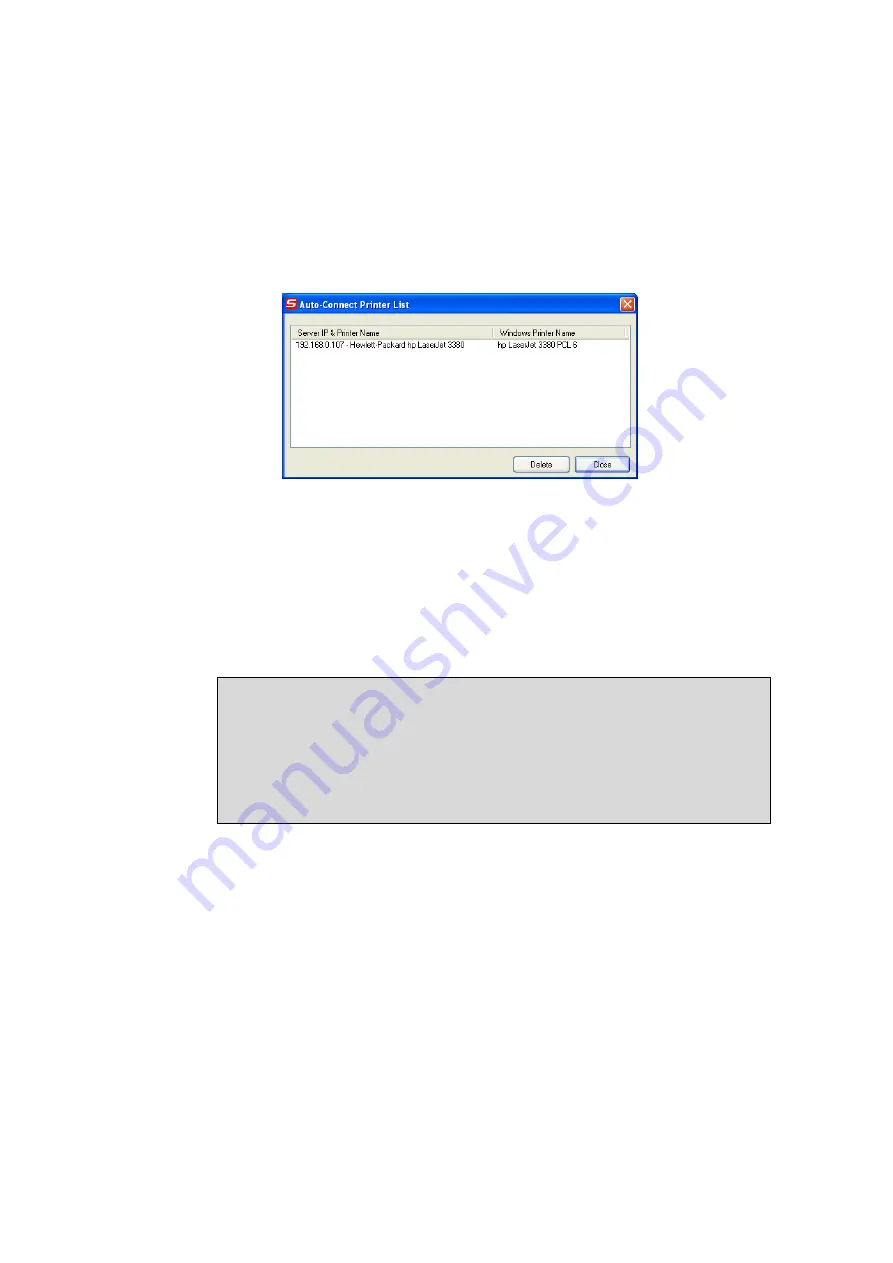
If you choose “Auto-Connected Printer List” in the “Tools” menu, you can
see a newly created item that describes the association between the
Windows printer and the physical printer on the server.
•
Then try to issue a print job to the desired printer. You will see the
Control Center will automatically do a connect operation and, once the
print job finished, it will hold the connection. However, the connection will
be released immediately when another user do the printing afterward. At
the same time, the printer is automatically disconnected with your PC.
•
When you do a print job again. The control center will automatically do a
connecting operation on printing again. This is so-called “Auto Connect /
Disconnect” operation.
Note
Under the “Auto-Connected Printer” setting, it is
NOT necessary to
manually press the “Connect” button
when printing. If you press the
“Connect” button for printing, please make sure to
click “Disconnect”
button after you finish the printing
. Otherwise, other users cannot
print properly. It is because you are the only ownership of the connected
printer.
•
You can make the Control Center be run automatically after you login
Windows. To do this, you choose the “Configuration” item in the “Tools”
menu. The following window will appear. Click on the check box and then
on the “OK” button. This feature is enabled by default.
Summary of Contents for N750 X6
Page 1: ...WLR 6001 Wireless Gigabit VPN Router N750 X6 802 11a b g n ...
Page 12: ...7 Setup LAN WAN WAN connection LAN connection ...
Page 25: ...WLR 6001 Statistics Shows the counters of packets sent and received on WAN LAN WLAN ...
Page 32: ...Enable or Disable Wireless function here Click Apply and wait for module to be ready loaded ...
Page 61: ...8 Enable the VPN policy and then click Apply to save the VPN profile ...
Page 67: ...5 Click Connect to a workplace and click Use my internet connection VPN ...
Page 81: ...3 Click on the sign on the bottom left 4 Select the VPN interface ...
Page 86: ...3 Click on VPN 4 click on Add VPN Configuration ...
Page 88: ...4 Set the Switch to ON to connect to the VPN Network ...
Page 91: ...4 Click on the VPN network you have just created to connect ...
Page 138: ......
Page 139: ......