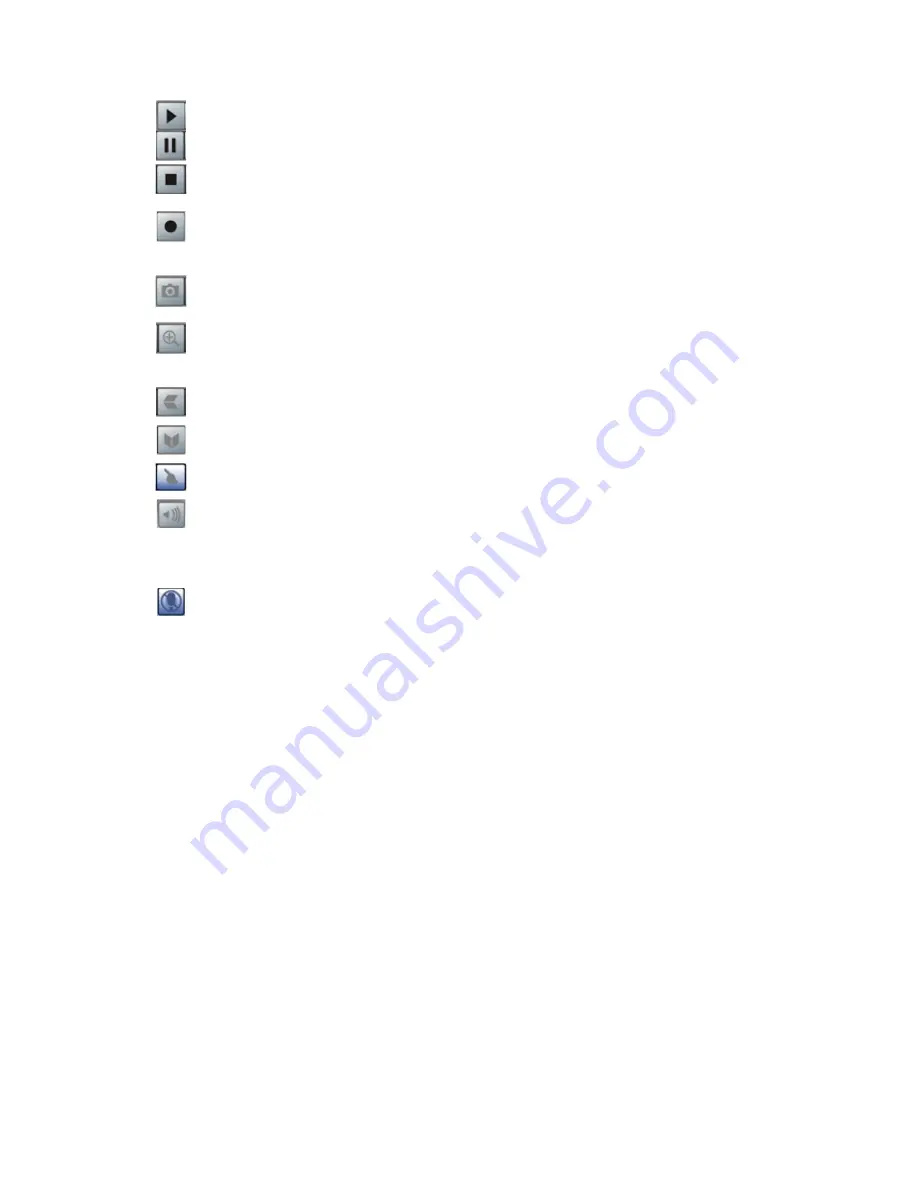
Play.
Use this to re-start viewing, after using the
Stop
or
Pause
button.
Pause.
Use this to temporarily stop the connection to the camera
Stop.
This will terminate the connection to the camera, halting both the
viewing and the recording (if in progress).
Record
. Click this to start recording the current video stream.
While recording, this button will be blue. To stop recording, click the
Stop
button.
Snapshot.
Click this to take a single JPEG "snapshot" image of the current
video.
Zoom Camera.
A digital zoom feature is available. To zoom in on a section of
the window, click this icon. Then use your mouse to select the section you want
to magnify. Click the icon again to disable the zoom feature.
Flip Video.
Click this to have the image swapped top-to-bottom.
Mirror Video.
Click this to have the image swapped left-to-right.
Direct Pan/Tilt.
Use this to move the camera to the Pan/Tilt position directly.
Sound On/Off.
One of these icons will be displayed.
This can be used to select the Audio stream which can be heard. (Only one
audio stream can be selected at any time.) If the camera does not support
audio, or if audio is disabled on the camera, this option is unavailable.
Microphone On/Off.
- For Cameras that feature audio, click this to enable the
microphone.
Recording Video
You can record Video while watching, or schedule recordings to occur when you are
absent. Recordings are stored in a standard Microsoft ASF file format, and can be played
using Microsoft Media Player. Before doing any recording, you should review the recording
settings to ensure they are suitable for your PC.
Recording Schedule
To set the Recording Preferences, click the
Recording Schedule
tab on the
Setup
screen.
You will see a screen like the example below.


