


A window appears with a link to the file.
3
Click on the link to save the file locally or to play it in your default viewing software.
6.9.2
Network Share
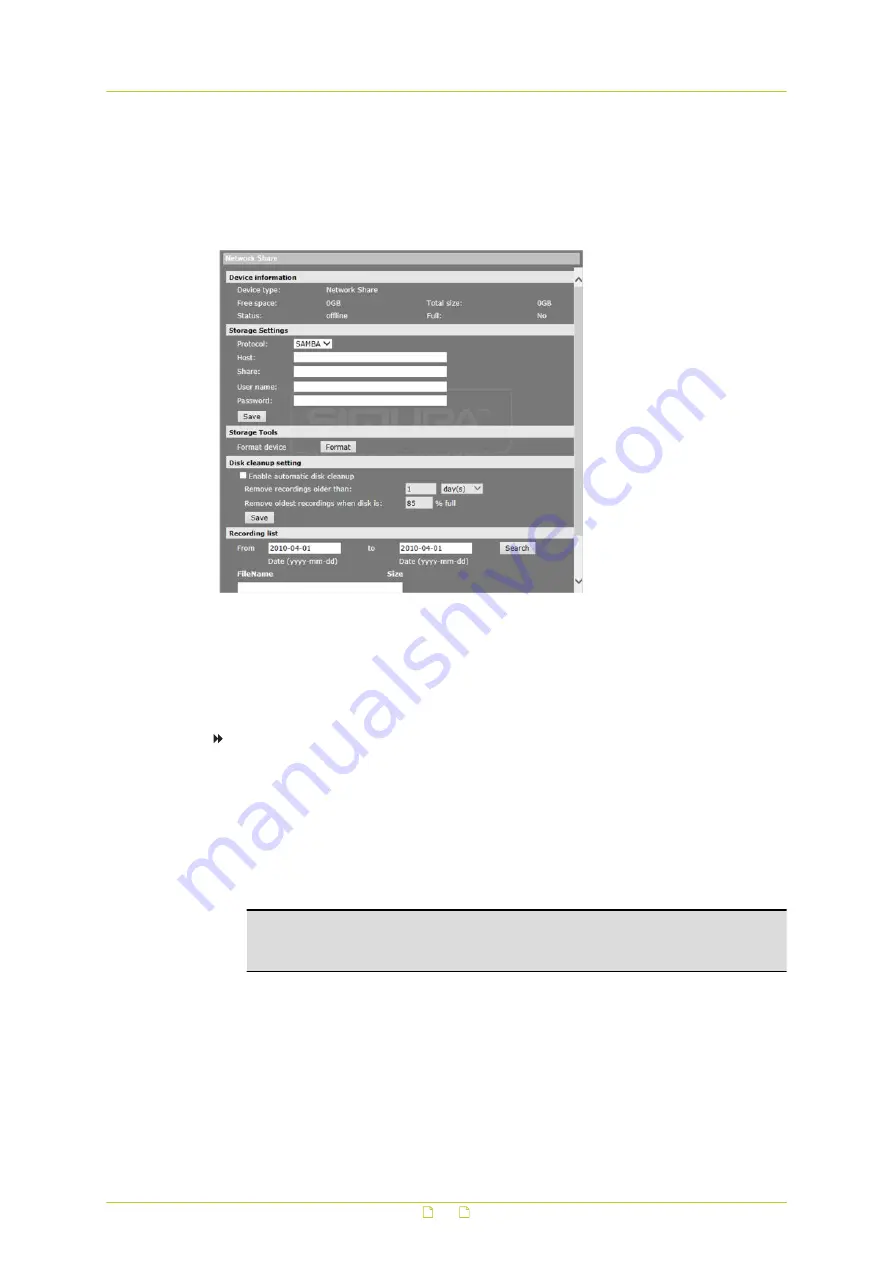
System > Storage management > Network Share
The HSD820 supports recording video to a network share. On the Network Share page,
administrators can view capacity information of the network share and a recording list with all
the recording files that are saved on the network share. Administrators can also format the
network share and implement automatic recording cleanup.
To implement and activate recording to the network share
1
On the Network Share page, use the Host and Share boxes in the Storage Settings
section to specify the path to the network share.
2
In the User name and Password boxes, provide the credentials required to access the
network share.
3
Click Save.
The network share status information appears in the Device information section.
4
Format the network share, if necessary, and configure disk cleanup settings.
Warning: Formatting the network share erases all information on the share. Be sure
to save a copy of any information on the share you need to keep before reformatting.
See Recording list below for more information.
5
On the Recording page, set a recording schedule.
- and/or -
Under Triggered action on the Application, Motion detection, Network failure detection,
Tampering, Manual trigger, or Audio detection webpage, select Record video clip.
When the recording mode is set to Always (consecutive recording) and recording is also
allowed to be triggered by events, the system will immediately start recording to the
network share once events occur. The camera will return to the regular recording mode
when event recording stops.
System settings
57