20. SETTING THE SLAVE CLOCK
46
38
39
1
Press the [SELECT] button and position
the " " over the "SLAVE CLOCK"
mark. At that moment, the flashing digit
indicates "Clock Options".
(The flashing means it can be changed.)
2
Set the "Clock Options".
In case of the example, press the
[CHANGE] button to set at "1".
And then press the [SET] button.
At that moment, the flashing changes
from the "Clock Options" to "Signal
Options".
Set the "Signal Options".
In case of the example, press the
[CHANGE] button to set at "60".
And then press the [SET] button.
3
After you finish setting the slave
clock, press the [SET] button once
again.
Now the slave clock setting has been
completed. Replace the cover and
lock.
Important: If you do not complete Step
3, the Time Recorder will not print.
In this setup, you can select the Slave Clock.
Note:For this feature to be functional, the optional board must be installed in the Time
Recorder.
0.
1.
Clock Options
Disabled
Slave Clock
30.
60.
59.
Signal Options (for Slave Clock)
30-second reversal
60-second reversal
59-minute impulse
Setting the Slave Clock
Example: Set the Slave Clock and 60-second reversal.
SELECT
CHANGE SET
SLAVE CLOCK
Clock Options
SELECT
CHANGE SET
SLAVE CLOCK
SELECT
CHANGE SET
SLAVE CLOCK
MO
TU WE
TH
FR
SA
SU
Signal Options
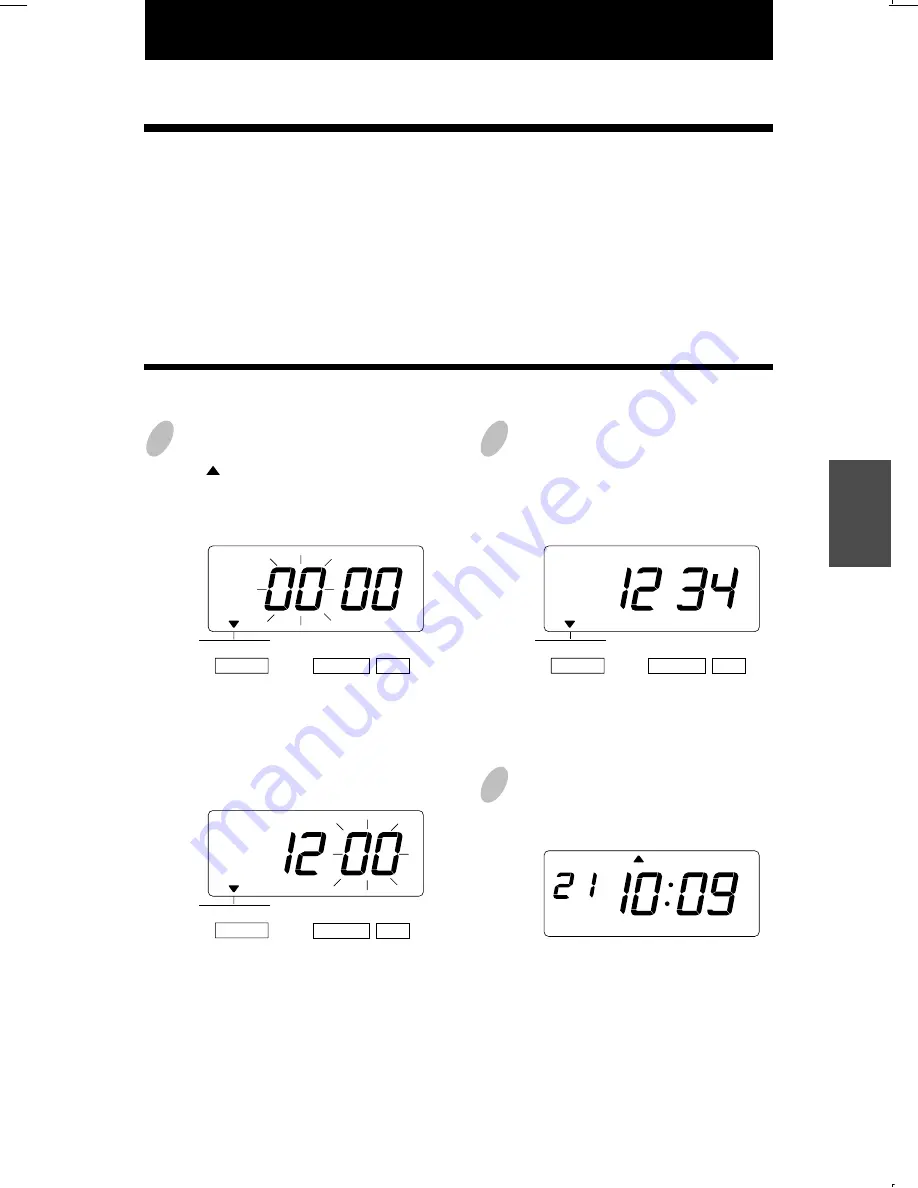
21. SETTING THE PASSWORD
47
40
41
1
Press the [SELECT] button and position
the " " over the "PASSWORD" mark.
At the moment, the first two digits flash.
(The flashing means it can be changed.)
Change the first two digits.
In case of the example, press the
[CHANGE] button to set at "12". And
then press the [SET] button.
At that moment, the flashing changes
to the last two digits.
2
Change the last two digits.
In case of the example, press the
[CHANGE] button to set at "34". And
then press the [SET] button.
3
After you finish registering the password,
press the [SET] button once again.
Now the password registering has
been completed. Replace the cover
and lock.
Important: If you do not complete Step
3, the Time Recorder will not print.
When the password is set, you are asked to enter it. If the password you entered does not
coincide with the setting, you cannot change the setting values.
You may set a password by any 4-digit number from 0001 to 9998.
Note : Number "0000" and "9999" cannot be used as a password.
Please reset all settings when you forgot the passward. Refer to the "22. RESETTING".
SELECT
CHANGE SET
PASSWORD
SELECT
CHANGE SET
PASSWORD
SELECT
CHANGE SET
PASSWORD
MO
TU WE
TH
FR
SA
SU
Registering the Password
Example: Set the password "1234".
ENGLISH


