Getting Started with Silhouette Portrait
18
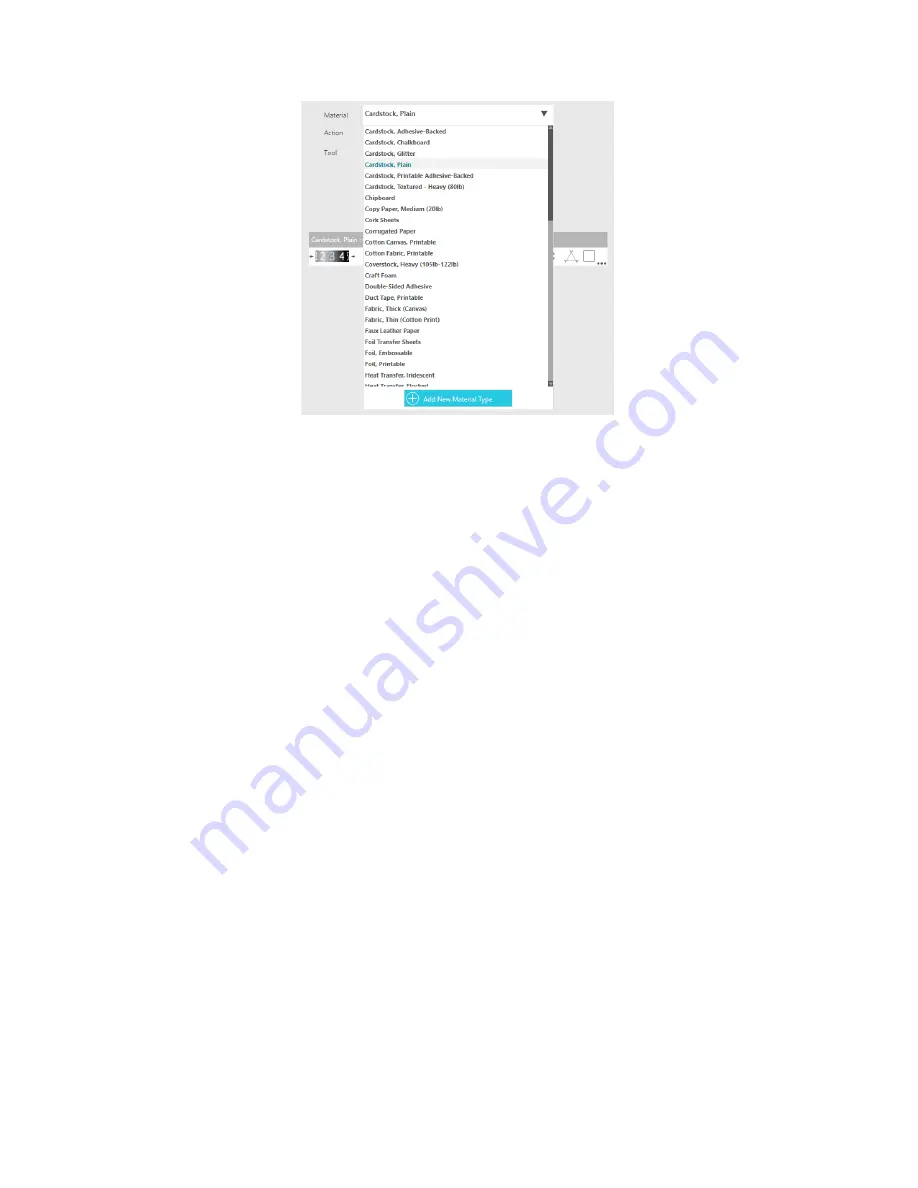
In this case, we have selected the “Cardstock, Plain.” If the material you are using isn’t there, click Add
New Material Type at the bottom of the screen. You will have the ability to name the material and define
the cut settings.
For more advanced settings, you can use the Line panel, the Fill panel, or the Layer panel. With the Line
Panel or the Fill panel, you can assign which task the Silhouette will do according to the image’s line color
or fill color. If you have a design that has multiple layers, you can use the Layer panel to choose which
layers to cut.
At the bottom of the send panel, there is an icon that looks like a graduation cap. Click on it to view brief
tutorial steps if you would like a reminder of all of the things you must do before you make a cut. Before
you make a cut, make sure you have done the following steps:
f
Chose a material in the Material section.
f
Adjusted any desired cut settings by using the Action tabs.
f
Inserted your blade or tool into your machine and adjusted it according to
the recommended settings in the Action panel.
f
Loaded your material if it has its own backing or loaded your material
placed on a cutting mat.
When you are ready, click Send. This will send your cut job to your Portrait.
Summary of Contents for Portrait
Page 1: ...Getting started with your ...


