.
i.
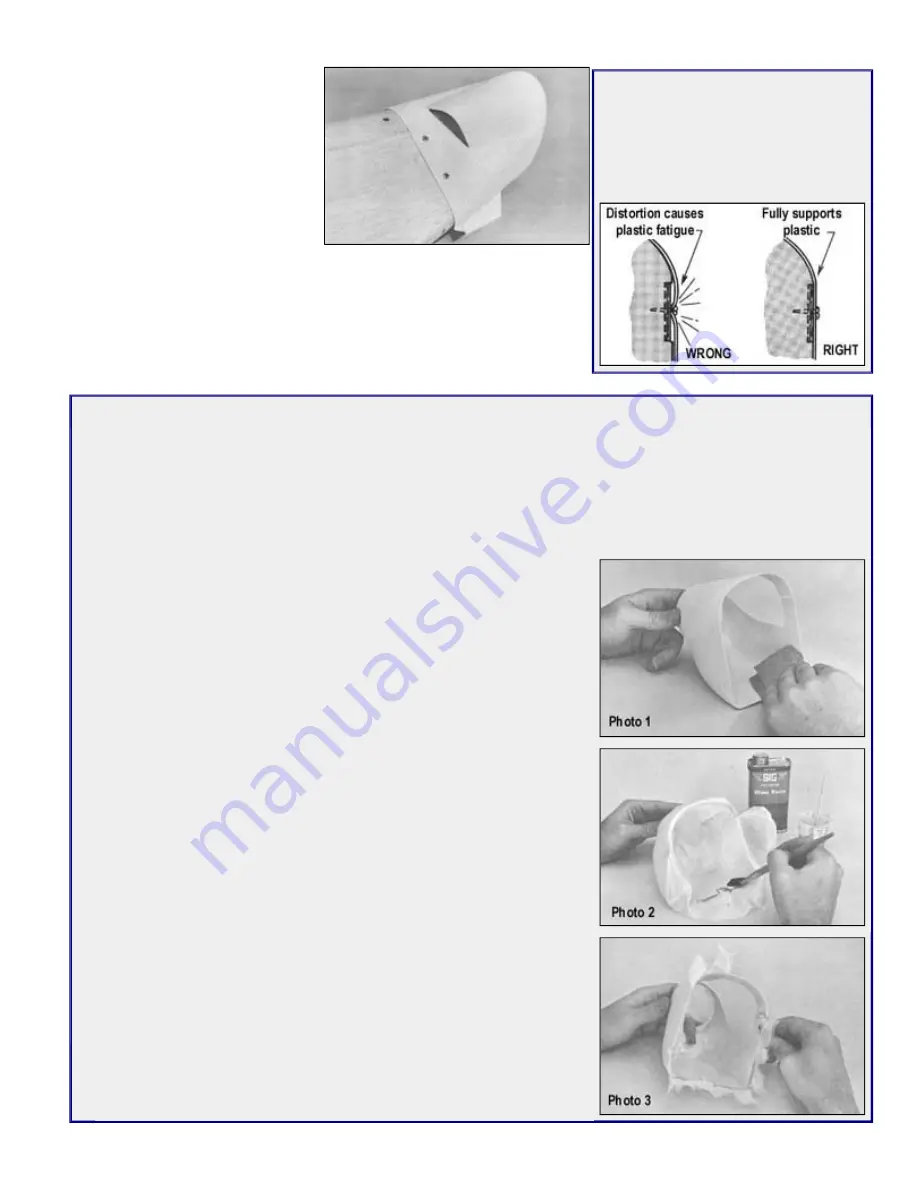
Mount the engine on the fuselage. Slip
the cowl in place and attach the
spinner to the engine. Tape and hold
the cowl in correct alignment with the
spinner and the fuselage. Leave about
1/16" between the back of the spinner
backplate and the front of the cowl.
Drill a pilot hole through the cowl and
into the plywood insert in the fuselage.
The most common cause of plastic
cowls cracking is distortion of the plastic
from improper installation of the plywood
mounting inserts and retaining screws. If
the plastic is fully supported by the
plywood underneath, no strain will occur
when the screws are tightened down.
Open up the cowl holes so they are large enough to pass the mounting screws.
j.
Make small openings where necessary to allow access to the needle valve and
glow plug.
NOTE: Do not try to cover any of the plastic parts with monokote or other iron-
on types of covering material. The heat can damage the plastic parts.
Optional Cowl Reinforcement Method
(Materials not supplied)
The strength of the cowling may be increased by lining the inside with fiberglass cloth and resin. This leaves the outside
surface smooth and easy to paint. The photos show a Sig Kommander cowl, but the same method applies to the
Miniplane cowl. Completely assemble the two-piece cowl before lining the inside with glass cloth.
IMPORTANT: Since this procedure will make the inside dimensions of the cowl slightly smaller, it may be necessary to
sand down the firewall and/or the nose of the model for best fit. Look ahead to this probability during the building of the
model. You may want to sand down the sides and top of the plywood firewall about 1/32" before it is assembled into the
fuselage.
1. Sand the entire inner surface of the cowl with 80 grit garnet sandpaper or
similar coarse grained paper. Remove all of the gloss from the plastic with
the sandpaper or the resin will not adhere properly. Don't worry about
scratches from the paper, a rough surface will help the cloth and resin stick
down. Do not sand the outside of the cowl with this coarse paper. Use only
220 and 360 Tri-M-Ite paper or equivalent and avoid scratching.
2. Cut a piece of Sig Regular Weight Glass Cloth that will fit into the cowl and
cover the entire inside surface. The cloth is stretchy and can be formed to
the contours. If you have had no experience in handling glass cloth, it may
be easier to use two pieces of cloth, covering half of the inside at a time.
3.
Mix only about 1 to 1-1/2 oz. of Sig Glass Resin at a time. Add 4 or 5 extra
drops of hardener over the amount called for in the directions on the can.
The cowl area to be coated is small and will not take much time so the
extra hardener will speed up the set up time. Paint the cloth onto the inside
surface of the cowl with the resin mix. Pat out any wrinkles in the cloth
while painting. A few cuts into the cloth around the trim area helps to make
the cloth easier to handle. Apply resin to about 1/8" of the waste cloth
sticking out from the cowl all around the edges. This resined area makes it
easier to trim off the excess without the cloth threads unraveling and
makes for a smoother edge.
4. Do not flex or handle the cowl excessively while the resin is setting up. This
may damage adhesion of the resin to the cowl. When the resin has set up
hard, the waste glass cloth can be trimmed from the edges with a single
edge razor blade or a modeling knife. If there are any uneven spots or
ridges near the back of the cowl where it must slip over the fuselage, sand
them down smooth.
5. If there are any uneven spots or ridges in the first 1/4" of cloth inside the
back edge of the cowl, sand them down smooth. Plastic screw hole
reinforcement strips will not be necessary if this glass cloth reinforcing
method is used.


