Configuration
38
Building Technologies
048_DMS_NK8237_ICC_MP4.40_A6V10316241_a_en.doc
Fire Safety & Security Products
06.2011
Note: each route corresponds to a
Route
line command in the Windows
Com-
mand Prompt
. The
Ping
button in the
Tools
tab can be used to check that the
IP connectivity is properly established between the NK8237 and a destination IP
address.
Refer to your network administrator for more information about the routing
tables and the ping command.
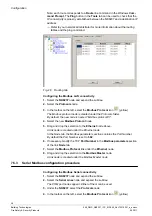
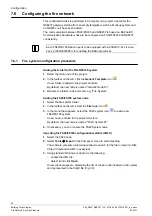
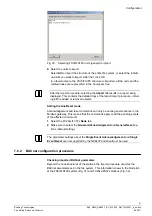
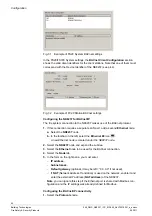
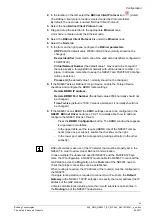
Fig. 29 Routing tab
Configuring the Modbus LAN connectivity
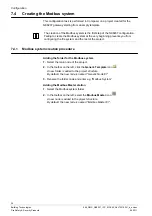
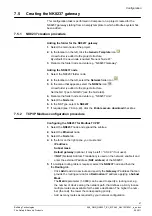
1.
Select the
NK8237
node and expand the subtree.
2.
Select the
Protocols
node.
3.
In the toolbar on the left, select the
Modbus Protocol
icon
(yellow).
The Modbus protocol node is created under the Protocols folder.
By default, the new node is named “Modbus protocol #1”.
4.
Select the new
Modbus Protocol
node.
5.
Drag and drop the selection to the
Ethernet
node above.
A link node is created under the Ethernet node.
In the Node tab, the Modbus parameters section contains the Port Number.
By default the Port Number is set to
502
.
6.
If necessary, modify the TCP
Port Number
in the
Modbus parameters
section
of the link
Node
tab.
7.
Select the
Modbus Protocol
link under the
Ethernet
node.
8.
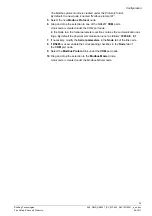
Drag and drop the selection to the
Modbus Master
node.
A link node is created under the Modbus Master node.
7.5.3
Serial Modbus configuration procedure
Configuring the Modbus Serial connectivity
1.
Select the
NK8237
node and expand the subtree.
2.
Select the
Serial Lines
node and expand the subtree.
The COM port nodes appear. Either of them can be used.
3.
Under the
NK8237
, select the
Protocols
node.
4.
In the toolbar on the left, select the
Modbus Protocol
icon
(yellow).

