YQE8-J0093E
8
Maintenance Parts Replacement Procedures
1
/
1
Parts
Name
DC Power Supply
Part No.
164-11-09625
Tools
Phillips Screwdriver (#2, longer than 300mm), Digital Voltmeter
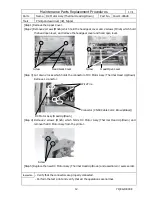
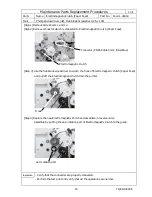
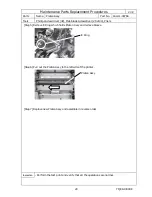
[Step 1] Remove Left Side Cover and Right Side Cover.
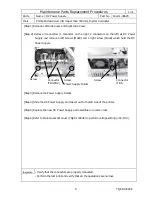
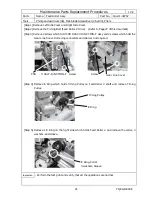
[Step 2] Remove 3 connectors (1 connector on the right, 2 connectors on the left) at DC Power
Supply and remove 2 left screws (M4x8) and 1 right screw (M4x8) which hold the DC
Power Supply.
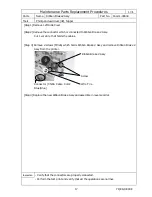
[Step 3] Remove the Power Supply Holder.
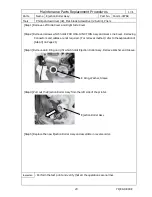
[Step 4] Slide the DC Power Supply and take it out to the left side of the printer.
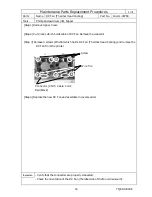
[Step 5] Replace the new DC Power Supply and assemble in reverse order.
[Step 6] Refer to Maintenance Manual (YQE8-J0092E) to perform voltage setting (+5V,THV).
Inspection
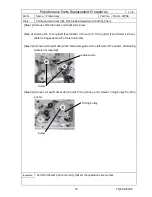
- Verify that the connectors are properly connected.
- Perform the test print and verify that all the operations are normal.
Connector
(TB3,TB2)
Connector
(TB1)
Screw
Screw
Screw
Power Supply Holder


