-15
Setup & Connections
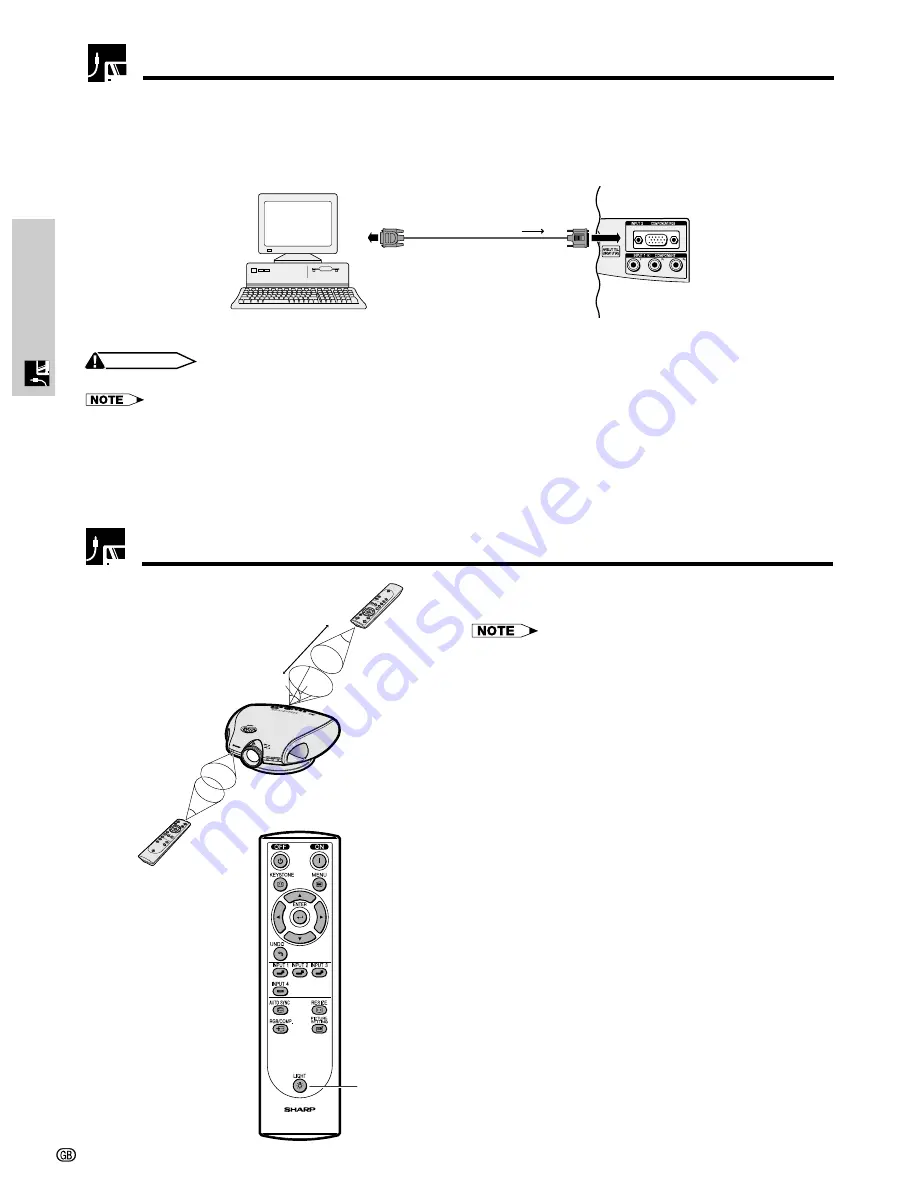
Operating the Remote Control
The remote control can be used to control the projec-
tor within the range shown on the left.
• The signal from the remote control can be reflected off a
screen for easy operation. However, the effective distance
of the signal may differ due to the screen material.
Remote Control
Remote Control
45˚
7 m
30˚
30˚
45˚
30˚
Using the remote control in a dark
room
The backlights of the operation buttons can be turned
on for five seconds and off by pressing
LIGHT
. If you
want to turn off the backlights while they are on, press
LIGHT
again.
Connecting a computer with RGB output
1
Connect one of the computer-RGB cable to the INPUT 2 COMPONENT/RGB port on the projector.
2
Connect the other end to the Corresponding terminal on a computer.
• Make sure to turn both the projector and the video equipment off, before connecting.
Connect an RS-232C cable (null modem, cross type, commercially available) to the serial port on the computer.
CAUTION
• Do not connect or disconnect an RS-232C cable to or from the computer while it is on. This may damage your computer.
• Refer to “Computer Compatibility Chart” on page 54 for a list of computer signals compatible with the projector. Use with computer
signals other than those listed may cause some of the functions not to work.
• The RS-232C function may not operate if your computer port is not correctly set up. Please refer to the operation manual of the computer for
details.
• The arrows (
→
,
↔
) in the configuration above indicate the direction of the signals.
• A Macintosh adaptor may be required for use with some Macintosh computers. Contact your nearest Sharp Authorised Projector Dealer or
Service Centre.
1
2
Connecting to a Computer
Computer-RGB cable
LIGHT button


