Sharp LC-50LE275X Operation Manuals Download Page 9


-

 7

NOTE 

•  “Picture adjust” cannot be changed during “DYNAMIC 

(FIXED)” mode.

•  For resetting all “Picture adjust” items to factory preset 

values, press 

a

/

b

 to select “Reset”, press 

ENTER

, press 

a

/

b

 to select “Yes”, and then press 

ENTER

.

H

 DNR (Digital Noise Reduction)

Reduces noise on screen and produces a clearer 
video image. (Auto, High, Low, Off)

H

 Wide mode

You can manually select the size of a picture 
appeared on your screen.
Selectable picture size varies with the type of signal 
received.
Press 

a

/

b

 while the wide mode menu displays on 

the screen.

•  As you toggle down the options, each mode is immediately 

refl ected on the TV.

Selected item

Description

Normal

Keeps the original aspect ratio in a full
screen display.

Zoom 14:9

For 14:9 letterbox pictures. A thin side 
bar appears on each side, and you may 
also see bars on the top and bottom 
with some programmes.

Panorama

In this mode the picture is progressively 
stretched toward each side of the 
screen.

Full

For 16:9 squeeze pictures.

Cinema 16:9

For 16:9 letterbox pictures. Bars may 
appear on the top and bottom with 
some programmes.

Cinema 14:9

For 14:9 letterbox pictures. Bars may 
appear on the top and bottom with some 
programmes.

Dot by Dot

Displays an image with the same number 
of pixels on the screen (only when receiving 
a 1080i/1080p signal).

Underscan

Display with an Underscan image only 
when receiving a 720p signal. Display 
with the High-Defi nition image adjusted 
optimally. Noise may appear on the edge 
of the screen with some programmes.

Just scan

Keeps the original aspect ratio and 
enlarges the picture as much as possible.

Auto

Keeps the original aspect ratio based on 
source information and enlarge the picture 
as much as possible.

NOTE 

•  Some picture sizes may not be displayable depending on 

the input signal.

•  “Auto” and “Just scan” can be selected only during video 

playback in “Movie mode” of USB Media Player.

H

 Eagle View*

“Eagle View” technology produces a sharp picture 
from the original moving picture. (On, Off)

H

 AquoMotion Lite*

“AquoMotion Lite” technology provides superior 
solutions for display picture quality removing motion 
blur. (Advanced, High, Off)

*


NOTE 

•  Only for LC-50LE275X and LC-58LE275X.
•  This effect is greater on fast moving images.
•  This function will have no effect in the following cases.

1) The type of signal received is a PC signal.
2) An OSD is being displayed.
3) Teletext is activated.

•  If images appear blurred or fl ickering, set to “Off”.

Audio menu

H

 Sound adjust

Selected item

c

 button

d

 button

Treble

For weaker treble

For stronger treble

Bass

For weaker bass

For stronger bass

Balance

Decrease audio 
from the right 
speaker

Decrease audio 
from the left 
speaker

H

 Surround

When you set to “On”, you can enjoy surround 
sound, the same as if you were in a movie theatre. 
(On, Off)

NOTE 

•  For resetting all “Sound adjust” items to the factory preset 

values, press 

a

/

b

 to select “Reset”, press 

ENTER

, press 

a

/

b

 to select “Yes”, and then press 

ENTER

.

ECO menu

H

 No signal off

You can set the TV to automatically power off in 
about 15 minutes after the TV goes into a state of 
receiving no programme signals. (Enable, Disable)

•  Five minutes before the power shuts down, the remaining 

time displays every minute.

NOTE 

•  When a TV programme fi nishes, and the TV receives signal 

input, this function may not operate.

H

 No operation off

You can set the TV to automatically power off when 
no TV operation is performed for more than 3 hours. 
(30 min., 3 hr., Disable)

•  Five minutes before the power shuts down, the remaining 

time displays every minute.

Setup menu

H

 Child lock (ATV and DTV input mode only)

Allows you to use a password to protect certain 
settings from being accidentally changed.

Setting a password

1

Repeat steps 1 and 2 in 

Menu operation

.

2

Press 

a

/

b

 to select “Child lock”, and then press 

ENTER

.

3

If you have already set the password, enter it here.

4

Press 

a

/

b

 to select “Change password”, and 

then press 

ENTER

.

5

Enter the 4-digit number as a password using 

0 – 9

.

6

Enter the same 4-digit number as in step 5 to 
confi rm.

NOTE 

•  To view a locked channel, you must enter a password. 

When you select a locked channel, “Child lock has been 
activated” is displayed.

• Press 

ENTER

 to display the password input window.
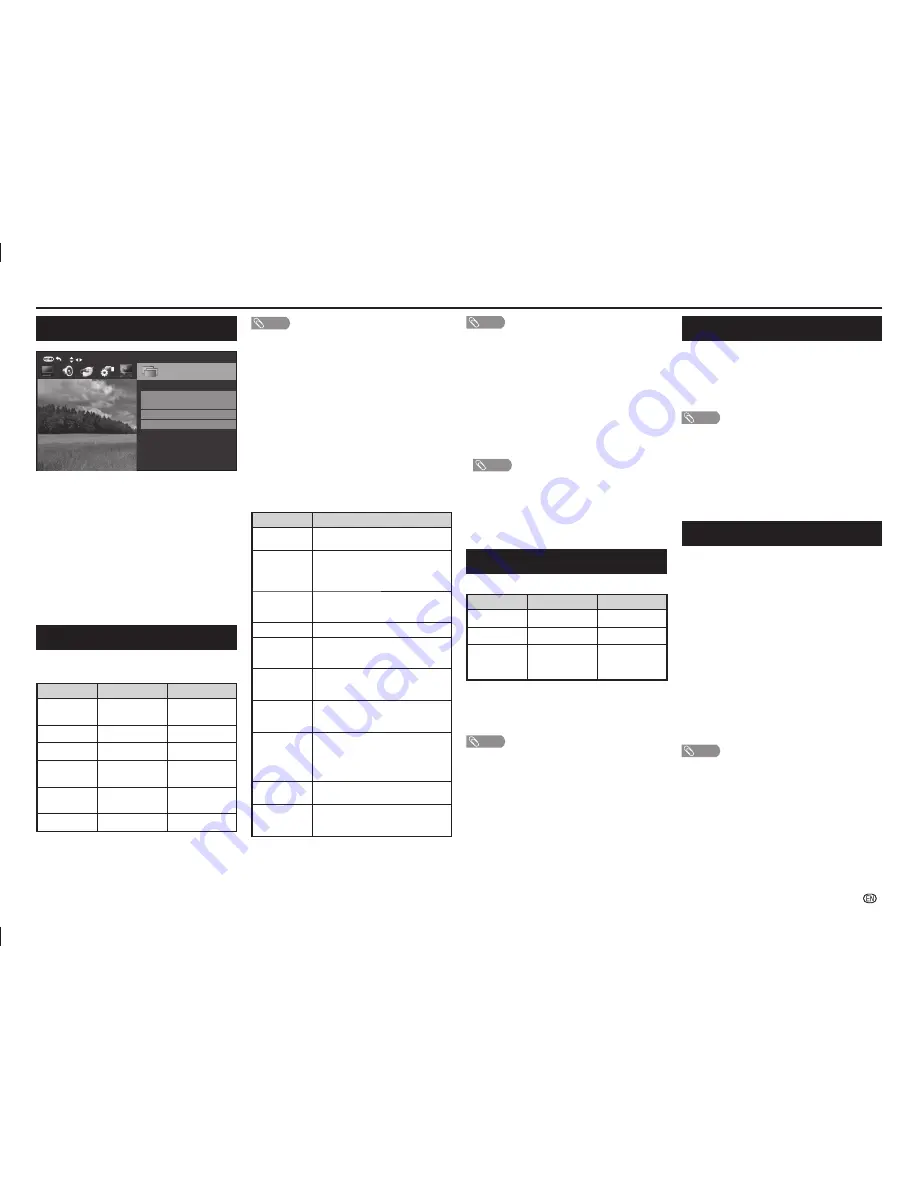
Menu operation

Programme setup

Auto installation

Analogue setting

Programme edit

Programme setup

Select

Digital setting

1

Press 

MENU

 and the MENU screen displays.

2

Press 

c

/

d

 to select the desired menu. 

(Programme setup, Picture, Audio, ECO, Setup, 
Option)

3

Press 

a

/

b

 to select the desired menu item.

Press 

ENTER

 to proceed if necessary.

4

Press 

a

/

b

 or 

c

/

d

 to select the desired item or 

adjust the item to the desired level. Press 

ENTER


if necessary.

5

Press 

RETURN

 as necessary to return to the 

previous MENU. Press 

MENU

 to exit the MENU.

Picture menu

H

 Picture adjust

Adjustment items

Selected item

c

 button

d

 button

Backlight

The screen dims

The screen 
brightens

Contrast

For less contrast

For more contrast

Brightness

For less brightness

For more brightness

Colour

For less colour 
intensity

For more colour 
intensity

Tint

Skin tones become 
reddish

Skin tones become 
greenish

Sharpness

For less sharpness

For more sharpness

On-Screen Display Menu

LC-505865LE275X_EN_G446.indd   7

LC-505865LE275X_EN_G446.indd   7

5/18/2015   5:44:47 PM

5/18/2015   5:44:47 PM

Summary of Contents for LC-50LE275X

Page 1: ...LC 50LE275X LC 58LE275X LC 65LE275X LED BACKLIGHT TV LED OPERATION MANUAL 使用说明书 POWER 中文 ENGLISH Cover_LC 50_5865LE275X_G446 indd 1 Cover_LC 50_5865LE275X_G446 indd 1 5 18 2015 1 35 44 PM 5 18 2015 1 35 44 PM ...

Page 2: ...Cover_LC 50_5865LE275X_G446 indd 2 Cover_LC 50_5865LE275X_G446 indd 2 5 18 2015 1 35 44 PM 5 18 2015 1 35 44 PM ...

Page 3: ...oduct with 2 073 600 pixels giving you fine picture details Due to the very large number of pixels occasionally a few non active pixels may appear on the screen as a fixed point of blue green or red This is within product specifications and does not constitute a fault Precautions when transporting the TV When transporting the TV never carry it by holding or otherwise putting pressure onto the display...

Page 4: ...the base area to lay the TV on This will prevent it from being damaged 1 Confirm the screws supplied with the TV Screws 4 2 Insert the stand assembly into the openings on the bottom of the TV 1 3 Insert and tighten the screws into the holes on the rear of the TV 2 USB DC5V0 5A HDMI 1 HDMI 2 MHL DC5V 900mA ARS 1 2 DIGITAL AUDIO OUTPUT AUDIO OUT R L SERVICE ONLY COMPONENT AV INPUT L AUDIO R PR CR PB ...

Page 5: ...t from the terminal The DIGITAL AUDIO OUTPUT terminal does not output some signals depending on devices and software The illustrations used throughout this manual are based on LC 50LE275X Antenna connection Connect antenna cable to the antenna terminal or If your outdoor antenna uses a 75 ohm coaxial cable with a standard DIN45325 plug IEC 169 2 plug it into the antenna jack at the rear of the set...

Page 6: ...tone of the still image See page 11 14 PHOTO Display your pictures directly on the TV screen See page 12 15 INPUT INPUT SOURCE Select an input source 16 CHr CHs TV input mode Select the channel CHr Increase the channel number CHs Decrease the channel number TELETEXT mode Select a page See page 12 17 MENU Display the menu screen 18 MPX Select the sound multiplex mode 19 RETURN MENU mode Return to t...

Page 7: ... auto installation wizard appears Follow the menu and make the necessary settings one after another 1 Press POWER on the TV The initial auto installation wizard appears 2 Press a b to select your country channels listed on the screen and then press ENTER Press a b to select the desired language and then press ENTER Press a b to select HOME or STORE and then press ENTER HOME STANDARD will be the de...

Page 8: ... to lock the selected channel Press 5 again to unlock the locked channel On Screen Display Menu Selecting a preset AV mode AV mode gives you several viewing options to choose from to best match the system environment which can vary due to factors like room brightness type of programme watched or the type of image input from external equipment 1 Press MENU and the MENU screen displays 2 Press c d t...

Page 9: ...er treble Bass For weaker bass For stronger bass Balance Decrease audio from the right speaker Decrease audio from the left speaker H Surround When you set to On you can enjoy surround sound the same as if you were in a movie theatre On Off NOTE For resetting all Sound adjust items to the factory preset values press a b to select Reset press ENTER press a b to select Yes and then press ENTER ECO m...

Page 10: ...hildren from watching violent or sexual scenes that may be considered inappropriate 1 Repeat steps 1 to 3 in Setting a password 2 Press a b to select Parental rating and then press ENTER 3 Press a b to select your desired rating and then press ENTER Selected item Description Off Cancel the blocking Age xx years Select desired age to block Example If age 14 is selected programmes rated for ages of ...

Page 11: ...s selectable only when inputting a composite signal Time zone This function enables you to select your local time zone 1 Press MENU and the MENU screen displays 2 Press c d to select Setup 3 Press a b to select Digital setup and then press ENTER 4 Press a b to select Time zone and then press ENTER 5 Press c d to select the desired time zone NOTE This function lets you select the right time zone in...

Page 12: ...O BBC1 B G MONO PAL NICAM PAL ATV ATV BBC1 ATV Analogue TV You can run the auto installation to set channels automatically 1 To watch the analogue TV select ATV from Auto installation in Programme setup menu See page 5 2 After setting the channels you can select a channel using CHr s or 0 9 on the remote control unit See page 4 DTV Digital TV When the TV accesses to DTV mode for the first time you ...

Page 13: ...White with greenish tone b White with reddish tone c White with bluish tone d White with yellowish tone R Reveal hide the setting screen G Set adjustment to last user setting B Close the setting screen and unfreeze image ENTER Save exit setting NOTE The colour adjustment screen and still image will automatically goes out after 30 minutes Freeze Colour adjustment function does not work in USB Photo...

Page 14: ...EXT TELETEXT NOTE If you select a programme with no Teletext signal No Teletext available is displayed The same message displays during other modes if no Teletext signal is available Button functions Buttons Description CH r s Increase or decrease the page number Colour Red Green Yellow Blue You can select a group or block of pages displayed in the coloured brackets at the bottom of the screen by ...

Page 15: ...ockwise 90º Rotate counterclockwise 90º Zoom in an image Select to display larger image size Zoom out an image Select to display smaller image size Pan image up down left or right after you zoom in Press ENTER to exit Select playback length of a slideshow Select photo display interval Wide mode You can manually select the size of a picture appeared on your screen NOTE Files in folder which are not...

Page 16: ...ot leave the unit in a hot or cold location Also do not leave the unit in a location exposed to direct sunlight or near a heater as this may cause the cabinet to deform and the LCD panel to malfunction Storage temperature f20 C to e60 C Specifications Item Model LC 50LE275X LC 58LE275X LC 65LE275X LCD panel 126 cm 146 cm 164 cm Resolution 2 073 600 pixels 1920 g 1080 Video colour system PAL SECAM N...

Page 17: ... MHL DC5V 900mA HDMI LC 58LE275X Dimensional drawings Unit mm 687 400 831 255 400 82 60 7 1123 1103 622 4 656 POWER USB DC5V 0 5A DIGITAL AUDIO OUTPUT AUDIO OUT R L SERVICE ONLY HDMI 1 ARC HDMI 2 MHL DC5V 900mA COMPONENT AV INPUT INPUT 3 L AUDIO R PB CB PR CR VIDEO Y HDMI LC 50LE275X LC 505865LE275X_EN_G446 indd 15 LC 505865LE275X_EN_G446 indd 15 5 18 2015 5 44 49 PM 5 18 2015 5 44 49 PM ...

Page 18: ...he MENU screen and then press c d to select Setup 2 Press a b to select Child lock and then press ENTER and the password input screen display 3 If you enter 3001 using 0 9 the Child lock setting menu will be displayed 4 Enter the 4 digit number as a password using 0 9 The new password is now set DISPLAY ATV DTV DISPLAY ATV DTV The Password is NOTE As a precautionary measure make a note of your pas...

Page 19: ... 17 Note LC 505865LE275X_EN_G446 indd 17 LC 505865LE275X_EN_G446 indd 17 5 18 2015 5 44 54 PM 5 18 2015 5 44 54 PM ...

Page 20: ... 18 Note LC 505865LE275X_EN_G446 indd 18 LC 505865LE275X_EN_G446 indd 18 5 18 2015 5 44 54 PM 5 18 2015 5 44 54 PM ...

Page 21: ...Printed in Malaysia 马来西亚印刷 TINS G446WJZZ 15P05 MA NP Cover_LC 50_5865LE275X_G446 indd 4 Cover_LC 50_5865LE275X_G446 indd 4 5 18 2015 1 35 44 PM 5 18 2015 1 35 44 PM ...

Reviews: