52
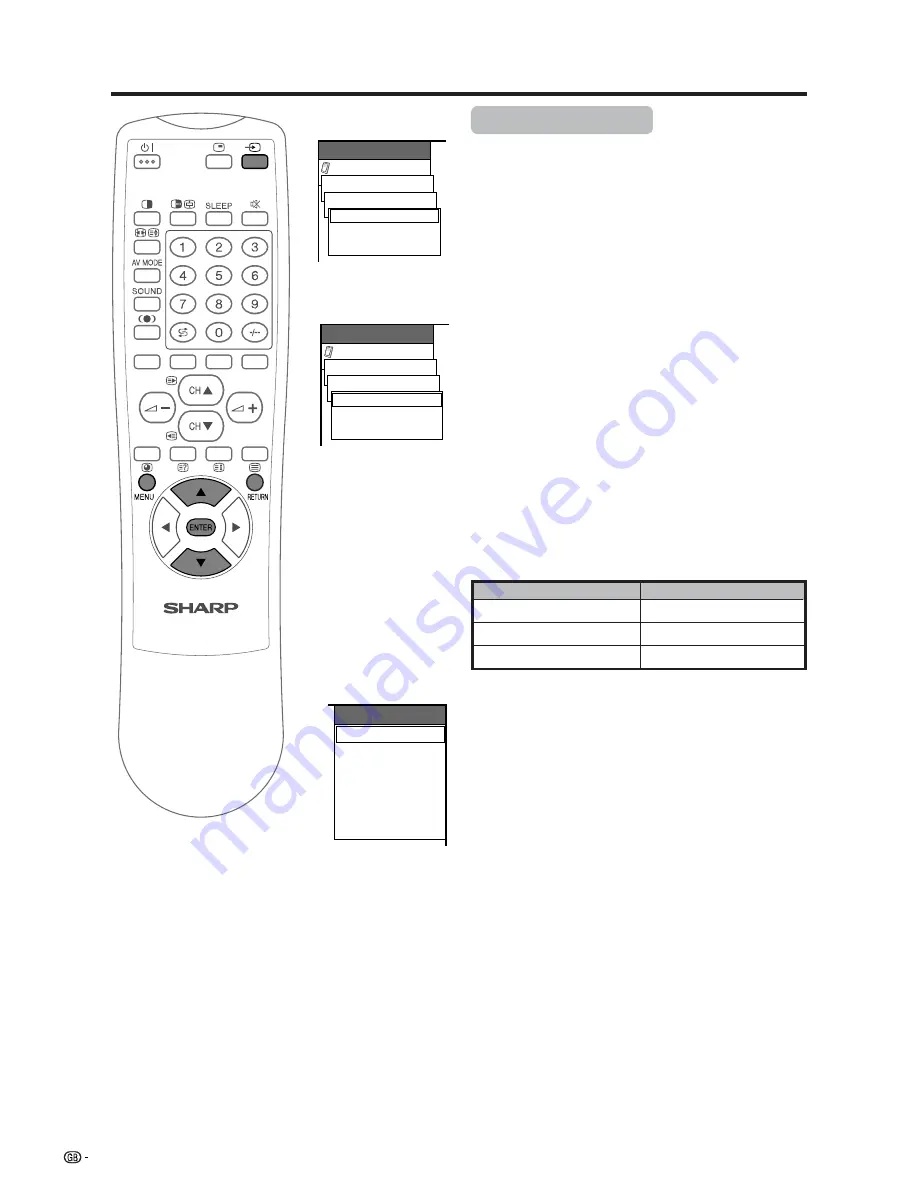
INPUT SOURCE
TV
INPUT1
INPUT2
INPUT3
INPUT4
PC
Useful adjustment settings
Option
MENU
Input Select
Input1
[AUTO]
AUTO
COMPONENT
AV-Y/C
Option
MENU
Input Select
Input3
[AUTO]
AV-Y/C
COMPONENT
AUTO
INPUT 1 signal menu
INPUT 3 signal menu
Input selection
Can use for selecting the input source.
1
Press
b
on the remote control unit or
INPUT
on
the Display.
• INPUT SOURCE menu displays.
2
Hold down
b
on the remote control unit or
INPUT
on the Display to select the input source.
• An image from the selected source automatically
displays.
• You can also select the input source by pressing
a
/
b
.
A
• Items grayed out are not selectable.
• Return to the previous menu by pressing
RETURN
.
Input signal source
Input signal setting
For setting the signal type of external equipment.
1
Press
MENU
.
2
Press
a
/
b
to select “Option”, and then press
ENTER
.
3
Press
a
/
b
to select “Input Select”, and then press
ENTER
.
4
Press
a
/
b
to select an input source you want to
set, and then press
ENTER
.
5
Press
a
/
b
to select a signal type, and then press
ENTER
.
• If the selected signal type is incorrect, an image does
not display or no colour image displays.
6
Press
MENU
to exit the menu.
A
• Return to the previous menu by pressing
RETURN
.
• The System automatically sets input signals from “INPUT2,
INPUT4” and “PC”.
•
If no image displays, try to change the signal type.
• Check the operation manual of the external equipment
for the signal type.
• Setting INPUT 1 and INPUT 3 signal selection to “AUTO”
when other equipment is connected will result in the
following connectivity priority.
INPUT 1
1. COMPONENT VIDEO
2. S-VIDEO
3. VIDEO
INPUT 3
1. COMPONENT VIDEO
2. S-VIDEO
3. VIDEO


