73
ERASE ALL TITLES
HDD (ORIGINAL)
HDD (PLAYLIST)
DVD (ORIGINAL)
DVD (PLAY LIST)
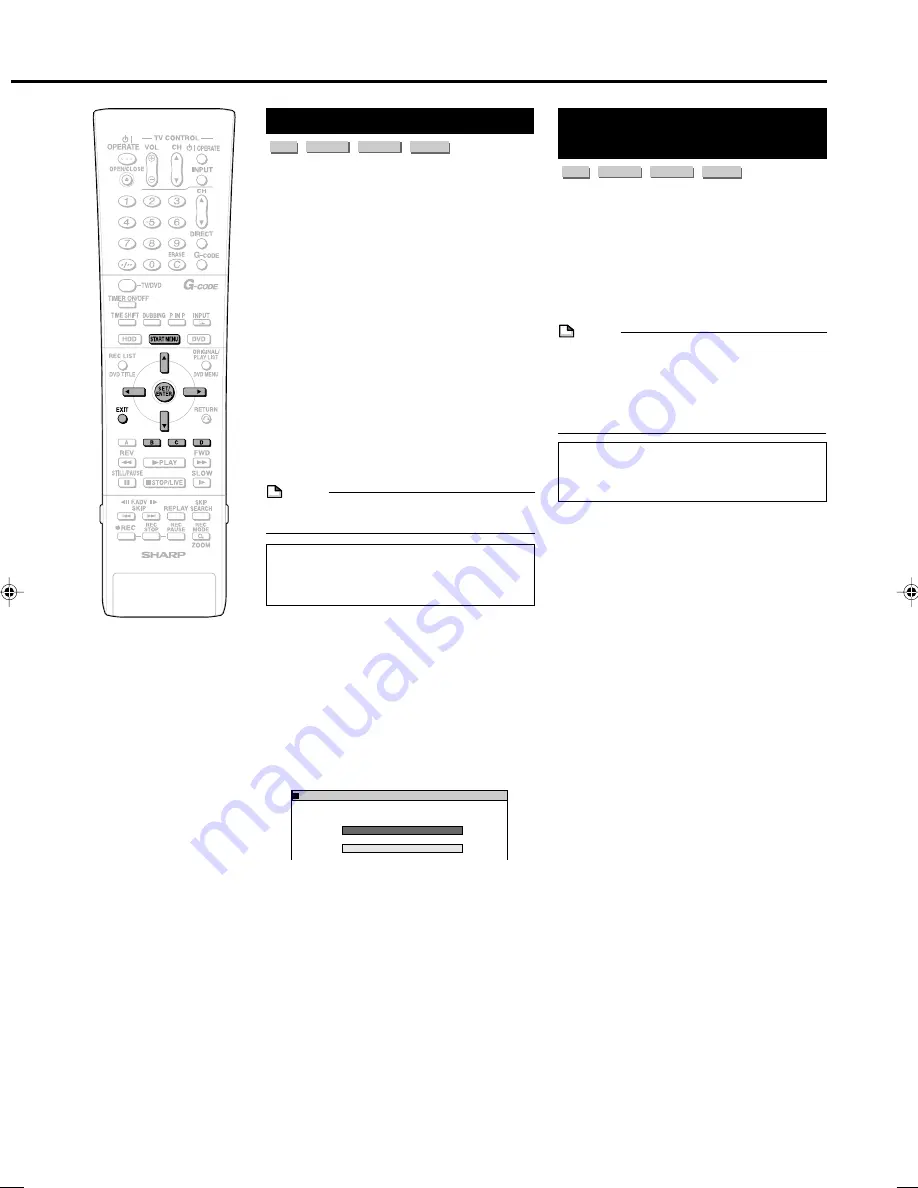
SELECT AN ITEM BELOW TO ERASE ALL TITLES.
8
2
:
0
1
2
1
/
5
2
Editing an Original Title (HDD/DVD)
Erasing All Titles
HDD
VR MODE
DVD-RW
VIDEO MODE
DVD-RW
DVD-R
This erases the entire contents of a HDD or
DVD-RW. (Except titles for which title protect
has been set.)
You can erase the following:
•
HDD (ORIGINAL):
Erases all titles recorded on the HDD.
When originals are erased, play lists are
also erased.
•
HDD (PLAY LIST):
Erases all play lists created on the HDD.
Even if play lists are erased, the original
titles are not erased.
•
DVD (ORIGINAL):
Erases all titles recorded on DVD. When
originals are erased, play lists are also
erased.
•
DVD (PLAY LIST):
Erases all play lists created on DVD. Even if
play lists are erased, the original titles are
not erased.
NOTE
• When a Video mode disc is finalized, you
can no longer erase all titles.
Before Starting Editing
• Switch to the drive (HDD or DVD) to
be edited.
1
Select “EDIT/ERASE” in “START
MENU” screen, then press
SET/
ENTER
.
2
Press
'
/
"
to select “ERASE
ALL TITLES”, then press
SET/
ENTER
.
3
Press
'
/
"
to select what you
want to erase, then press
SET/
ENTER
.
4
Press
\
/
|
to select “YES”, then
press
SET/ENTER
.
• Carefully confirm before executing
erase.
• If you select “NO” and enter, the
screen in step
3
appears.
5
Press
SET/ENTER
.
• All titles (or play lists) are erased, and
the screen in step
3
appears.
To restore the erased content, press
Green (C)
(CNL ERASE). Operate
according to the instructions on the
screen. (Note: You can only undo
once, to the state immediately before
the last erase.)
6
Press
EXIT
to exit from Edit
mode.
Erasing by Selecting a
Title (or Chapter)
HDD
VR MODE
DVD-RW
VIDEO MODE
DVD-RW
DVD-R
Allows you to select titles to erase, and erase
them in a batch.
•
When erasing original titles:
If original titles are erased, those titles will
also be erased from play lists.
•
When erasing play lists:
Even if play lists are erased, the original
titles will not be erased.
NOTE
• Up to a maximum of 20 titles (chapters)
can be selected at one time.
• When a Video mode disc is finalized, you
can no longer select and erase titles.
• You cannot erase chapters in DVD-RW/R
discs (Video mode).
Before Starting Editing
• Switch to the drive (HDD or DVD) to
be edited.
1
Select “EDIT/ERASE” in “START
MENU” screen, then press
SET/
ENTER
.
2
Press
'
/
"
to select “ERASE
TITLES”, then press
SET/ENTER
.
3
Press
'
/
"
/
\
/
|
to select titles
to erase.
• If you press
Red (B)
(CHAPTER), the
screen will switch to the chapter
thumbnail display so you can select
and erase chapters.
4
Press
SET/ENTER
.
• If there are other titles (chapters) you
wish to erase, select with
'
'
'
'
'
/
"
"
"
"
"
/
\
\
\
\
\
/
|
|
|
|
|
and press
SET/ENTER
.
5
Press
Yellow (D)
(ERASE).
6
Press
\
/
|
to select “YES”.
• Once a title (chapter) has been erased,
it cannot be restored. Carefully confirm
before executing erase.
• If you select “NO” and enter, operate
from step
4
again.
7
Press
SET/ENTER
.
• All selected titles (chapters) are erased.
• To cancel erase, press
Green (C)
(CNL ERASE).
• Operate according to the instructions
on the screen.
8
Press
EXIT
to exit from Edit mode.
DV-HR350X/300X-067-073
2004.4.8, 11:27 AM
73


