16
Menu operations
✔
MODE
Menu Operation: SETUP Group B (page 15)
This feature allows you to set the programmes to “TV”, “VCR”
or “SKIP” mode.
TV:
If the TV signal is weak the image can shake. In this case
put it in TV mode.
VCR:
In some cases, the upper part of the picture may be
distorted when receiving signal from a VCR via RF terminal
on the TV set. Selecting this option will help to reduce this
effect.
SKIP:
Allows you to SKIP programmes you do not want to view
when using
P (
r
/
s
)
. (Use
Programme Select (0–9)
or
Programmes list (
a
/
b
)
to display these channels)
✔
SYSTEM
Menu Operation: SETUP Group B (page 15)
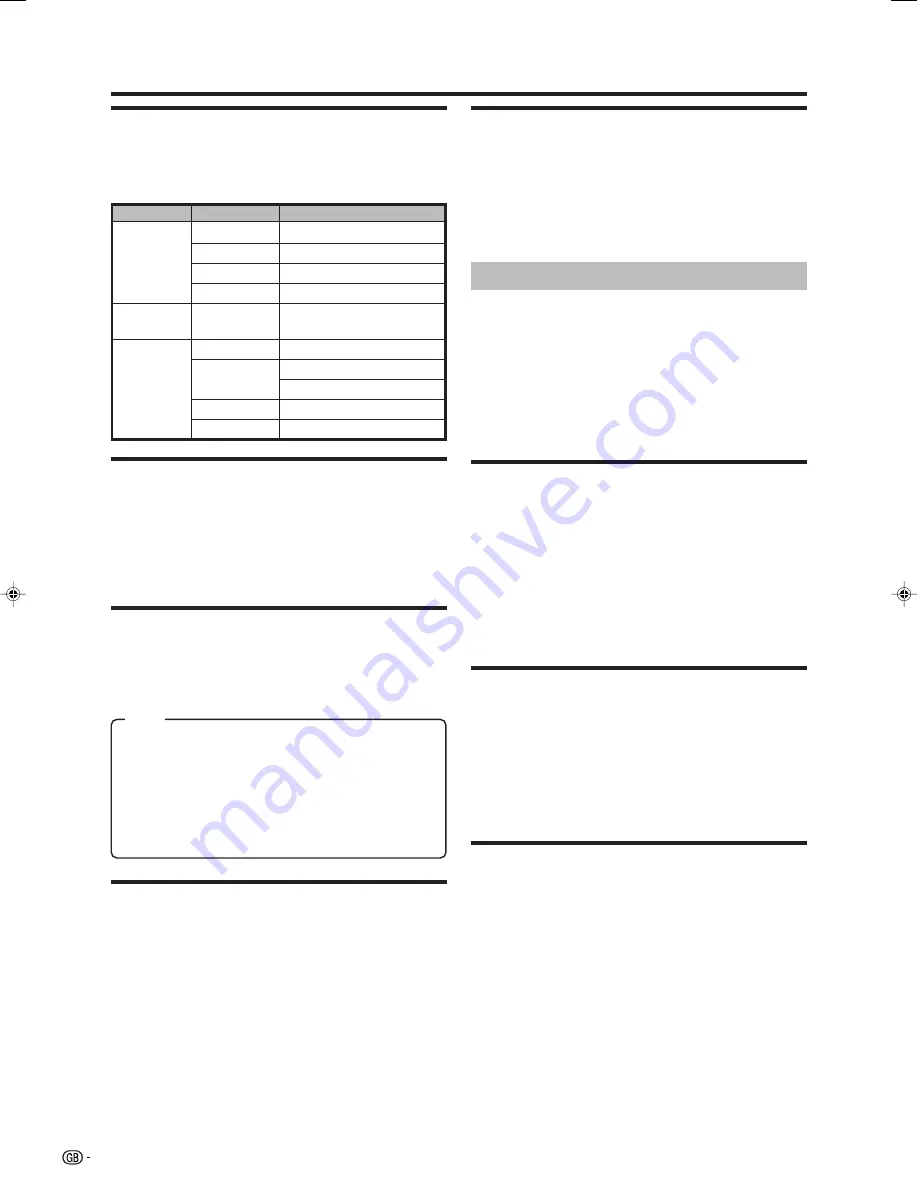
For more information, see the table “Corresponding real
channel” on page 23.
✔
CHANNEL
Menu Operation: SETUP Group B (page 15)
NOTE
• Receivable channels depend on TV norm (Band, System, etc.),
installation site, and range.
E
EDIT
Menu Operation: SETUP Group C (page 15)
In this menu you can change the order of the channels,
delete channels, and change or give the channels an eight-
letter name. (See page 8.)
1
Press
c
/
d
to select “TV” or “RADIO”.
2
Press
a
/
b
to select the channel you want to edit, and
then press
OK
to watch/listen to TV/radio.
3
Perform the steps below for each setting.
✔
FINE TUNE
Menu Operation: SETUP Group B (page 15)
When a preset programme channel is not exactly tuned,
you can fine-tune the channel in this mode.
✔
SCAN
Menu Operation: SETUP Group B (page 15)
NOTE
• Press and hold
c
/
d
, until the best tuning position is found, for
the best picture and sound, and then press
OK
to memorise.
Press
c
/
d
to “SCAN” between the existing channel and
the previous or next one.
• The tuning sequence will stop when a signal is detected.
• If the signal is not the required channel, press
c
/
d
to continue
searching.
• If the signal is the required channel, press
OK
to memorise.
For more information, see the table “Corresponding real
channel” on page 23.
✔
EDIT
1
Press
Red
to display the “EDIT” setting.
2
Press
a
/
b
to change the letters, and then press
c
/
d
for changing the position of the cursor.
3
Press
OK
to “STORE” the name.
4
Press
END
to exit.
NOTE
• The selected item is displayed in yellow letters with red
background.
• Letters A to Z of the alphabet, symbols, a blank space and the
numbers 0 to 9 will appear.
✔
DELETE
1
Press
Yellow
to display the “DELETE” setting.
2
Press
OK
to delete the channel selected on the list.
3
Press
END
to exit.
NOTE
• When you delete a channel, the channels that follow it on the list
will automatically rearrange themselves by moving up one
programme (Pr) place, to restore the space of the cancelled
channel.
✔
SORT
1
Press
Blue
to display the “SORT” setting.
2
Press
a
/
b
to move the channel to the required position
(Pr).
3
Press
OK
to “STORE”.
NOTE
• When you change of site a channel, the located channels next
are rearranged. By such reason, it is advisable to order the
channels, being begun by which you wish to place in the first
position (Pr1).
Item
Band
System
Real Channel Number
VHF
L/L’
CH-02 — CH-10
B/G
CH-02 — CH-20
I
CH-01 — CH-09
D/K
CH-02 — CH-12
UHF
B/G, D/K, I,
L/L’
CH-21 — CH-69
CATV
L/L’
CC-01 — CC-74
B/G
CC-01 — CC-55
CH-75 — CH-79
I
CC-01 — CC-68
D/K
CC-01 — CC-41
LC-26/32/37GA6E(E)_b
05.6.29, 7:50 AM
16


