LISST-Holo2
User’s Guide
9
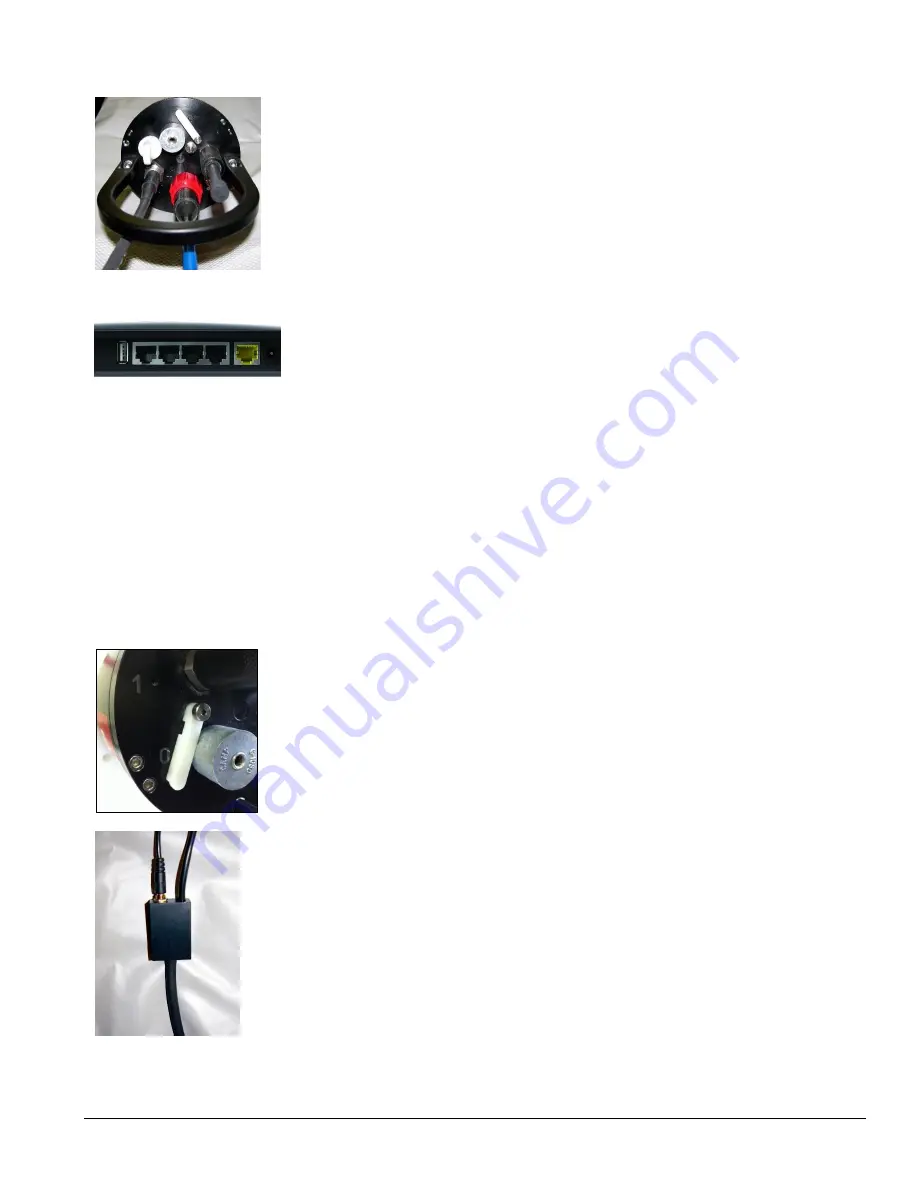
The cables are now correctly connected to the LISST-HOLO2.
It is necessary to have BOTH cables connected in order to power and communicate
with the LISST-Holo2. No power is supplied through the blue Ethernet cable, only
communication.
The LISST-Holo2 does have an internal battery but we recommend using external
power while operating the instrument on the bench. Charging the internal battery is
covered in section 5.2.
A wireless router is provided with the LISST-Holo2 which allows you to connect your
LISST-Holo2 to the internet or a local network. Most users will need the router to
communicate with the LISST-Holo2. The LISST-Holo2 can be directly connected to a
computer, however, this will require custom network settings on your computer.
Connect the blue Ethernet cable to the wireless router. You can either plug the blue
wire directly into the router or extend the cable using the provided Ethernet Coupler
Do not connect your computer or the LISST-Holo2
to the yellow ‘Internet’ port. Use one
of the other four available ports.
Connect the router power cable to the router
Plug the router power supply into a 110-220VAC power source.
When the router completes its booting procedure, it can be located as
LISST-Holo2
on
a wireless network. The password for connecting to the router is
manyholograms
(this
information is also located on the router). Establish a Wi-Fi connection between the
router and your PC before you proceed.
If you do not have a Wi-Fi enabled PC, you must connect your computer to the router
using an Ethernet cable.
Make sure that the Switch Lever
on the connector endcap is in ‘0’ position (off). The
Switch Lever does not need to be in the
‘1’ position to communicate with the LISST-
Holo2. The Switch Lever will be used to wake the LISST-Holo2.
When you are connected to the router, plug the 18v power supply into the LISST-Holo2
power cable and into 110-220VAC wall power. Supplying power through the 5-pin
connector will allow the LISST-Holo2 to operate using external power, without draining
the internal batteries.
NOTE: This is not the configuration for charging the batteries. The batteries are
charged using the battery charger connected to the 6-pin connector. See section 5.2.
x
Summary of Contents for LISST-Holo2
Page 2: ......


