


104
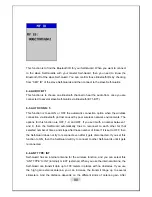
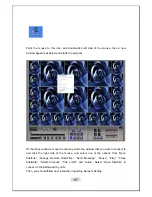
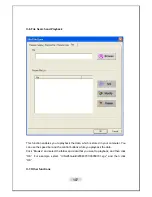
II-3. Remote Monitor and Save
This function allows you to see and hear the image and audio being recorded in the
Self-Guard, and save these data to your local computer.
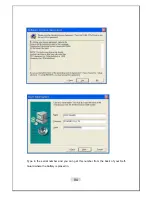
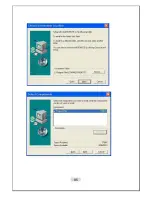
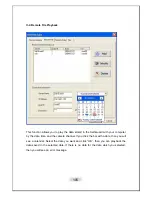
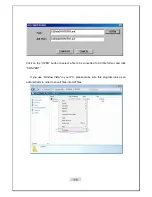
“Server Name”:
Type in the name of the Self-Guard that you want to connect to. (It is
the name for you to distinguish from several Self-Guards connected)
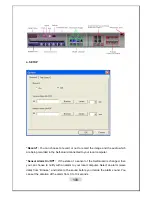
“IP Address”:
Type in the IP Address of the Self-Guard that you want to connect to.
“User ID”:
Type in the registered ID of the Self-Guard that you want to connect to.
“Password”:
Type in the registered password of the Self-Guard to connect to
“Channel”:
Select the camera number of the Self-Guard that you want to connect to.
(You must select a camera number, which is connected to the Self-Guard, or an error
message appears, if you select a camera number not connected to the Self-Guard.).
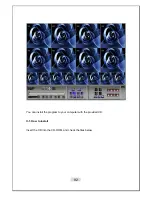
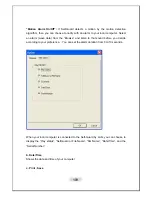
For the SG-3000 model, when slave Self-Guards are connected to the master Self-
Guard, then Bluetooth number is shows on “Channel”, so you can select number that
you want to connect.
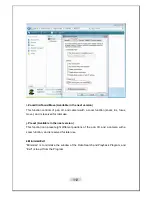
After that, click “OK” button, then you are connected to the Self-Guard from your local
computer. You can add, modify, and delete the “Server Name”, “IP Address”, “User ID”,
and the “Password”.
Summary of Contents for SG-1000
Page 25: ...25 GETTING READY 1 Self Guard ...
Page 95: ...95 ...
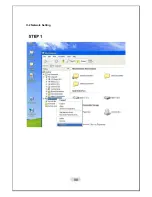
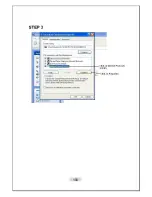
Page 98: ...98 II 2 Network Setting ...
Page 99: ...99 ...
Page 100: ...100 ...
Page 101: ...101 ...
Page 103: ...103 ...


